
Explorer 4WD V8-4.6L (2008)
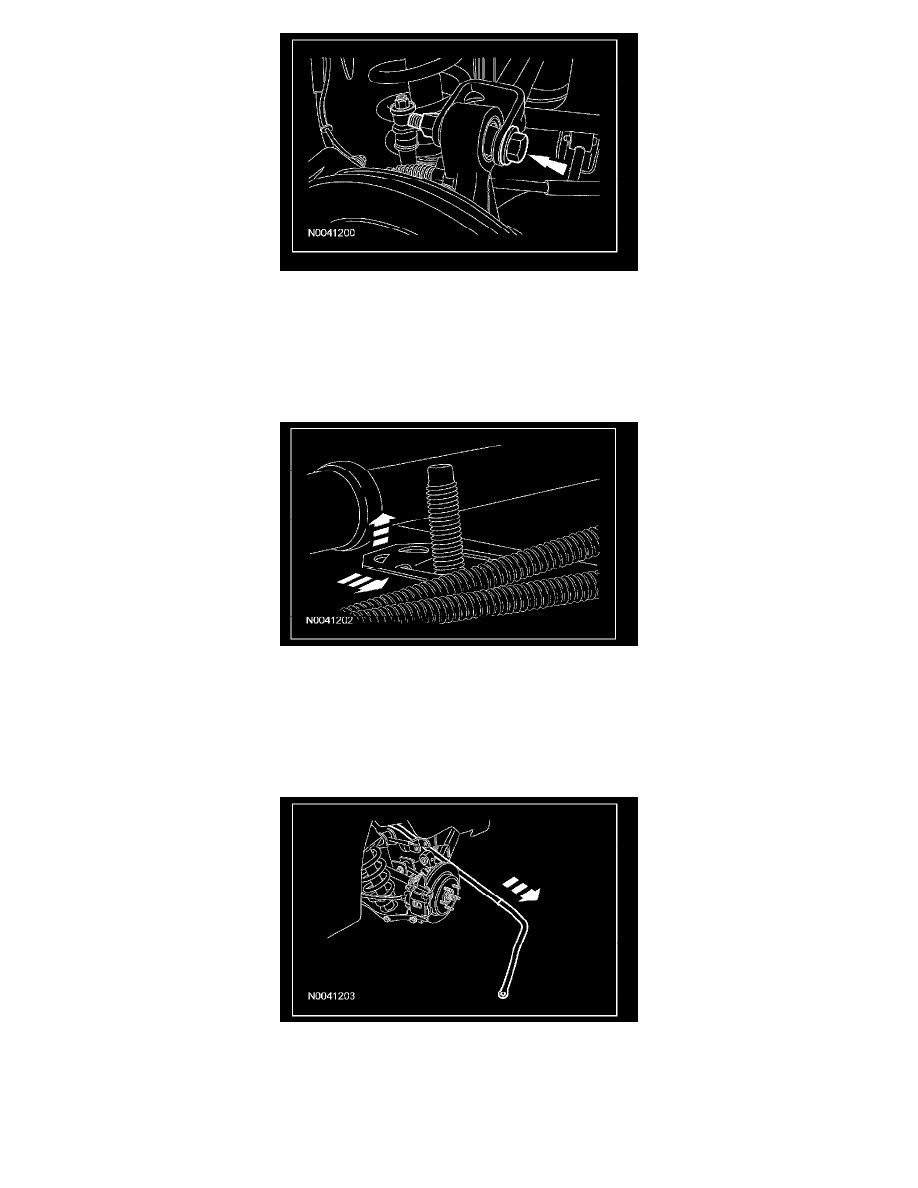
4. Remove the stabilizer bar link nut and grommet and the stabilizer bar link.
^
Discard the nut and grommet.
5. Remove and discard the 4 stabilizer bar bracket nuts.
6. Remove the 2 stabilizer bar brackets and the 2 stabilizer bar bushings.
7. Remove the 4 stabilizer bar bracket studs.
^
For the front studs, push the stud down and slide the stud toward the rear of the vehicle.
^
For the rear studs, push the stud down and slide the stud toward the front of the vehicle.
8. Disconnect the fuel filler pipe tube-to-fuel pressure sensor line quick connect coupling.
9. Unclip the fuel filler pipe tube-to-fuel pressure sensor line from the fuel tank and position aside.
10. CAUTION: Extreme care must be exercised when removing and installing the stabilizer bar on vehicles equipped with rear air
conditioning (A/C) and/or rear heating or damage to the A/C lines and rear heater hoses can occur.
With the aid of an assistant, remove the stabilizer bar from the LH side of the vehicle.
Installation
1. With the aid of an assistant, install the stabilizer bar into the LH side of the vehicle.
2. Connect the fuel filler pipe tube-to-fuel sensor line.
3. Connect the fuel filler pipe tube-to-fuel pressure sensor line quick connect coupling.
4. Install the 4 stabilizer bar bracket studs.
5. Install the 2 stabilizer bar bushings and the 2 stabilizer bar brackets.