
Explorer 4WD V8-4.6L VIN W (2002)
6. Remove and discard the bolts and universal joint retainers.
7. CAUTION: Always disconnect the front driveshaft from the transfer case first. Otherwise, the weight of the driveshaft can pinch the boot
between the shaft and the boot can and cause the boot to tear.
CAUTION: Tape the beating cups to the driveshaft to prevent them from falling off of the spider.
NOTE: The front driveshaft CV joint is not repairable.
Remove the driveshaft.
Installation
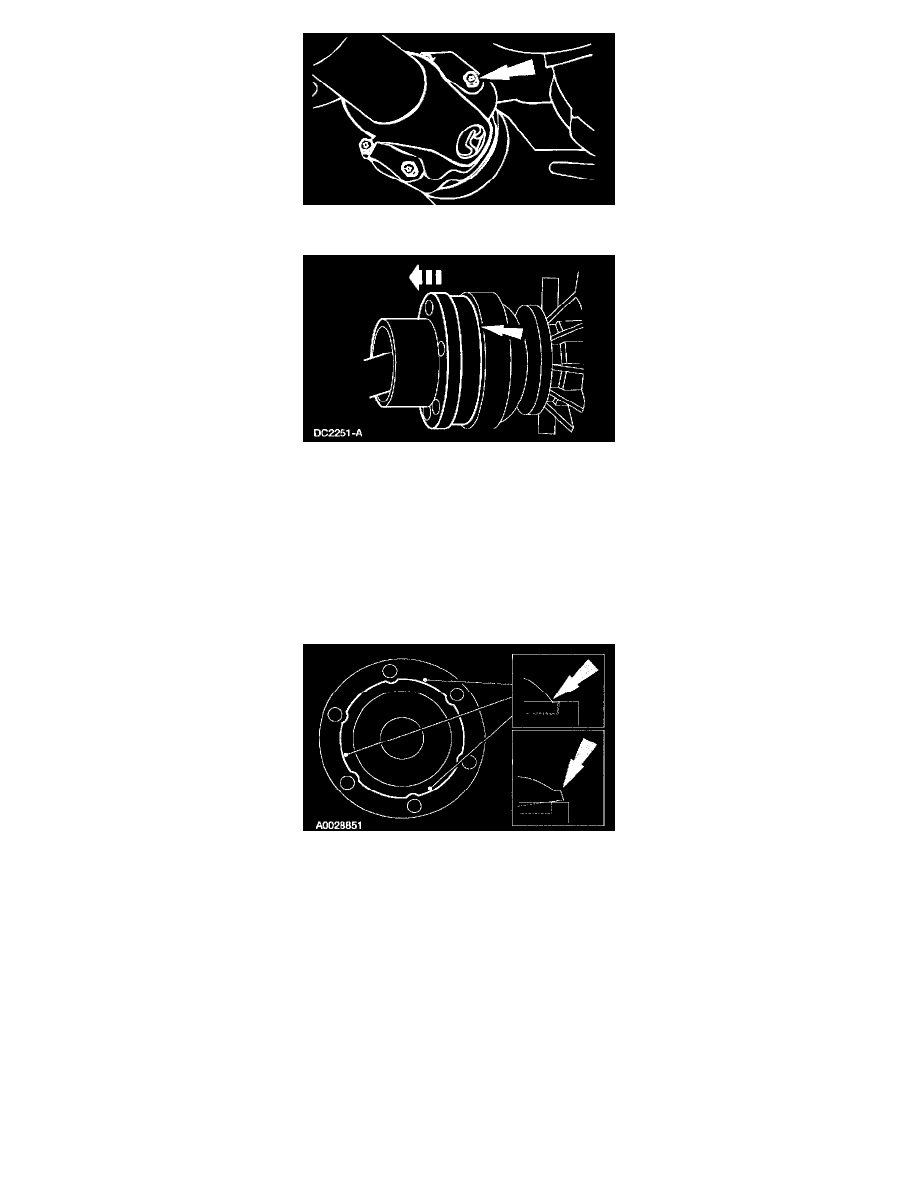
1. CAUTION: The can (domed CV joint housing cover) is pressed into the CV joint housing at the factory. When housed correctly, the can will
appear as shown in the cut-away illustration, top box. Do not reseat the can in the CV joint housing if the can's flange is above the CV joint
housings shown in the cut-away illustration, bottom box. Install a new driveshaft.
Verify that the can flange is housed correctly in the CV joint housing as shown in the cut-away illustration, top box. Install a new driveshaft if the
can flange is not housed correctly.
2. CAUTION: Always connect the front driveshaft to the axle first. Otherwise the weight of the driveshaft can pinch the boot between the shaft and
the boot can cause the boot to tear.
NOTE: Align the index marks.
Install the driveshaft.