
Explorer AWD V6-4.0L VIN K Flex Fuel (2003)
[NEW] 5.
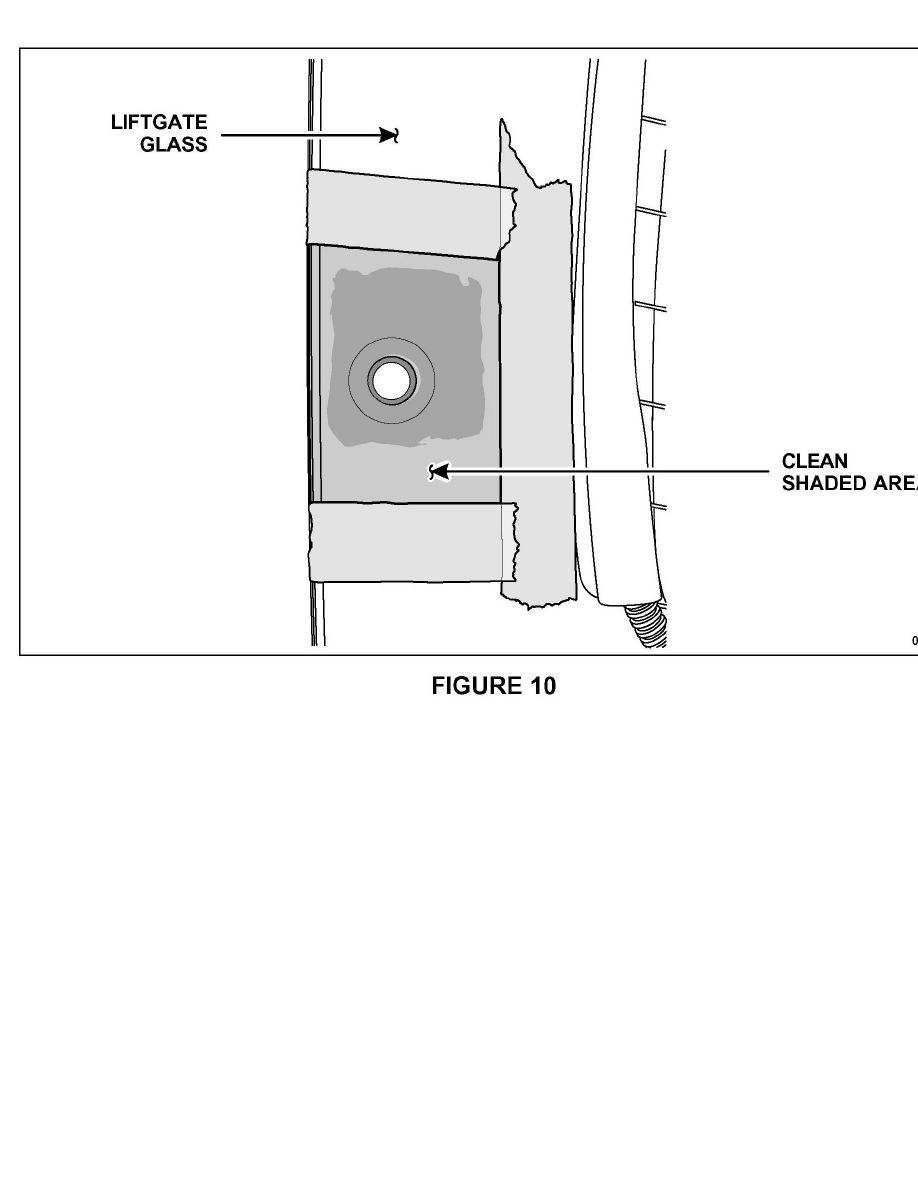
Clean the area using the supplied alcohol wipe and allow it to dry completely, ensuring no moisture is present. Then, inspect the edge of the
hole for any chips or cracks. If the glass is chipped or cracked, the glass must be replaced. Discontinue this service in lieu of liftgate glass
replacement.
CAUTION:
This primer requires a minimum of fifteen (15) minutes dry time before adhesive can be applied. Failure to wait the necessary fifteen (15)
minutes will lead to the failure of the adhesive.
6.
Using one of the supplied dauber brushes, neatly apply a thin coat of Chemlok 144(R) primer to the taped-off area, then carefully remove the tape.
Allow the primer to dry for at least fifteen (15) minutes, ensuring no moisture is present before installing the new brackets.
While waiting for the primer to dry, remove the original bracket and prepare the surface 1 on the opposite side of the glass (repeat Steps 2 through
7).
7.
NOTE: When scuffing the new bracket, use light pressure to avoid exposing bare metal.
Using the Scotch Brite(R) scuff pad, carefully scuff the backside of both new brackets so that the surface no longer has a shiny appearance, then
wipe it clean with one of the supplied alcohol wipes.
[NEW]8.
CAUTION: Be sure the glass and plastic washers are very clean and contain no grit, dirt, sand or any other foreign matter prior to
installation. Even the smallest bit of any hard material captured between the plastic washer and the glass may cause the glass to shatter.