Explorer AWD V6-4.0L VIN K Flex Fuel (2003)

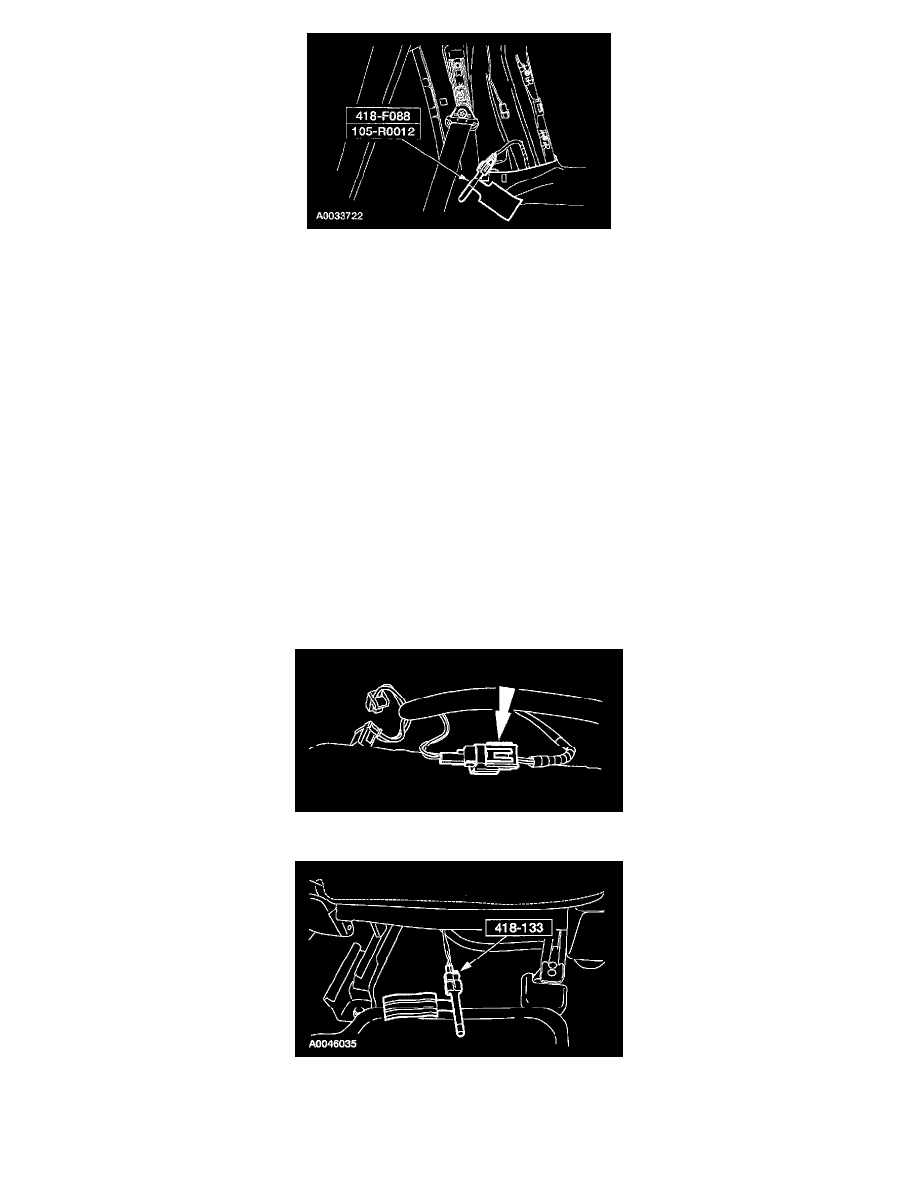
12. Attach the restraint system diagnostic tool to the vehicle harness side of the RH safety canopy electrical connector.
Vehicles with power seats
13. Connect the battery ground cable.
All vehicles
14. Move and tilt the front seats to their highest and most forward position.
Vehicles with power seats
15. WARNING: To avoid accidental deployment and possible personal injury, the backup power supply must be depleted before repairing
or replacing any front or side air bag supplemental restraint system (SRS) components and before servicing, replacing, adjusting or
striking components near the front or side air bag sensors, such as doors, instrument panel, console, door latches, strikers, seats and hood
latches.
The side impact sensors (if equipped) are located at or near the base of the B-pillars and C-pillars.
To deplete the backup power supply energy, disconnect the battery ground cable and wait at least one minute. Be sure to disconnect
auxiliary batteries and power supplies (if equipped).
Disconnect the battery ground cable and wait at least one minute.
All vehicles
16. From under the front RH seat, push in to release the tab and disconnect the safety belt buckle pretensioner electrical connector.
17. Attach the restraint system diagnostic tool to the front RH seat safety belt buckle pretensioner floor electrical connector.
Vehicles with safety canopies
