
Explorer AWD V6-4.0L VIN K Flex Fuel (2003)
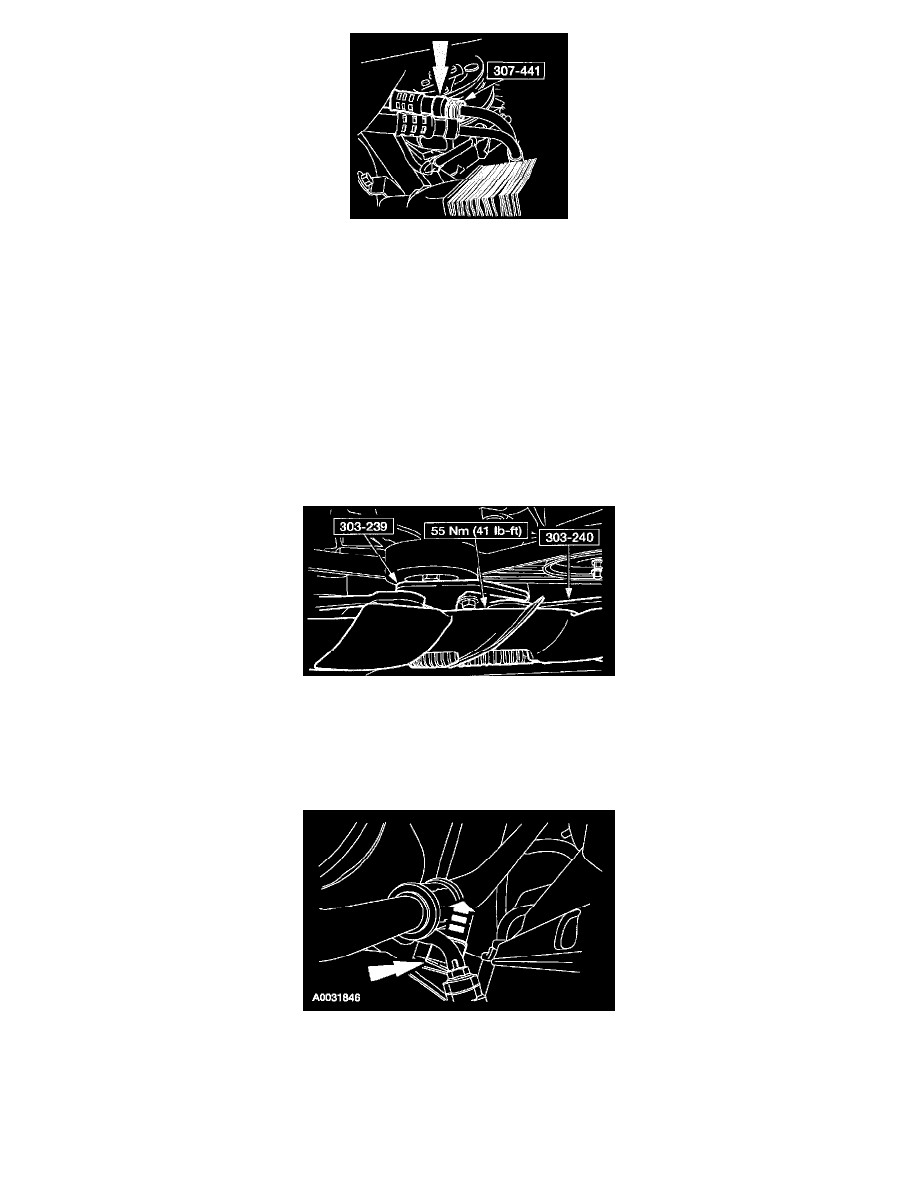
1. NOTE: If equipped, remove the safety retainer from the connector.
Disconnect the cooler line.
^
If equipped, use the special tool to disconnect the quick coupler.
^
If equipped, loosen and remove the screw clamp from the hose.
Item 12: Radiator Fan Shroud Screw Removal Note
1. Not all vehicles will have these radiator fan shroud screws. If vehicle is equipped with these screws, please discard them.
Item 15: Cooling Fan Removal Note
1. CAUTION: Cardboard must be placed against the radiator when removing the cooling fan. Failure to follow these procedures can result in
damage to the vehicle.
Place a piece of cardboard against the radiator to prevent damage while removing the cooling fan.
2. Using the special tools, remove the fan blade and the clutch assembly.
Item 19: Radiator Bracket Bolt Removal Note
1. If necessary, remove the radiator brackets.
Item 21: A/C Condenser Support Bracket Bolt Removal Note
1. If necessary, remove the condenser brackets.
Item 22: Radiator Removal Note
1. NOTE: It will be necessary to lift the radiator assembly up off the mounts and set it on the frame in order to separate the A/C condenser from the
radiator.