
Explorer AWD V6-4.0L VIN K Flex Fuel (2003)
1. Check for leaks using the special tool.
-
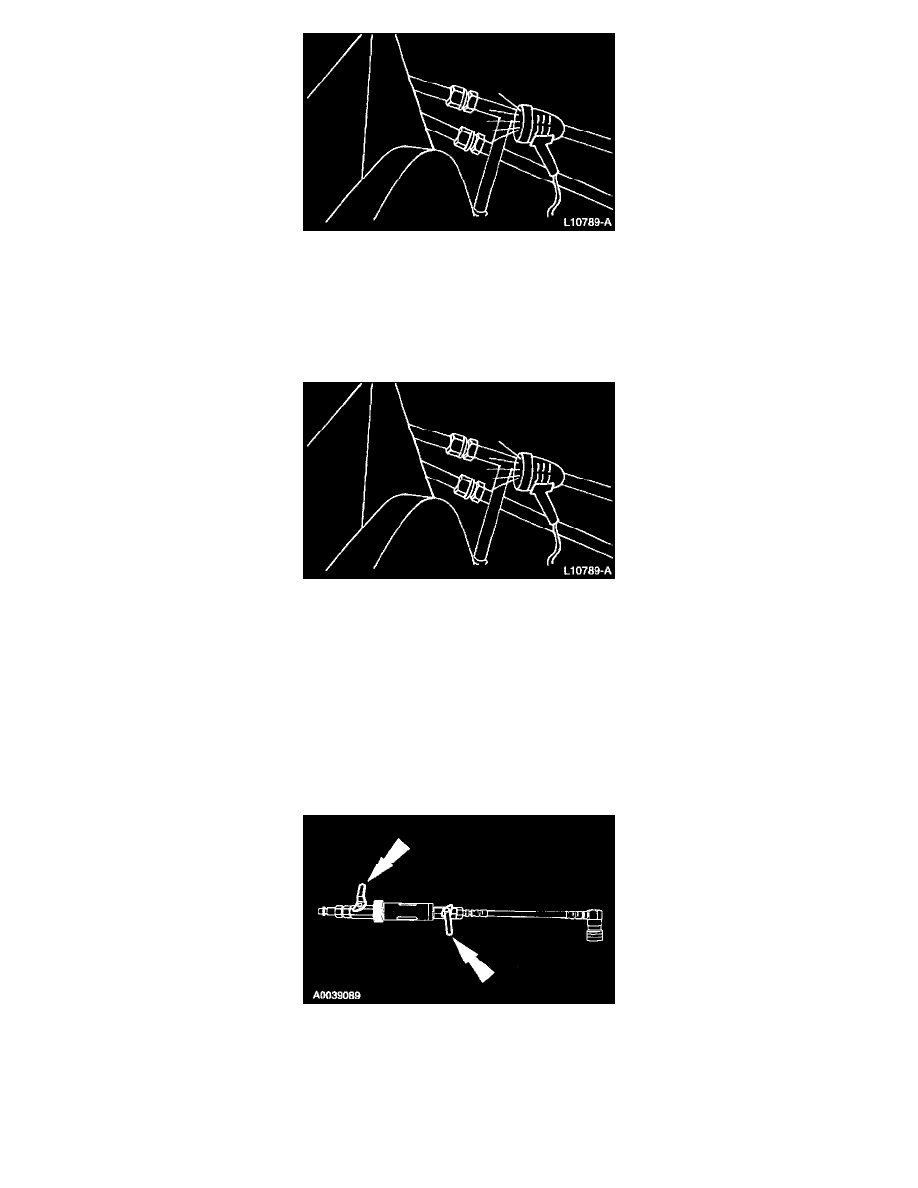
Inspect all components, lines, and fittings of the refrigerant system.
2. If a leak is found, recover the refrigerant.
3. Repair the refrigerant system leak(s).
4. Evacuate and charge the refrigerant system.
5. After the leak(s) is/are repaired, remove any traces of fluorescent dye with a general purpose oil solvent.
6. Verify the repair by running the vehicle for a short period of time and rechecking the area of the leak with the special tool.
Fluorescent Dye Injection - Using an A/C Refrigerant Center and Dye Injector
NOTE:
-
Before using the R-134a fluorescent dye injector for the first time, refer to the manufacturers instructions on evacuation of any non-condensable
gasses from the hoses.
-
Only connect the R-134a fluorescent dye injector to a manifold and gauge set or R-134a service center when fluorescent dye is to be injected. The
R-134a fluorescent dye injector has a one way check valve that will prevent refrigerant system recovery and evacuation.
-
Refrigerant system pressure should be between 413-551 kPa (60-80 psi) at 24°C (75°F) with the engine off.
1. Install an R-134a A/C refrigerant service center or a manifold and gauge set.
2. Verify that the valves on the special tool are closed.