
Explorer AWD V6-4.0L VIN K Flex Fuel (2003)
2. Remove the components in the order indicated in the following illustration and table.
3. To install, reverse the removal procedure.
4. Fill, purge and leak test the system.
5. Check and, if necessary, align the front end.
Item 6: Intermediate Shaft Removal Note
1. Do not allow the steering column shaft to rotate while the intermediate shaft is disconnected or damage to the clockspring can result. If there is
evidence that the shaft has rotated, the clockspring must be removed and recentered.
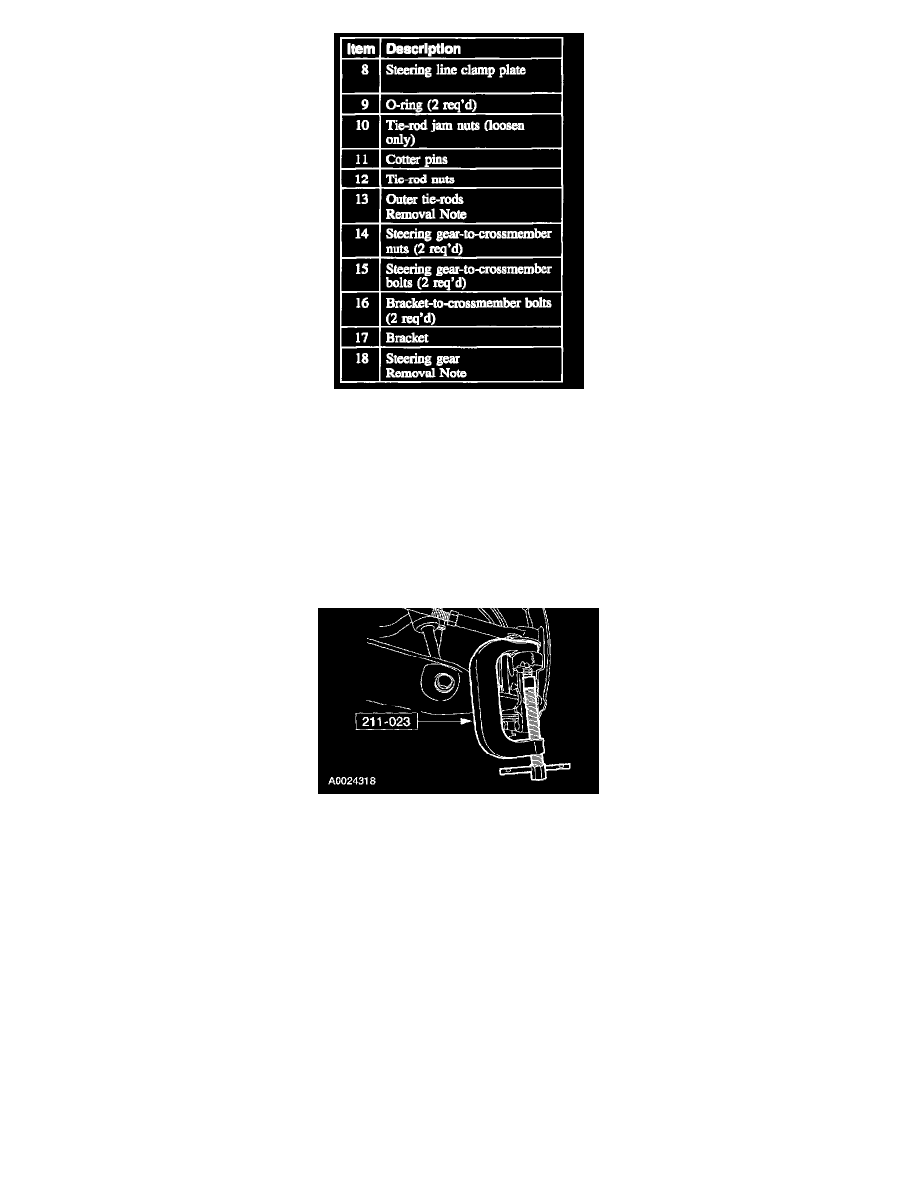
Item 13: Outer Tie-Rod Removal Note
1. Using the special tool, separate the tie-rod end from the wheel knuckle.
^
For reference during installation, count the turns required to remove the tie-rod.
Item 18: Steering Gear Removal Note
NOTE: On 4x4 vehicles, the following steps (LH lower arm only) must be carried out to provide clearance to remove the steering gear.
1. CAUTION: Do not tighten the LH lower arm inboard mounting nuts until the installation procedure is complete and the weight of the vehicle is
resting on the wheel and tire assemblies. Make sure to tighten the forward flag bolt and nut before tightening the rearward nuts.