
Explorer AWD V8-4.6L (2010)
B-Pillar Lower Trim Panel
B-Pillar Lower Trim Panel
Removal and Installation
1. Remove the front and rear door scuff plates.
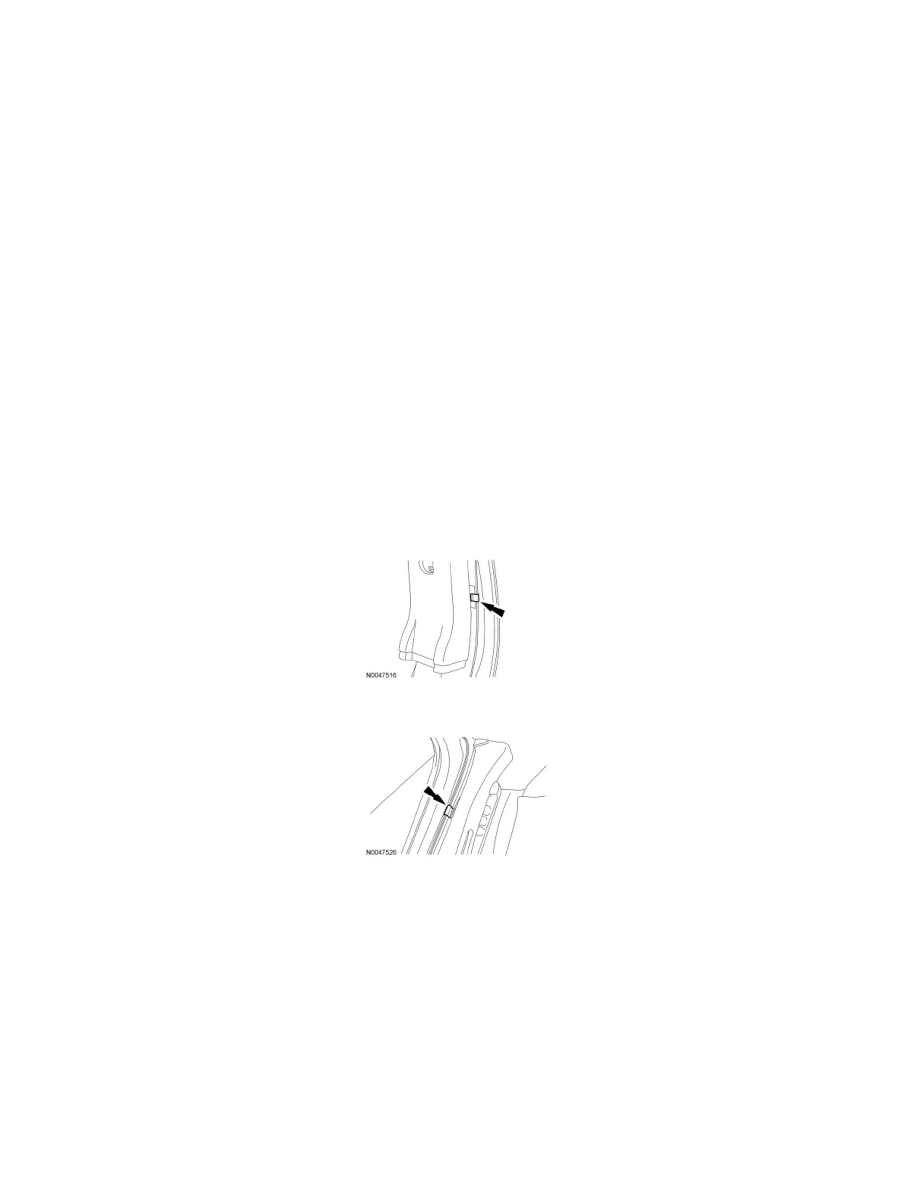
2. Position the door opening weatherstrip aside.
3. Remove the B-pillar lower trim panel.
4. To install, reverse the removal procedure.
B-Pillar Upper Trim Panel
B-Pillar Upper Trim Panel
Removal and Installation
1. Remove the B-pillar lower trim panel. For additional information, refer to B-Pillar Lower Trim Panel See: B-Pillar Lower Trim Panel.
2. Remove the D-ring safety belt anchor bolt.
-
To install, tighten to 40 Nm (30 lb-ft).
3. Position the door opening weatherstrip aside.
4. Remove the B-pillar upper trim panel retaining clip from the lower right corner of the panel.
5. Remove the B-pillar upper trim panel retaining clip from the upper left of the panel.
6. To install, reverse the removal procedure.
-
Be sure the hole on the back of the B-pillar upper trim panel is seated over the safety belt D-ring bolt.
C-Pillar Trim Panel
C-Pillar Trim Panel - Explorer, Mountaineer
Removal and Installation
Second row bucket
1. Position the second row seat to the forward position.
Second row bench