
Explorer AWD V8-4.6L (2010)
The cable is to pass between the backrest frame and the backrest support at the 2 points shown.
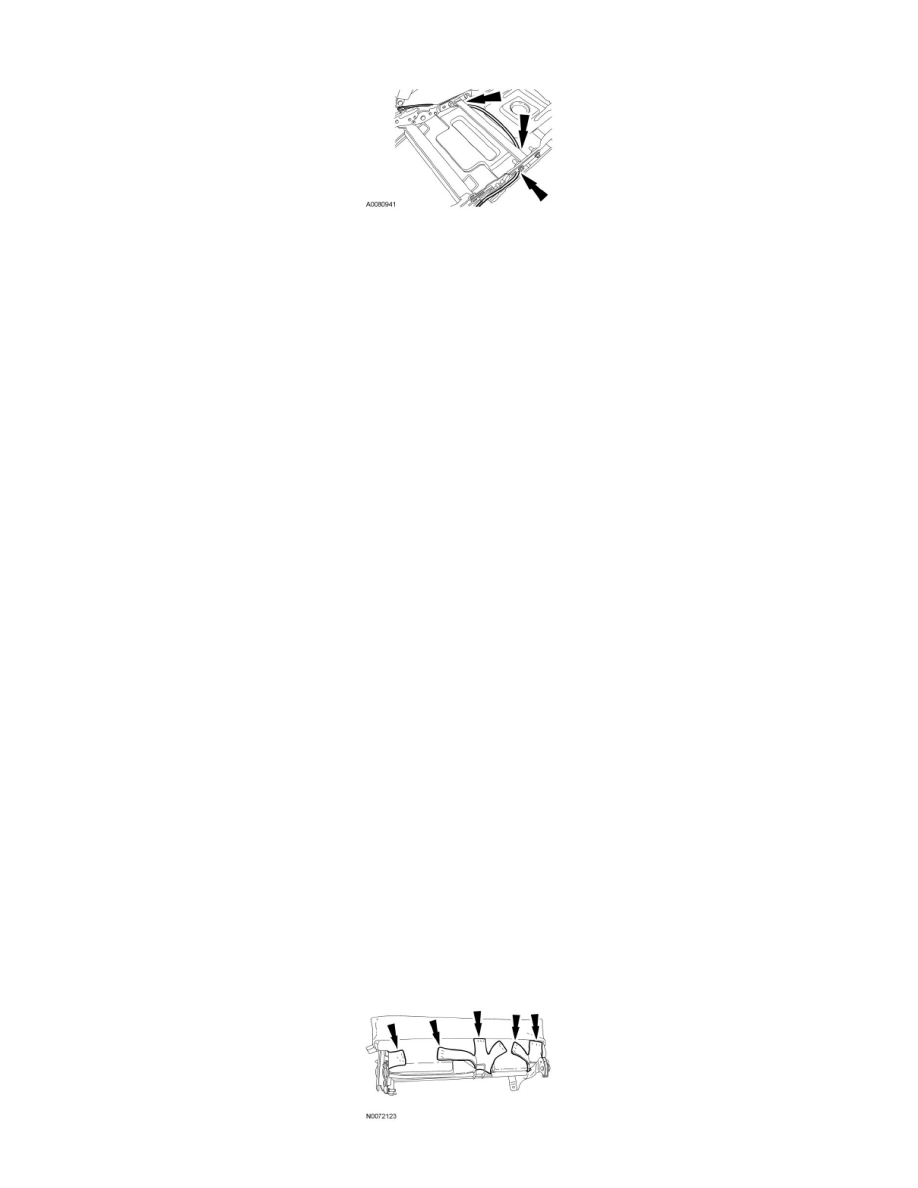
3. Install the 4 backrest upper latch bolts.
-
Tighten to 40 Nm (30 lb-ft).
4. Install the 2 backrest support panel lower screws.
5. NOTICE: When installing the backrest to the cushion, make sure the latch cover does not come in contact with the latch cable conduit or
end fitting.
Position the 2 covers and install the 4 screws. Attach the material attachments to both of the latch covers.
6. Roll the seat backrest trim cover and foam pad back down into position.
7. Position the trim cover and install staples in the backrest support panel.
8. Attach the seat backrest J-clip.
Seat Backrest - Second Row, 60 Percent, Bench
Seat Backrest - Second Row, 60 Percent, Bench
Removal
All vehicles
1. Remove the second row 60 percent seat of the 60/40 bench seat. For additional information, refer to Seat - Second Row, Sport Trac or Seat -
Second Row, Explorer, 60/40 Bench See: Service and Repair/Rear Seat/Seat - Second Row, 60/40 Bench.
Sport Trac vehicles
2. Remove the safety belt guide cover in the following sequence.
1. Pull out at the bottom and release the 2 safety belt guide cover retainers.
2. Tip the bottom of the safety belt guide cover up to release the top retainer and remove the safety belt guide cover.
3. Remove the retainers and the upper latch cover.
All vehicles
4. Remove the safety belt anchor bolt.
5. Release the backrest trim cover lower J-clips.
6. Remove all the staples holding the backrest trim cover to the backrest support panel.