
Explorer AWD V8-4.6L (2010)
The LH inboard recliner cover shown, RH similar.
Assembly
22. Clip the inboard recliner covers to the new recliners and install the two new plastic rivets. See Figure 12.
(NEW!) 23. Install the new RH and LH recliners. See Figure 11.
1. Hand start and install the new RH and LH recliner-to-seat backrest frame Torx(R) bolts (two each side).
^
Tighten to 55 Nm (41 lb-ft).
2. Hand start and install the new RH and LH recliner-to-seat cushion frame bolts (two each side).
^
Tighten to 55 Nm (41 lb-ft).
24. NOTICE: The recliner cable synchronization cannot be completed until both the RH and LH recliner cables are completely installed onto the
recliners Failure to follow these steps will compromise the recliner function.
NOTE:
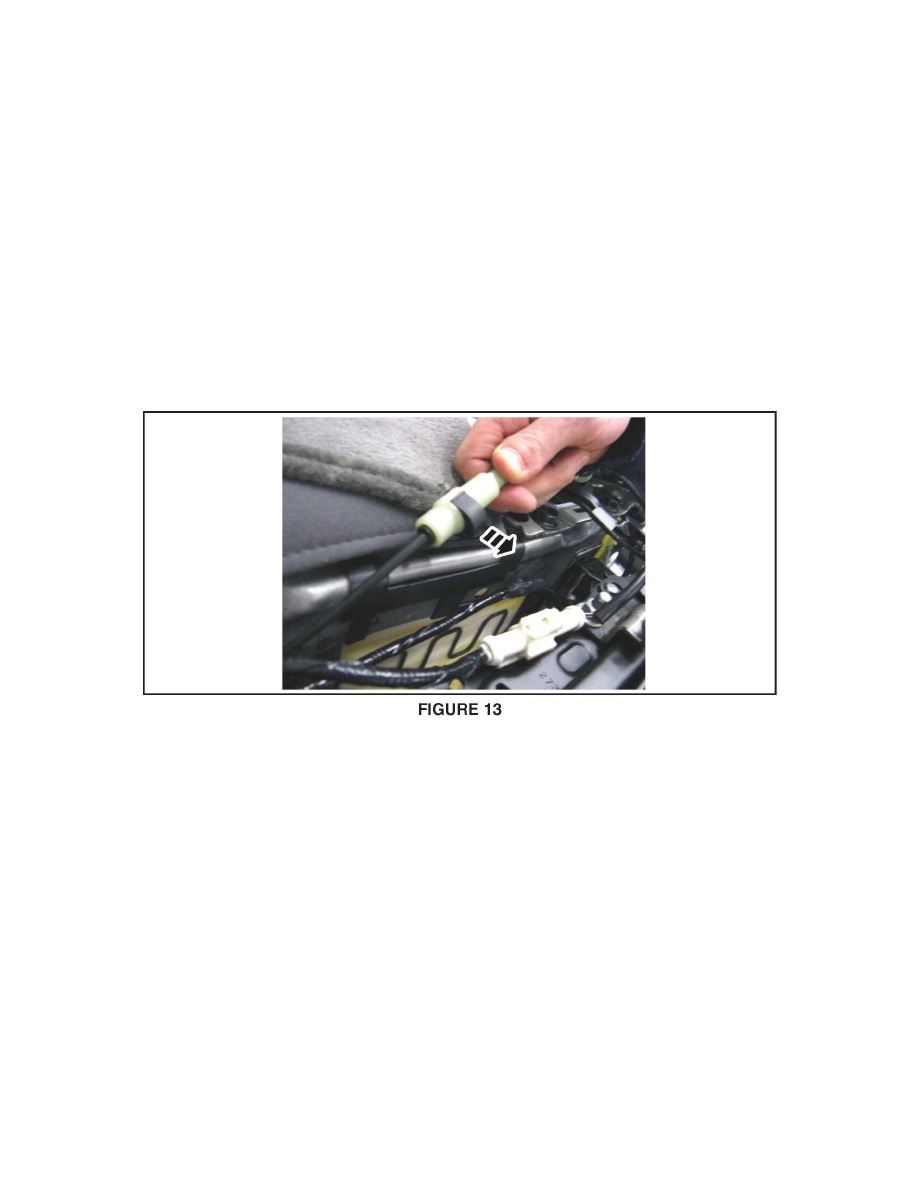
Do not remove the recliner cable compensator black clip from the recliner compensator.
To synchronize the recliners unlock the black recliner cable compensator clip by sliding it away from the compensator housing. See Figure 13.
25. If equipped with a heated seat attach the heated seat wire harness pin-type retainer to the new LH recliner. See Figure 10.
26. NOTE: Make sure the LH recliner cable tabs are completely seated in the cable bracket Connect the LH recliner cable to the cable bracket and
hook the cable end into the actuator. See Figure 9.
27. Using a suitable pair of pliers hook the RH recliner cable end into the actuator and clip the RH recliner cable housing onto the new recliner. See
Figure 6.
(NEW!) 28. install a new RH recliner cable pin type retainer onto the recliner.
(NEW!) 29. The seat backrest should be in the upright position for the recliner synchronization.