
Explorer AWD V8-4.6L (2010)
Seat Latch: Service and Repair
Seat Latch - Third Row, Manual
Seat Latch - Third Row, Manual
Removal and Installation
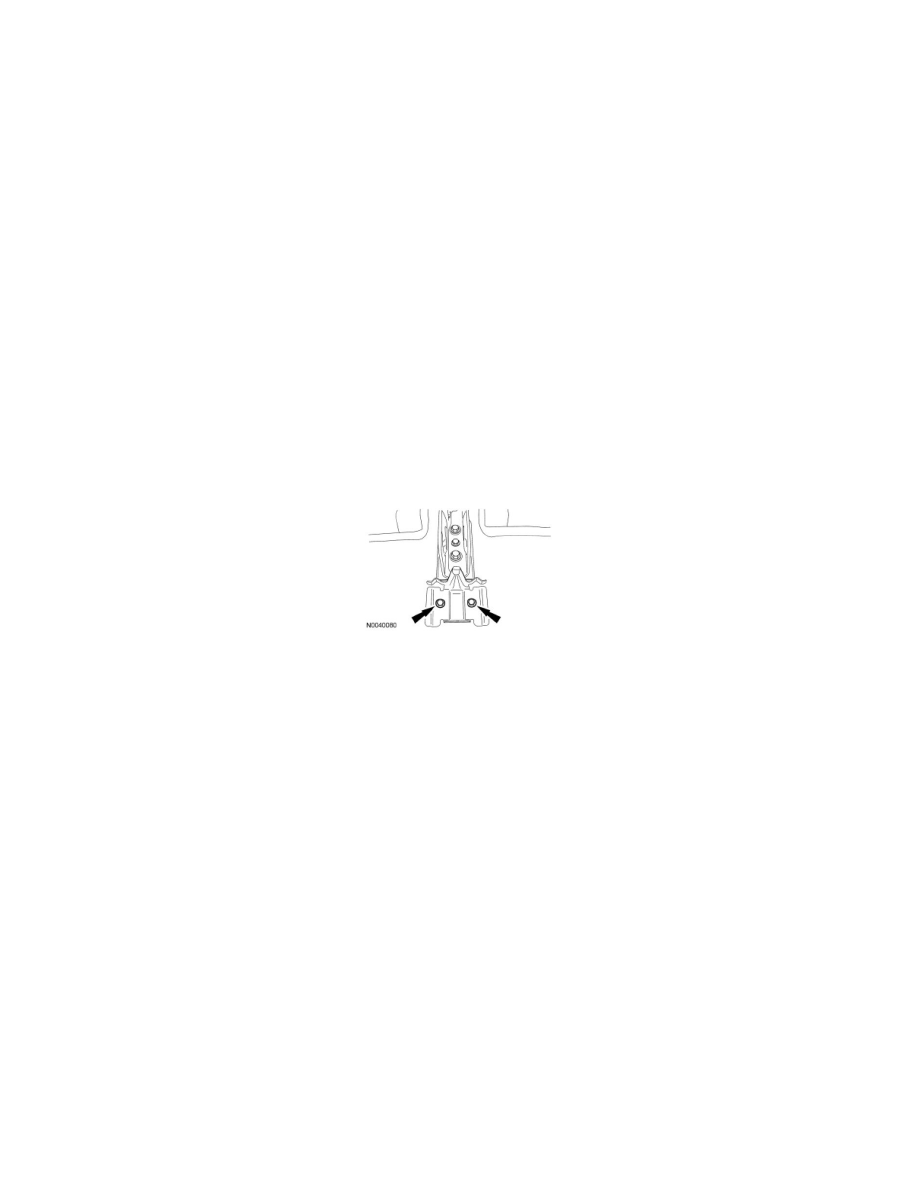
LH or RH latch
1. Position both of the third row seat backrests up.
2. Remove the RH latch-to-cushion frame bolt.
-
To install, tighten to 25 Nm (18 lb-ft).
LH latch
3. Remove the LH latch-to-cushion frame bolt.
-
To install, tighten to 25 Nm (18 lb-ft).
LH or RH latch
4. Position the third row seat LH backrest down.
5. Remove the vehicle jack.
6. Remove the 2 bolts and the vehicle jack mounting bracket.
7. Remove the 2 screws and the RH latch cover.
8. Separate the cable and casing from the RH latch.
9. NOTICE: Use care when separating the backrest trim cover from the hook-and-loop strip, or the hook-and-loop strip can be torn from
the backrest foam pad.
Release the RH seat backrest trim cover lower and inboard J-clips and roll the backrest trim cover up to access the 2 RH latch-to-backrest frame
bolts.
10. Remove the 2 RH latch-to-backrest frame bolts.
-
To install, tighten to 25 Nm (18 lb-ft).
11. Remove the floor mounting bracket center front and rear nuts.
-
To install, tighten to 40 Nm (30 lb-ft).
12. Remove the 2 latch-to-floor mounting bracket nuts.
-
To install, tighten to 22 Nm (16 lb-ft).
13. Remove the RH latch.
LH latch
14. Position the third row seat LH backrest up and the RH backrest down.
15. Remove the 2 screws and the LH latch cover.
16. Separate the cable and casing from the LH latch.