
Explorer Sport Trac 2WD V6-4.0L (2009)
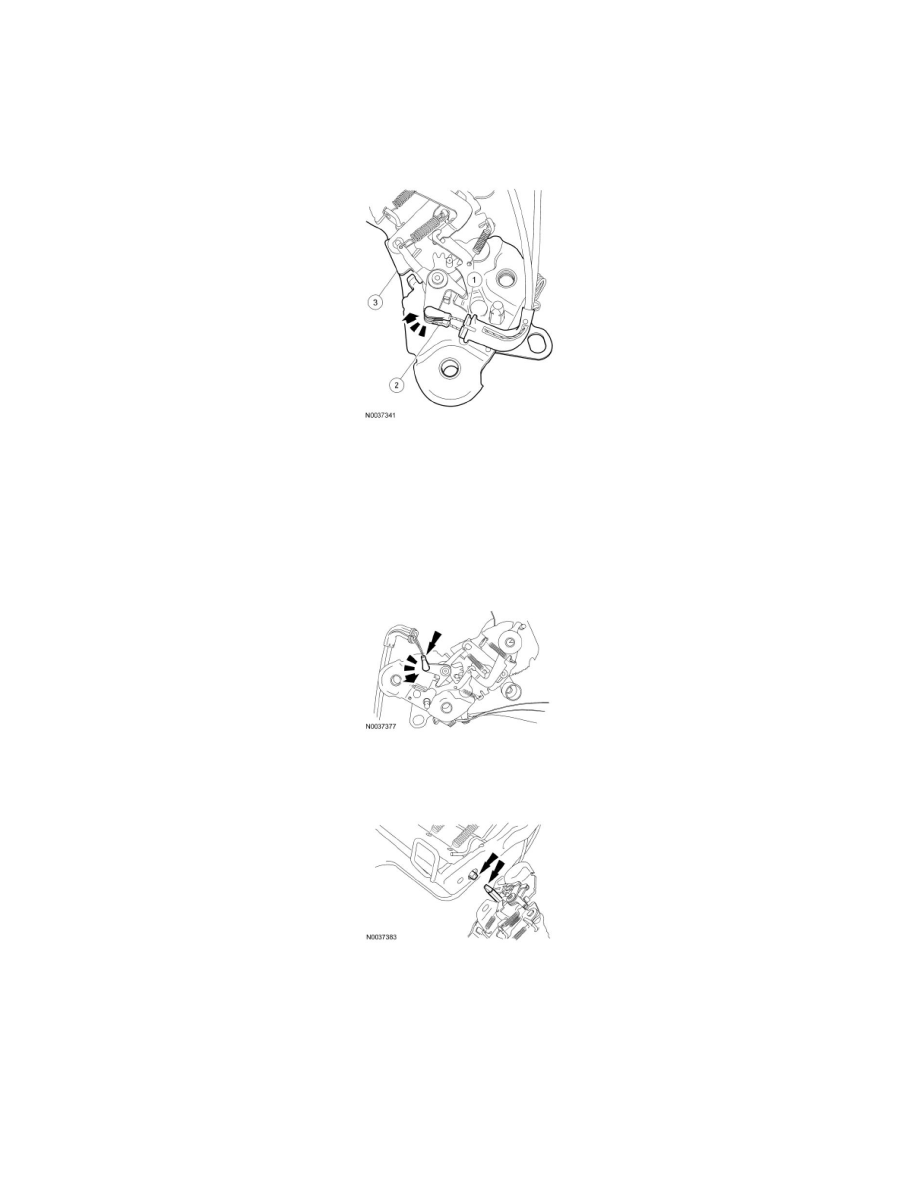
2. NOTE: The cable ends are color coded/keyed to the levers.
Rotate the cable ends out of the outboard recliner levers.
3. Remove the outboard recliner.
Installation
1. If necessary, position the recliner release shaft onto the inboard recliner release pivot stub.
2. NOTE: The cable ends are color coded/keyed to the levers.
Position each keyed cable end to the outboard recliner lever and rotate into position.
-
Install the cable casing to the outboard recliner.
3. Install the outboard recliner inner cover.
4. Position the outboard recliner release pivot stub into the recliner shaft.
5. Install the 2 outboard recliner-to-cushion frame bolts.
-
Tighten to 55 Nm (41 lb-ft).
6. Install the second row, 60 percent E-Z entry seat backrest. For additional information, refer to Seat Backrest - Second Row, 60 Percent, E-Z Entry
See: Second Row Seating/Seat Backrest/Seat Backrest - Second Row, 60 Percent, E-Z Entry.
7. Install the second row, 60 percent E-Z entry seat into the vehicle. For additional information, refer to Seat - Second Row, 60/40, E-Z Entry See:
Service and Repair/Second Row Seating/Seat - Second Row, 60/40, E-Z Entry.
8. Cycle the backrest down and then back to the upright position. Make sure the inboard and outboard recliners simultaneously and securely
lock in the upright position.