
Explorer Sport Trac 2WD V6-4.0L (2009)
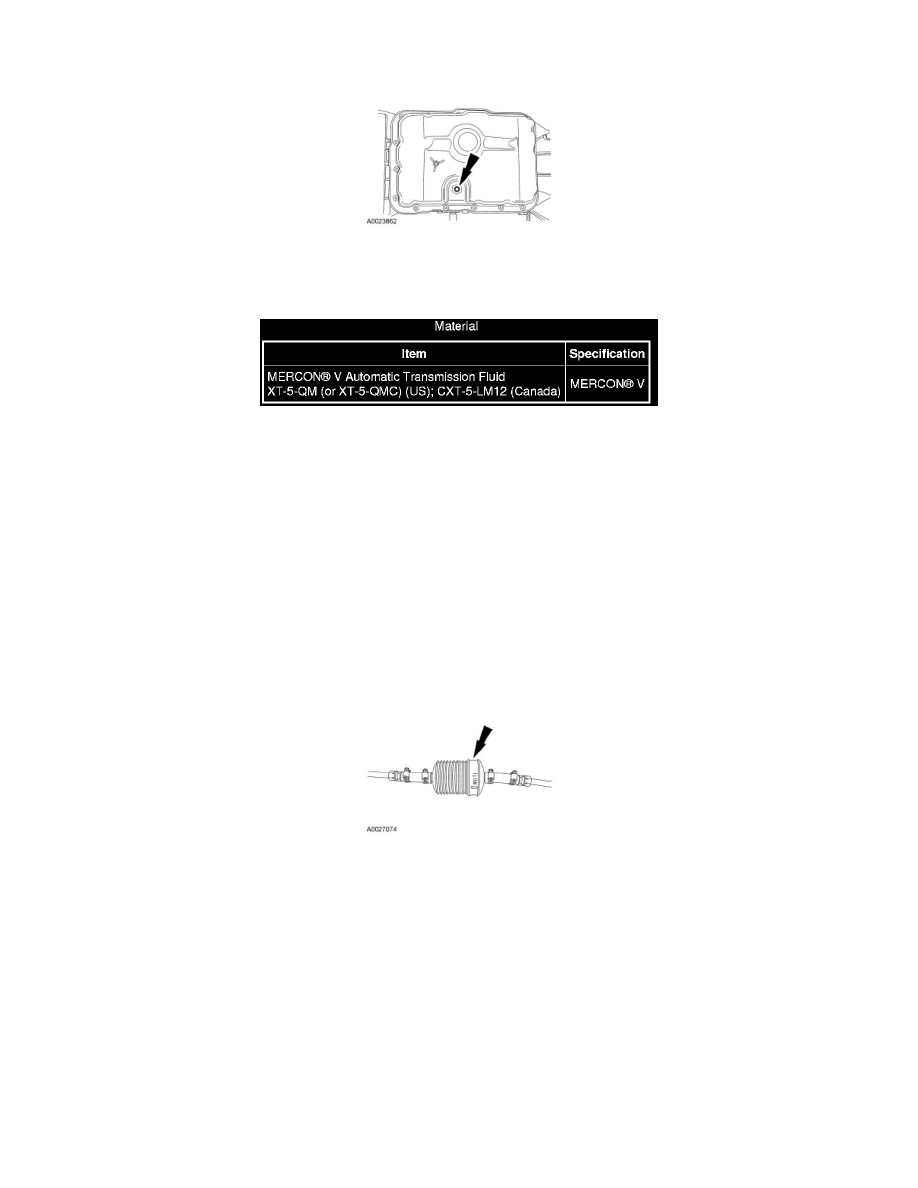
13. Reinstall the small (center) transmission fluid level indicating plug.
-
Tighten to 10 Nm (89 lb-in).
Transmission Fluid Cooler Backflushing and Cleaning
Transmission Fluid Cooler Backflushing and Cleaning
NOTICE: Whenever a transmission has been disassembled to install new parts or a new or remanufactured transmission has been installed, a
new transmission fluid cooler, either in-tank, auxiliary or Oil-To-Air (OTA), if equipped, will need to be installed. Failure to follow these
instructions may result in transmission failure.
NOTICE: Do not use water-based cleaners, mineral spirits, brake cleaner or solvents that may contain acetone, xylene or heptane to clean
and/or flush the transmission assembly, transmission components and the torque converter or transmission damage will occur. Use only
transmission fluid designated for the transmission/converter being serviced.
When internal wear or damage has occurred in the transmission, metal particles, clutch plate material or band material may have been carried
into the transmission fluid cooler. These contaminants are a major cause of recurring transmission concerns and must be removed from the
system before the transmission is put back in use.
1. Conduct backflushing with a suitable torque converter/transmission fluid cooler cleaner. Test the equipment to make sure that a vigorous fluid
flow is present before proceeding. Install a new system filter if flow is weak or contaminated.
2. Remove and discard the in-line transmission fluid filter, if equipped.
3. To aid in attaching the cleaner to the transmission steel cooler tubes, connect 2 additional rubber hoses to the transmission end of the steel
transmission cooler tubes as described.
-
Connect the cleaner tank pressure line to the steel transmission cooler return tube (longest tube).
-
Connect a tank return hose to the steel transmission cooler pressure tube (shorter tube). Place the outlet end of this hose in the solvent tank
reservoir.
4. Turn on the pump and allow the transmission fluid to circulate a minimum of 5 minutes (cycling switch on and off will help dislodge contaminants
in the cooler system).
5. Switch off the pump and disconnect the pressure hose from the transmission cooler return tube.
6. Use compressed air to blow out the cooler(s) and tubes (blow air into the transmission cooler return tube) until all the fluid is removed.
7. Remove the rubber return hose from the remaining steel cooler tube.