
Explorer Sport Trac 2WD V6-4.0L (2009)
NOTE: The Supplemental Restraint System (SRS) must be fully operational and free of faults before releasing the vehicle to the customer.
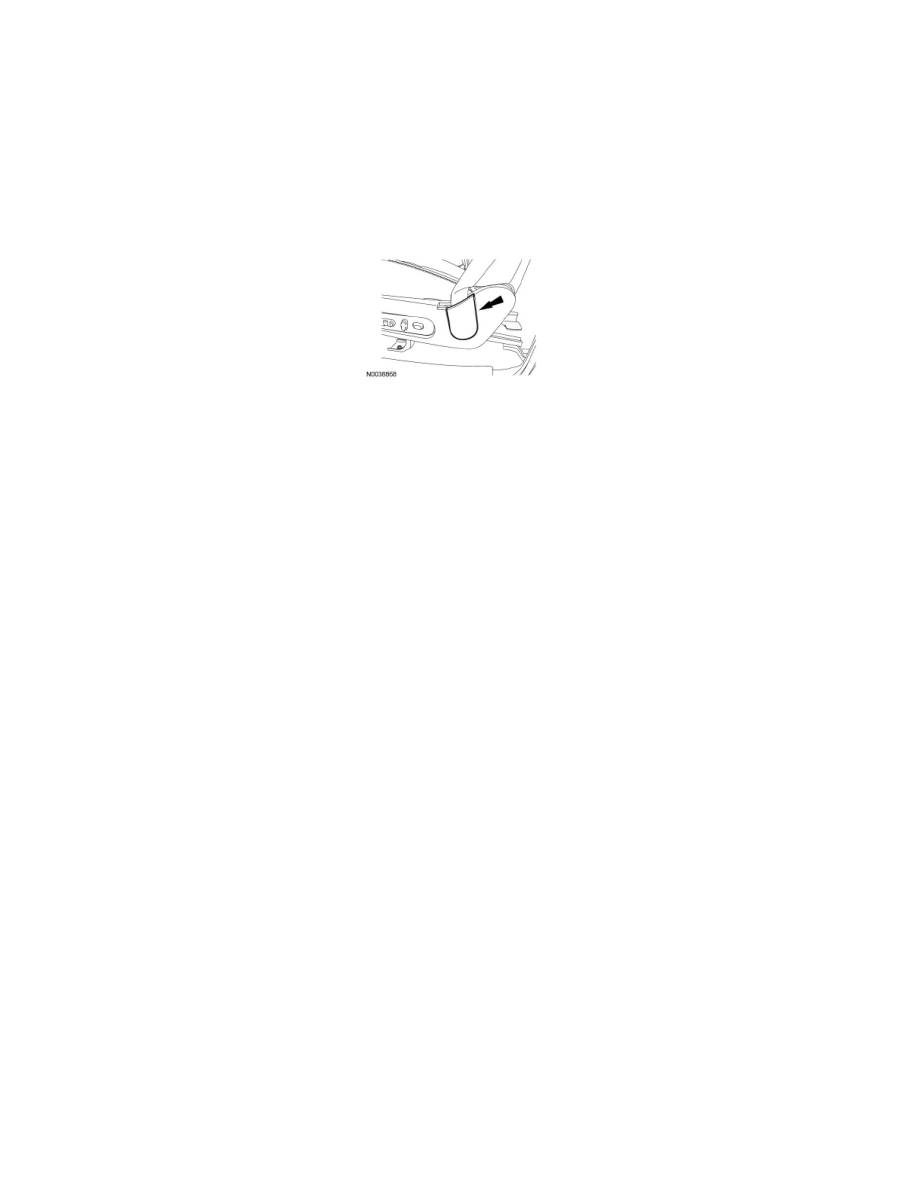
NOTE: LH shown, RH similar.
1. If equipped with power seats, position the passenger seat track downward to access the safety belt retractor anchor bolt.
2. Depower the Supplemental Restraint System (SRS). For additional information, refer to Supplemental Restraint System (SRS) Depowering and
Repowering in the General Procedures portion of Air Bag Systems.
3. Remove the safety belt anchor cover.
4. Remove the bolt and safety belt anchor.
-
To install, tighten to 40 Nm (30 lb-ft).
5. NOTE: If the D-ring cover is damaged or does not remain attached, install a new D-ring cover.
Remove the D-ring cover.
6. Remove the bolt and D-ring.
-
To install, tighten to 48 Nm (35 lb-ft).
7. Remove the lower B-pillar trim panel.
8. Remove the secondary safety belt guide.
9. Disconnect the electrical connector.
10. Remove the bolt and safety belt retractor.
-
To install, tighten to 40 Nm (30 lb-ft).
11. NOTE: Before installation, make sure the safety belt webbing is not twisted and the safety belts and buckles are accessible to the occupants.
To install, reverse the removal procedure.
12. Repower the SRS. For additional information, refer to Supplemental Restraint System (SRS) Depowering and
Repowering in the General Procedures portion of Air Bag Systems.
13. Check the active restraint system for correct operation. For additional information, refer to the appropriate Functional Test procedure in Safety
Belt System See: Testing and Inspection/Component Tests and General Diagnostics.