
Explorer Sport Trac 2WD V8-4.6L (2008)
Release the backrest trim cover lower J-clip, hook-and-loop strips and invert the trim cover to the first row of hog rings.
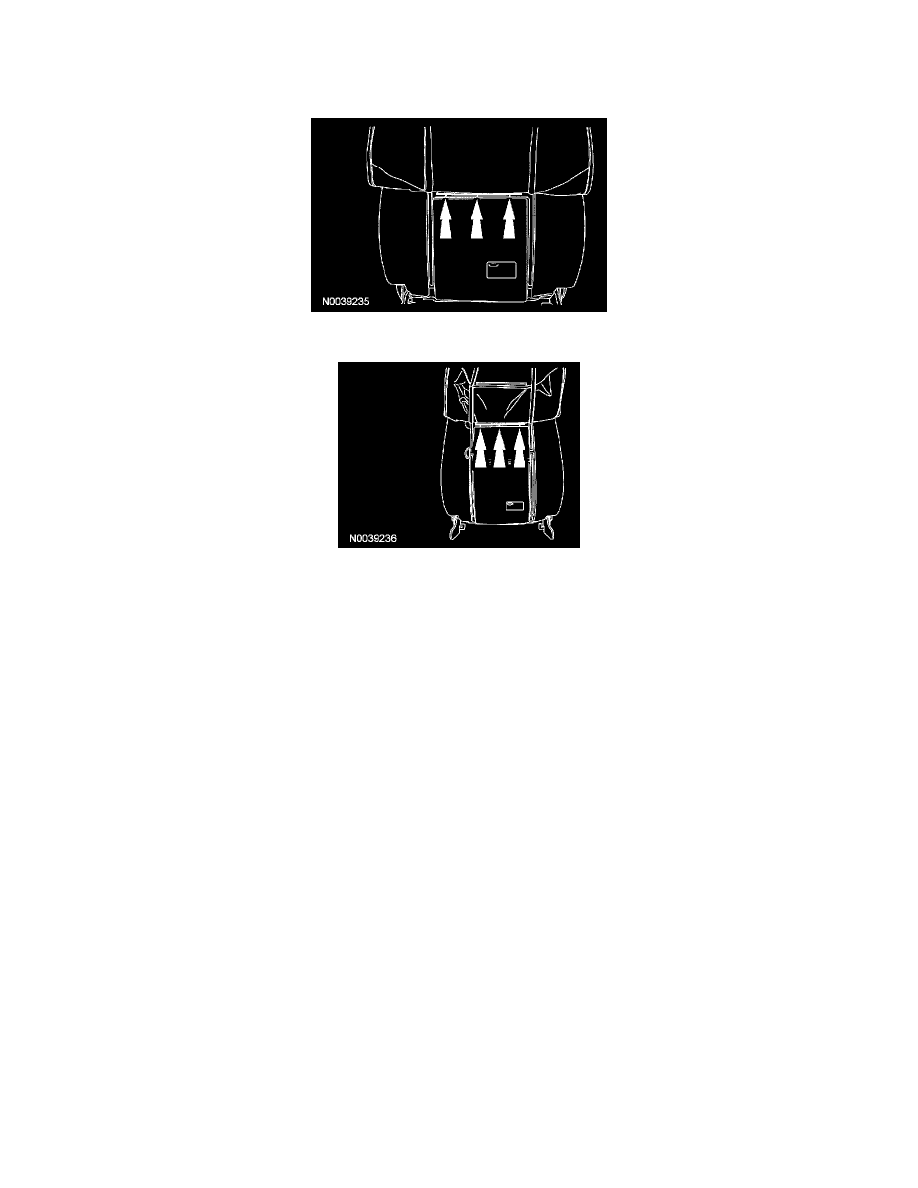
6. Remove the first row of hog rings.
7. Release the hook-and-loop strips, invert the trim cover and remove the second row of hog rings.
8. NOTE: The head restraint guides are not interchangeable. Note location for installation.
Reach up into the backrest and squeeze the head restraint guide ends together to release. Pull the 2 head restraint guides out of the backrest frame.
9. Remove the backrest trim cover.
Heated seat
10. For power driver seat, disconnect the backrest heated seat mat electrical connector.
-
If necessary, remove the backrest heated seat mat from the backrest foam pad.
All seats
11. Separate the backrest foam pad from the backrest frame.
12. NOTE: Note the side air bag module wire harness routing for assembly.
Release the side air bag module wire harness pin-type retainers, remove the bolts and the side air bag module with wire harness.
Seat with manual lumbar
13. Release the 2 manual lumbar spring clips from the backrest frame and remove the manual lumbar.
Seat with power lumbar
14. Remove the power lumbar adjust assembly in the following sequence.
1
Disconnect the power lumbar adjust assembly motor electrical connector.
2
Release the 2 power lumbar adjust assembly lower pin-type retainers to the backrest frame.
3
Slide the power lumbar adjust assembly rods out of the backrest frame at the top and remove the power lumbar adjust assembly.
Seat with power recline
15. Remove a one-way push clip from the recliner shaft and remove the recliner shaft.
16. Disconnect the electrical connector, remove the screw and the power recline motor.
Assembly
Seat with power recline