
Explorer Sport Trac 2WD V8-4.6L (2008)
-
Automatic locking retractor (ALR) feature for child safety seats (passenger seating positions only)
If any safety belt assembly is damaged, does not operate correctly or does not pass all of the Functional Tests in the Diagnosis and Testing portion, a new
safety belt assembly must be installed. If any safety belt assembly attaching areas are damaged or distorted, the sheet metal must be restored to its
original structural integrity and new safety belt assembly and attaching hardware must be installed. Failure to install new safety belt assemblies and
attaching hardware may increase the risk of serious personal injury or death in a crash.
After any crash that results in deployment of the driver and/or front outboard passenger safety belt pretensioners, new driver and/or front outboard
passenger safety belt systems (including retractors, buckles and height adjusters) must be installed. Failure to install new safety belt systems increases the
risk of serious personal injury or death in a crash.
NOTE:
-
The air bag warning indicator illuminates when the restraint control module (RCM) fuse is removed and the ignition switch is ON. This is normal
operation and does not indicate a supplemental restraint system (SRS) fault.
-
The SRS must be fully operational and free of faults before releasing the vehicle to the customer.
-
Repair is made by installing a new part only. If the new part does not correct the condition, install the original part and carry out the diagnostic
procedure again.
-
LH shown, RH similar.
1. If equipped with power seats, position the passenger seat track downward to access the safety belt retractor anchor bolt.
2. Depower the SRS.
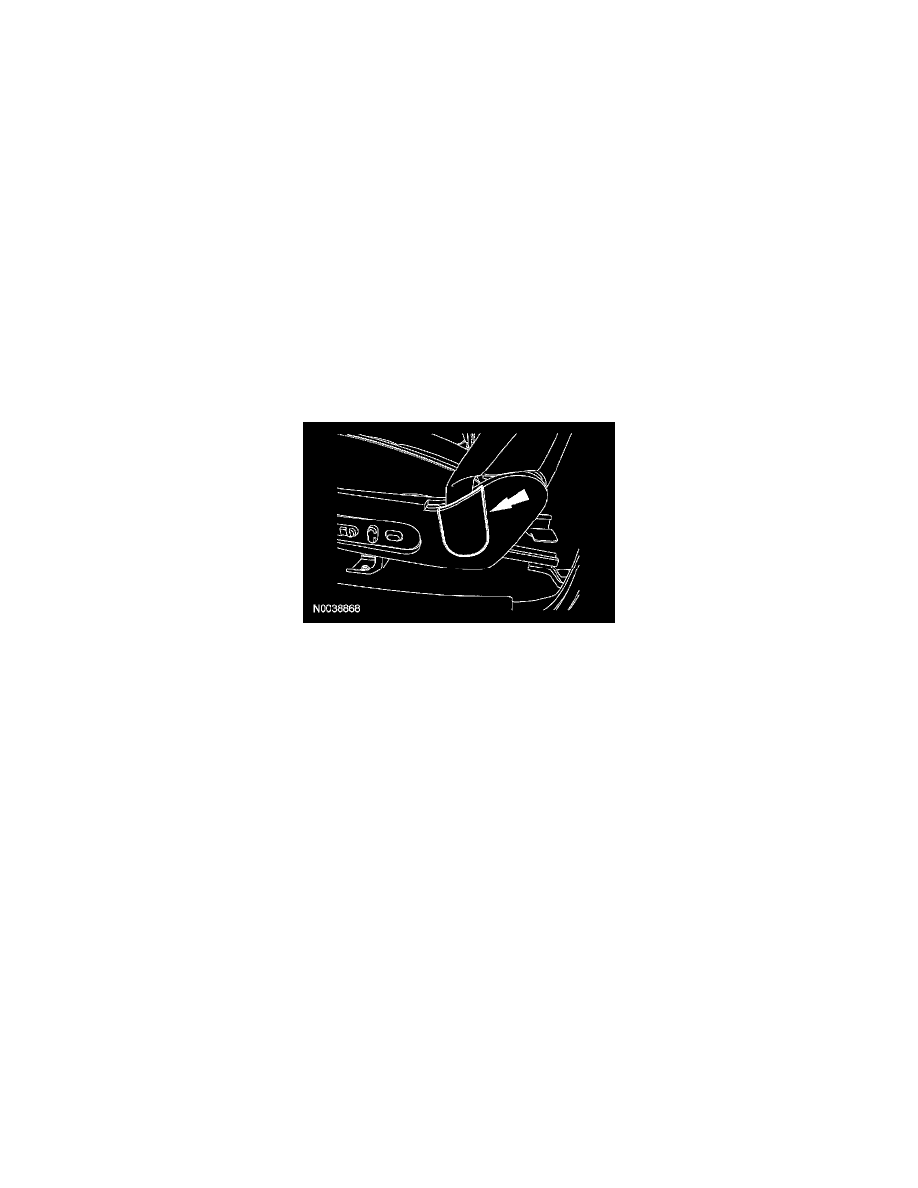
3. Remove the safety belt anchor cover from the side of the seat.
4. Remove the bolt and safety belt anchor.
-
To install, tighten to 40 Nm (30 lb-ft).
5. NOTE: If the D-ring cover is damaged or does not remain attached, install a new D-ring cover.
Remove the D-ring cover.
6. Remove the bolt and D-ring.
-
To install, tighten to 48 Nm (35 lb-ft).
7. Remove the upper and lower B-pillar trim panels.
8. Remove the secondary safety belt guide.
9. Disconnect the electrical connector.
10. Remove the bolt and safety belt retractor.
-
To install, tighten to 40 Nm (30 lb-ft).
11. To install, reverse the removal procedure.
12. Repower the SRS.
13. Check the active restraint system for correct operation.