
Explorer Sport Trac 4WD V6-4.0L VIN E (2007)
All seats
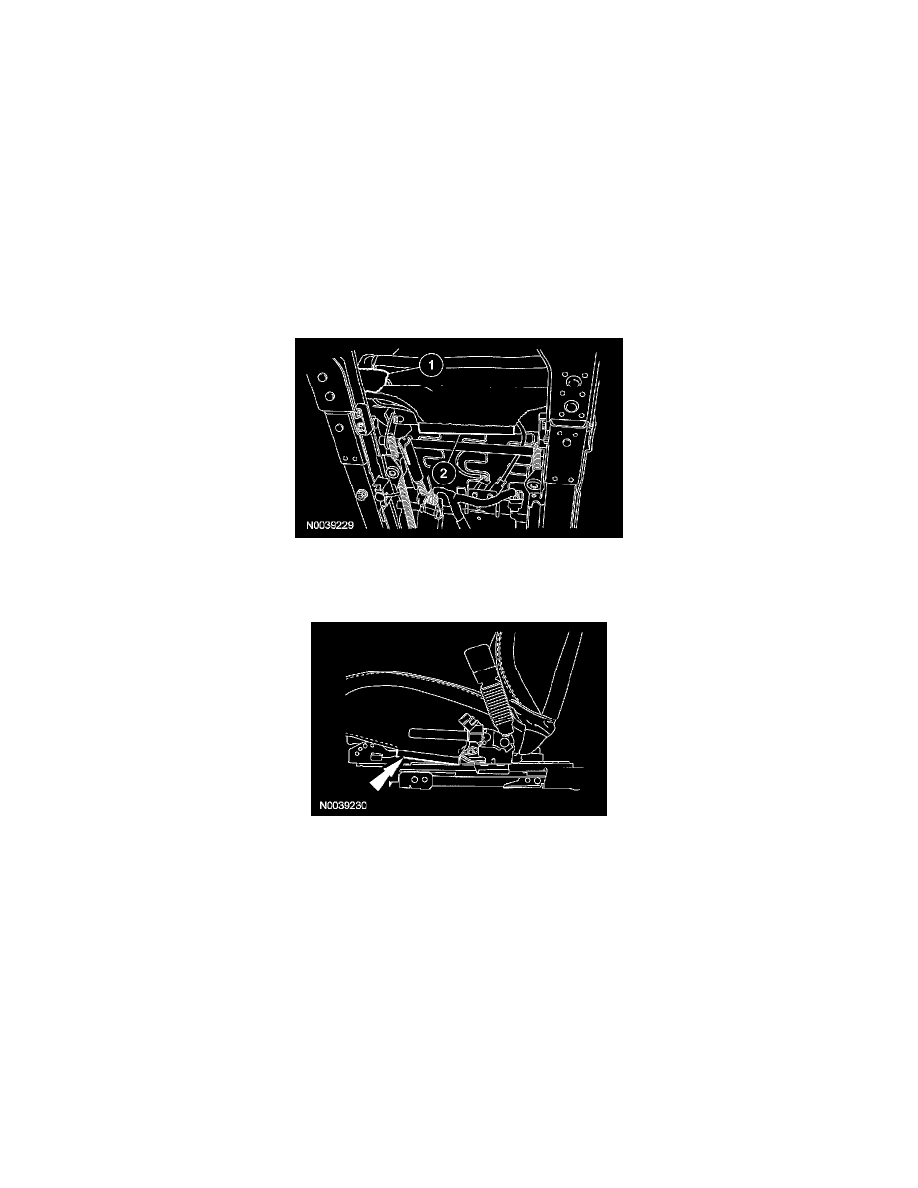
1. Remove the front seat and depower the supplemental restraint system (SRS).
2. Remove the cushion side shield.
1. If equipped, remove the clip and manual recline handle.
2. If equipped, pull and remove the manual lumbar control knob.
-
Make sure the lumbar is completely relaxed before removing the handle.
3. Remove the scrivet.
4. Release the cushion side shield front clip.
5. From under the cushion side shield, release the 3 hook retainers.
6. Pull out on the cushion side shield at the back and release the pin-type retainer.
7. Separate the cushion trim cover elastic strap from the cushion side shield.
-
If equipped with a manual seat track, remove the cushion side shield.
8. If equipped with power seats, remove the seat control switch knob and separate the seat control switch from the cushion side shield.
-
Remove the cushion side shield.
3. Release the cushion trim cover rear J-clips.
1. Release the cushion trim cover rear inboard J-clip from the inboard recliner.
2. For a driver seat or passenger seat equipped with heat, release the cushion trim cover rear J-clips.
4. Release the cushion trim cover inboard J-clip.
5. Remove the safety belt buckle and pretensioner electrical connector cover.
6. Remove the 2 safety belt buckle and pretensioner nuts.
-
To install, tighten to 36 Nm (27 lb-ft).
7. Disconnect the safety belt buckle and pretensioner electrical connector and safety belt buckle switch electrical connector.
-
Remove the safety belt buckle and pretensioner.
Seat with manual lumbar
8. Release the cushion trim cover front J-clip. Raise the cushion foam pad and release the lumbar cable pin-type retainer.
9. Remove the 2 screws and separate the manual lumbar control from the cushion frame.
10. Remove the cable from the manual lumbar control.
Driver seat with power recline