
Explorer Sport Trac 4WD V8-4.6L (2008)
-
Tighten to 25 Nm (18 lb-ft).
4. Move the seat to the forward most position.
-
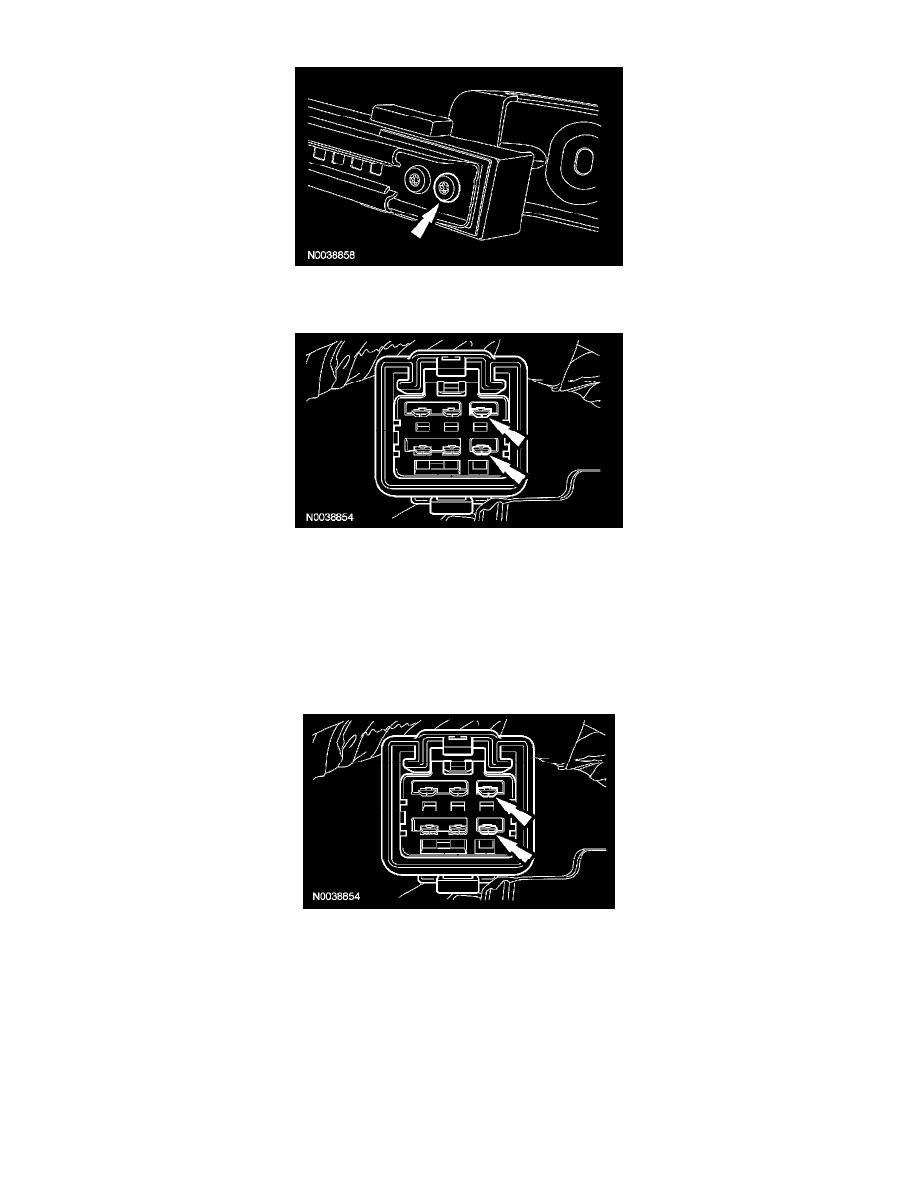
If equipped with a power seat track, apply power and ground to the pins shown.
5. Install the 2 rear OCS rail bolts.
-
Tighten to 25 Nm (18 lb-ft).
6. NOTE: Make sure to route the OCS rail wiring and install the 2 wiring retainers as noted during removal.
Connect the OCS rail electrical connector. Then route the OCS rail wiring and attach the 2 wiring retainers.
7. Center the seat track to the seat cushion frame.
-
If equipped with a power seat track, apply power and ground to the pins shown.
8. If equipped, connect the power seat track motor electrical connector.
9. Install the passenger seat. Do not prove out the SRS at this time.
10. Carry out the appropriate procedure after installation of an OCS system component.
-
If installing the original OCS system, carry out the Occupant Classification Sensor (OCS) System Zero Seat Weight Test and prove out the
SRS. See: Restraint Systems/Air Bag Systems/Testing and Inspection/Component Tests and General Diagnostics/Occupant Classification
Sensor (OCS) System Zero Seat Weight Test
-
If installing a new OCS system, carry out the Occupant Classification Sensor (OCS) System Reset procedure and prove out the SRS. See:
Restraint Systems/Air Bag Systems/Service and Repair/Occupant Classification Sensor (OCS) System Reset