
Explorer Sport Trac 4WD V8-4.6L VIN 8 (2007)
2. Remove all the staples holding the backrest trim cover to the backrest support panel.
3. Invert the seat backrest trim cover and foam pad to access the latch cover screws.
4. Remove the 4 screws and the 2 covers. Detach the seat backrest material attachment from both of the latch covers.
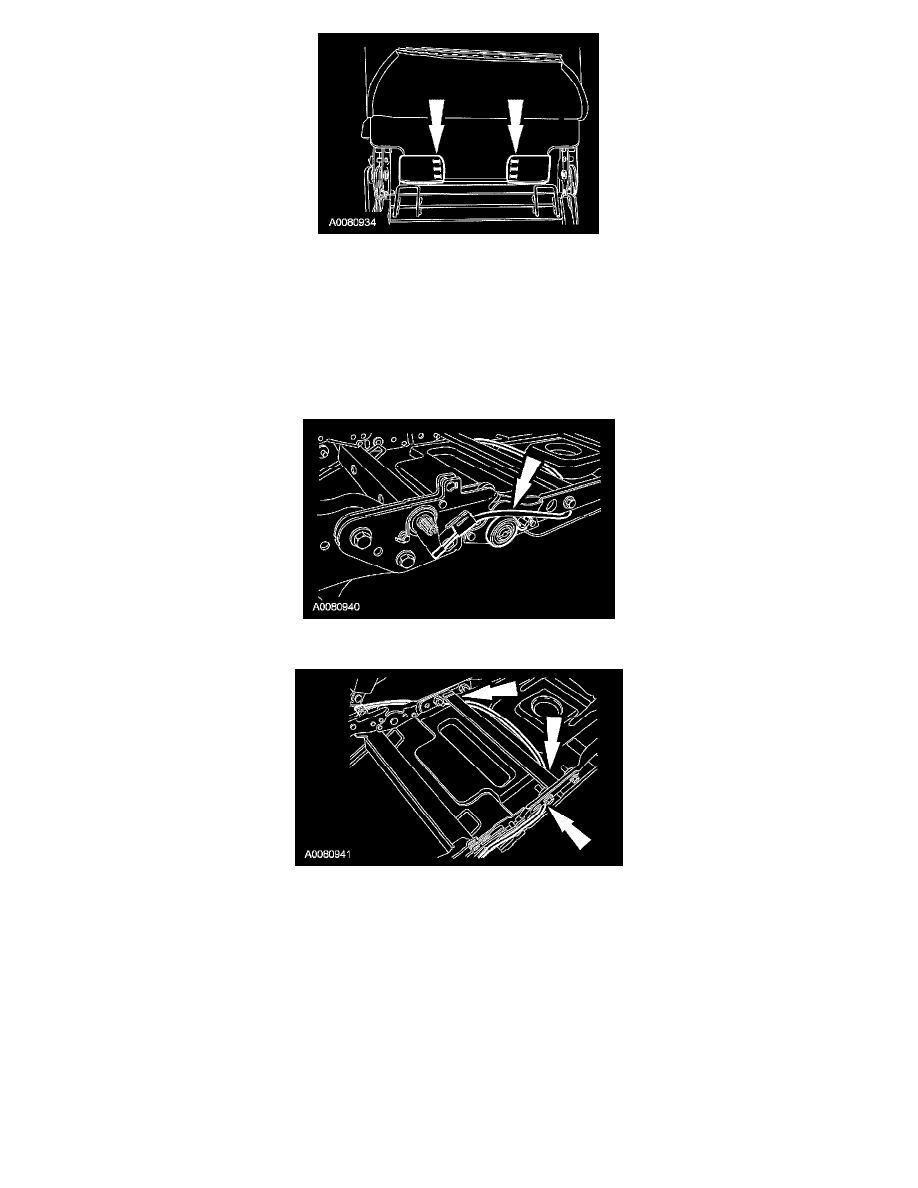
5. Remove the 2 backrest support panel lower screws and detach the latch cable. Position the cable out from between the backrest frame and backrest
support panel.
6. Remove the 4 backrest pivot bolts.
7. Remove the 40 percent backrest.
Installation
1. Position the backrest to the latch. The cable is to be routed in front of the spring.
2. CAUTION: The cable is to move freely after assembly.
NOTE: When installing the backrest to the cushion, make sure the latch cover does not come in contact with the latch cable conduit or end fitting.
The cable is to pass between the backrest frame and the backrest support at the 2 points shown.
3. Install the 4 backrest pivot bolts.
-
Tighten to 40 Nm (30 lb-ft).
4. Install the 2 backrest support panel lower screws.
5. CAUTION: When installing the backrest to the cushion, make sure the latch cover does not come in contact with the latch cable conduit
or end fitting.
Position the 2 covers and install the 4 screws. Attach the material attachments to both of the latch covers.