Explorer Sport Trac 4WD V8-4.6L VIN 8 (2007)

-
Repair is made by installing a new part only. If the new part does not correct the condition, install the original part and carry out the diagnostic
procedure again.
-
Driver seat side air bag module shown, passenger side similar.
1. Remove the front seat and depower the system.
2. Remove the seat backrest.
3. NOTE: RH shown, LH similar.
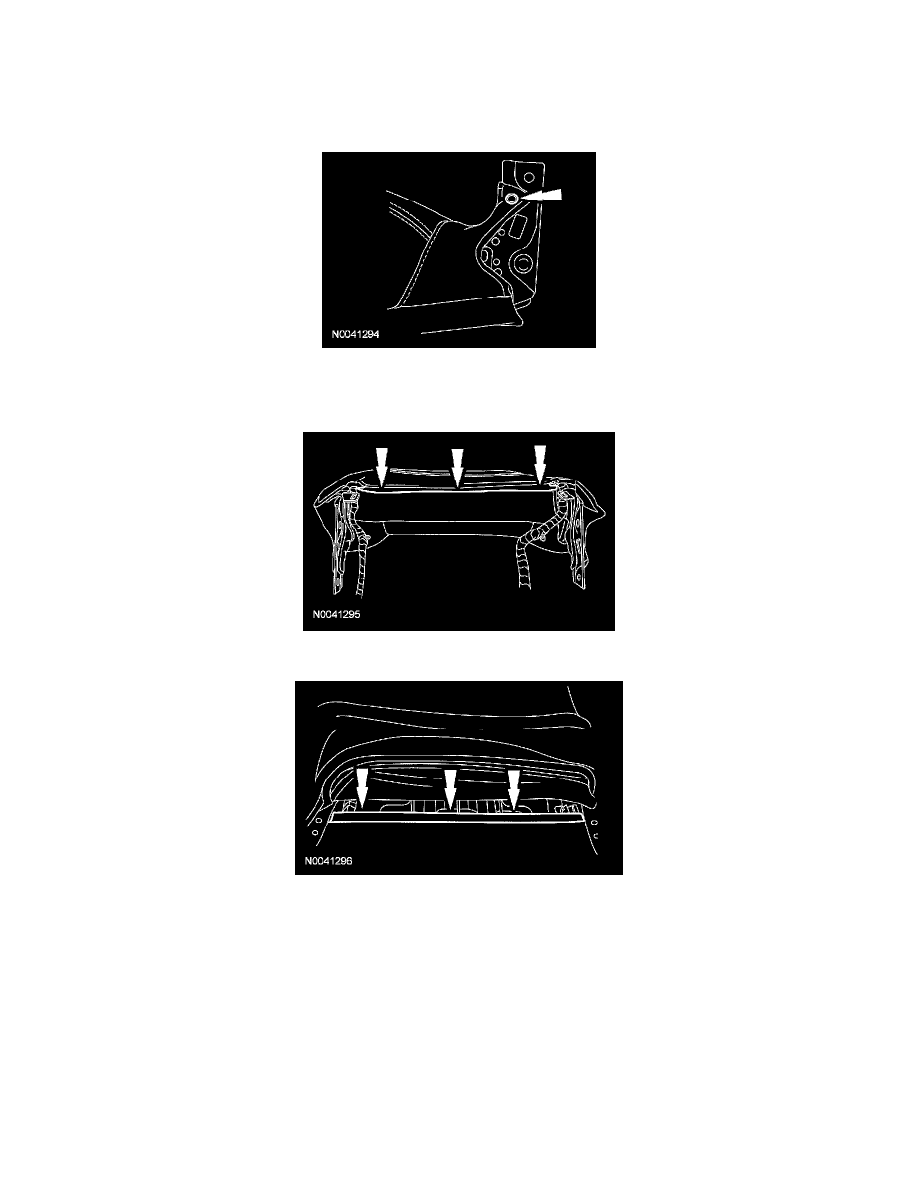
Remove the 2 plastic rivets attaching the backrest trim cover to the inboard and outboard recliners on the seat backrest frame.
4. Release the seat back lower outer trim cover J-clip.
5. Release the seat back lower inner trim cover J-clip.
6. WARNING: Front seat back trim covers installed on seats equipped with side air bags cannot be repaired; they are to be installed new
(cleaning is permissible).
CAUTION: Use care when separating the seat cushion trim cover from the hook-and-loop strip. The hook-and-loop strip can be torn
from the seat cushion foam.
Place a hand between the seat backrest trim cover and foam pad and carefully separate the hook-and-loop strips, then carefully roll up the seat
back trim cover in an inside out fashion to the first row of hog rings in the front.
