
F 150 2WD V8-4.6L (2008)
Harley Davidson (Part 2)
Removal
1. With the vehicle in NEUTRAL, position it on a hoist. For additional information, refer to Maintenance/Service and Repair.
2. Loosen the exhaust Y-pipe - dual catalytic converter-to-exhaust intermediate pipe coupling. Slide the coupling onto the intermediate pipe.
3. NOTE: If a new exhaust intermediate pipe-to-muffler assembly Torca(R) clamp is required, a new exhaust intermediate pipe and Torca(R) clamp
assembly must be installed.
Loosen the exhaust intermediate pipe-to-muffler and tailpipe Torca(R) clamp and remove the exhaust intermediate pipe from the vehicle.
Installation
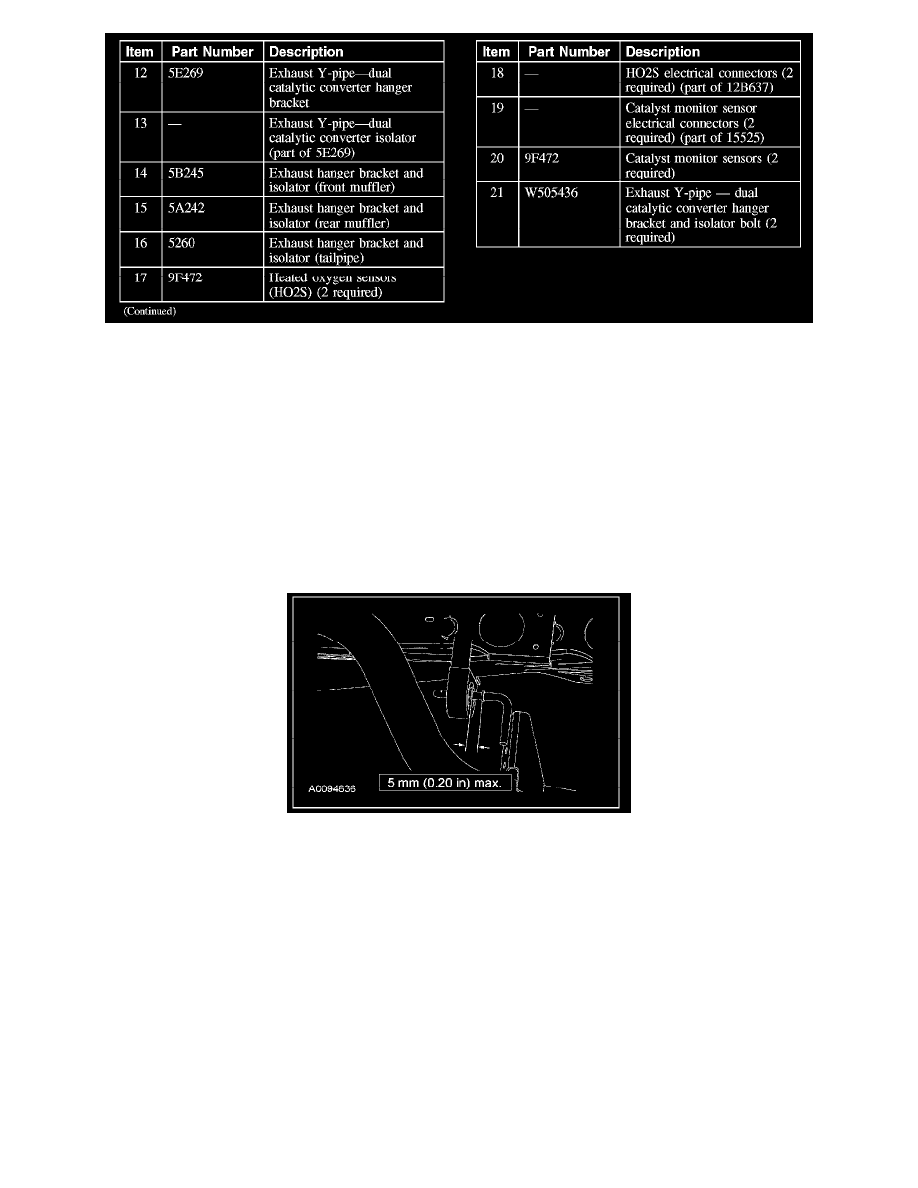
1. Position the exhaust intermediate pipe and Torca(R) clamp assembly to the muffler and tailpipe.
2. Push the muffler and tailpipe assembly forward until the collar on the tailpipe hanger bracket is touching the isolator.
3. NOTE: Using an abrasive pad, clean the exhaust clamp surface area of any surface rust.
NOTE: If a new exhaust intermediate pipe-to-muffler assembly Torca(R) clamp is required, a new exhaust intermediate pipe and Torca(R) clamp
assembly must be installed.
Make sure the button on the muffler and tailpipe assembly inlet pipe is fully inserted into the L-notch on the exhaust intermediate pipe.