
F 150 2WD Pickup V6-4.2L VIN 2 (1997)
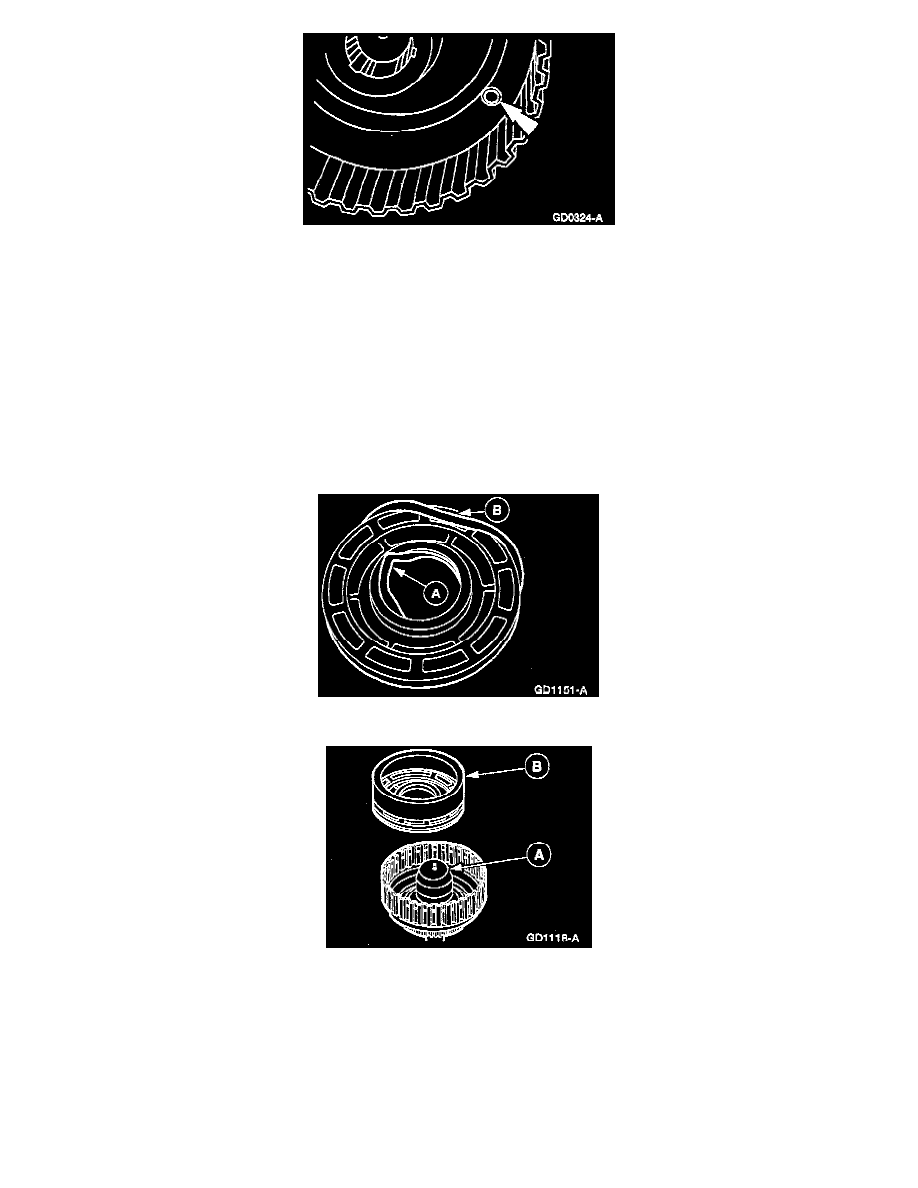
16. Make sure the check ball in the clutch cylinder is free and clean. Check for proper seating.
ASSEMBLY
1. Inspect clutch cylinder thrust surfaces, piston bore and clutch plate serrations for scores or burrs. Minor scores or burrs may be removed with
crocus cloth. Replace clutch cylinder if badly scored or damaged.
2. Check fluid passage in clutch cylinder for obstructions. Clean out all fluid passages. Inspect clutch piston for scores and replace if necessary.
Inspect check balls for freedom of movement and proper seating.
3. Check clutch release spring for distortion and cracks. Replace spring (including wave spring) if distorted or cracked.
4. Inspect composition clutch plates, steel clutch plates and clutch pressure plate for worn or scored bearing surfaces. Replace all parts that are
deeply scored or burred.
5. Check clutch plates for flatness and fit on clutch hub serrations. Discard any plate that does not slide freely on serrations or that is not flat.
6. Check clutch hub thrust surfaces for scores and clutch hub splines for wear.
NOTE: To aid handling, the forward clutch assembly may be set in the extension housing or a hole in the work bench.
7. Install the (A) inner and (B) outer forward clutch piston seals. Note the direction of the sealing rings before installation.
8. Position (A) Forward Clutch Lip Seal Protector (Inner) T80L-77140-A on the clutch cylinder hub and (B) Forward Clutch Lip Seal Protector
(Outer) T68P-7D158-AZ on the clutch piston.
NOTE: Coat the piston seals and clutch drum sealing area with petroleum jelly.