
F 150 2WD Pickup V8-351 5.8L (1986)
7.
While keeping canister level, so as not to dislodge O-ring, position canister to bottom of reservoir housing and tighten loosely by hand. It may be
necessary to loosen reservoir-to-frame mounting bolts to access the canister. Using a flexible strap type oil filter wrench, complete filter canister
tightening by turning canister about one-sixth of a turn past initial O-ring compression.
NOTE:
The rubber grommet on the filter will automatically seat on the piloted stud of the upper housing as the canister is tightened.
REMINDER:
If reservoir-to-frame mounting bolts were loosened in above step, re-tighten.
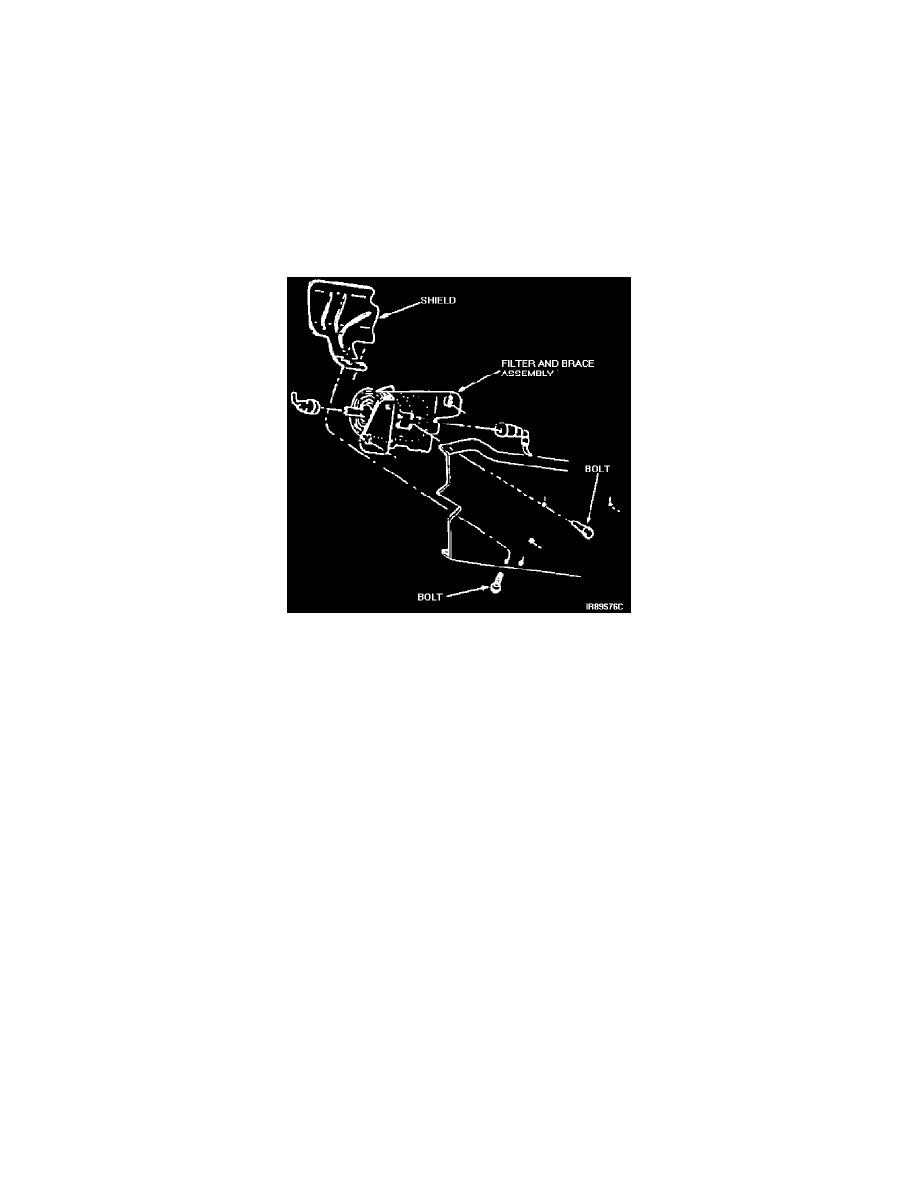
Fuel Line Replacement
CAUTION
Fuel lines may still contain fuel. Use caution when disconnecting.
1.
Refer to Figure 3. Remove the three bolts holding the fuel filter bracket to the frame. Retain one bolt for subsequent use.
2.
Disconnect "Push Connect" fitting at the high pressure pump outlet nipple by removing hairpin clip and twisting the line while pulling on it.
3.
Using a 16 mm wrench for the fitting and a 14 mm wrench (on the boss of the fuel pump) for backup, unscrew outlet nipple from the front of the
high pressure fuel pump. Discard nipple and copper sealing washer.
4.
Install new copper washer (E6TZ-9374-A) on the new fuel pump nipple (E6TZ-9416-A). Screw this new nipple into the pump. Torque to 12-16
N.m (9-12 lbs.ft.), while keeping a 14 mm wrench (on the boss of the fuel pump) for backup.
5.
Select the appropriate new fuel line as per "Parts Ordering Information".