
F 150 2WD Pickup V8-4.6L CNG SOHC VIN 9 (1997)
allowing fluid to be released into the waste container, closing the wheel cylinder bleeder screw and releasing the brake pedal to its full upright
position.
NOTE: When any part of the hydraulic system has been disconnected for repair or replacement, air may get into the system arid cause spongy brake
pedal action. This requires the bleeding of the hydraulic system after it has been properly connected. The hydraulic system can be bled manually
or with pressure bleeding equipment Brake Bleeder.
NOTE: Performing the New Generation Star tester (NGS) program routine drives entrapped air from the otherwise inaccessible lower section of the
4WABS valve into the upper sections (accessible by bleeding the brakes). Subsequent bleedings remove the air from the system.
NOTE: Add recommended brake fluid as necessary throughout the procedure.
Wheel Cylinder Bleeder Screw
1. Connect a clear waste line to the RH rear wheel cylinder bleeder screw and the other end in a container partially filled with recommended brake
fluid.
2. With the RH rear wheel cylinder bleeder screw open, cycle the brake pedal until no more air is seen in the waste line.
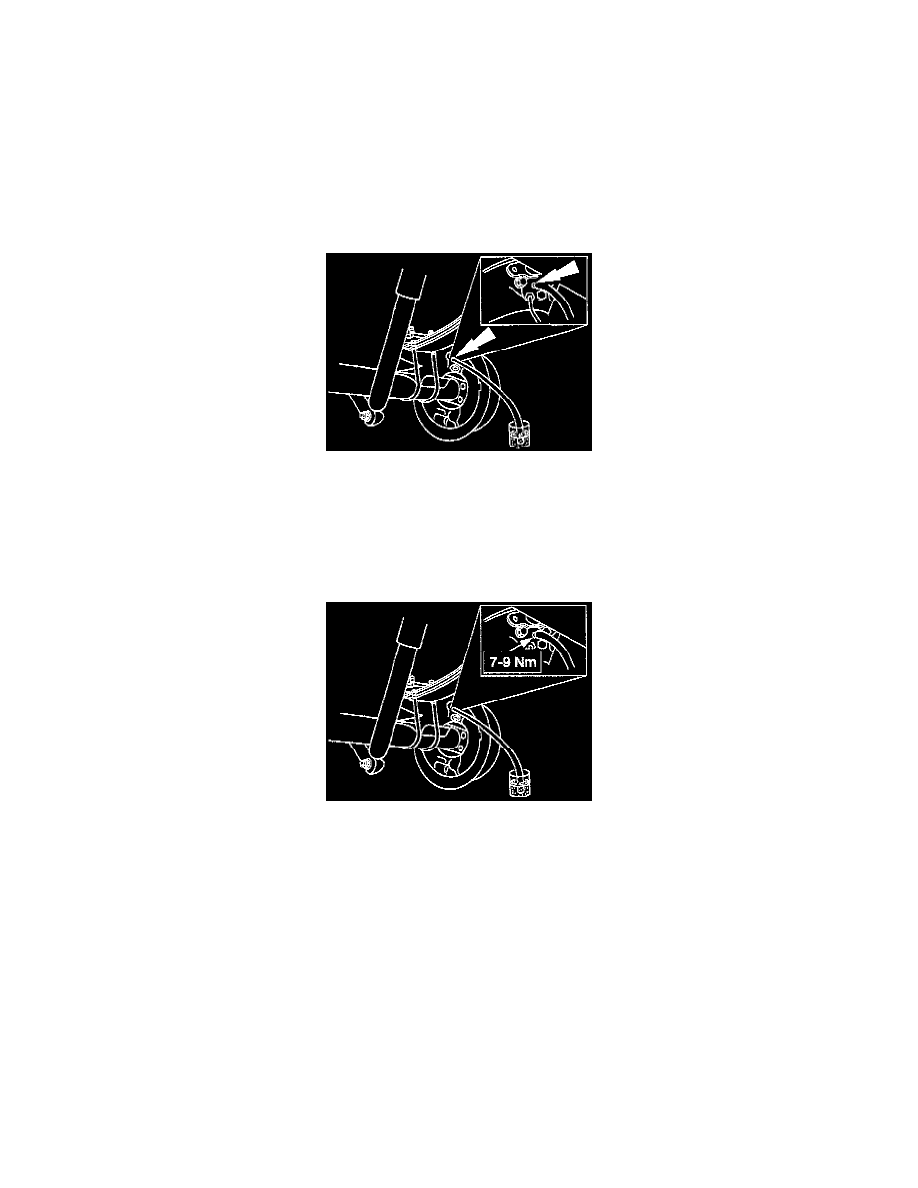
Wheel Cylinder Bleeder Screws Torque Specifications
3. Close the RH rear wheel cylinder bleeder screw and disconnect the waste line.
4. Repeat steps 1, 2, and 3 for the LH rear wheel cylinder bleeder screw, RH front disc brake caliper bleeder screw, and the LH front disc brake
caliper breeder screw.