
F 150 2WD Pickup V8-4.6L CNG SOHC VIN 9 (1997)
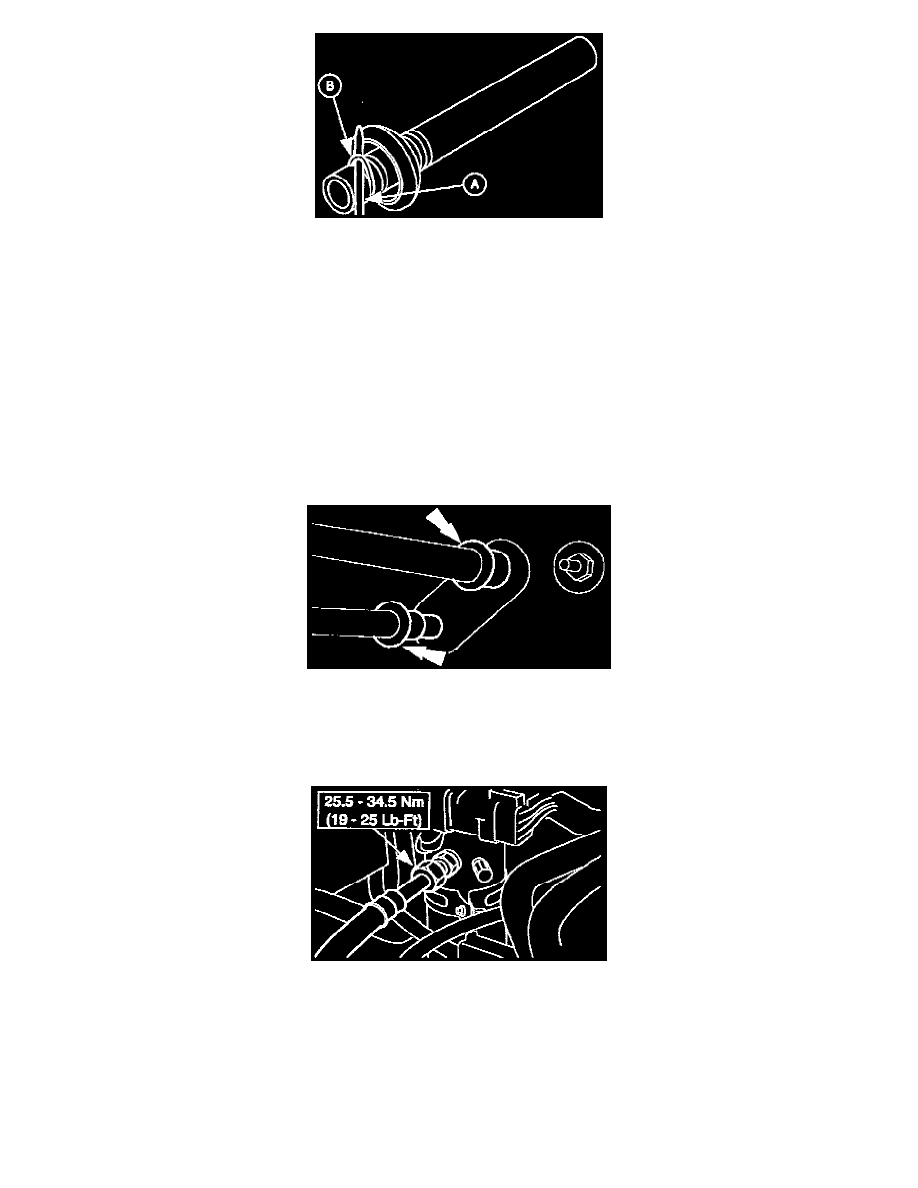
9. Use the (A) Plastic O-Ring Tool supplied in O-ring kit or equivalent to remove the (B) O-ring seals from the male fitting.
NOTE: Do not use metal O-ring tools. They can cause axial scratches across the O-ring grooves, resulting in refrigerant leakage.
10. Install the O-ring seals.
Lubricate new O-ring seals.
^
Use YN-12b Compressor Oil F2AZ-19577-AC or equivalent meeting Ford specification WSH-M1C231-B to lubricate seals.
NOTE: Use only specified O-ring seals. Use of any O-ring seal other than the one specified may allow the connection to leak intermittently
during vehicle operation.
11. Lubricate the male fitting and O-ring seals and the inside of the female fining.
^
Use YN-12b Compressor Oil F2AZ-19577-AC or equivalent meeting Ford specification WSH-M1C231-B.
12. Install a plastic indicator ring into cage opening if an indicator ring is to be used.
13. Fit the female fitting to the male fitting and push with a twisting motion until the garter spring snaps over the flared end of the female fitting.
NOTE: If a plastic indicator ring is used it will snap out of the cage opening when the coupling is connected to indicate engagement.
14. If an indicator ring is not used, check the coupling engagement by making sure the garter spring is over the flared end of the fitting.
15. Connect the manifold tube fitting.