
F 150 2WD Pickup V8-4.6L SOHC VIN W (1998)
Tires: Service and Repair
REMOVAL
1. Loosen the lug nuts.
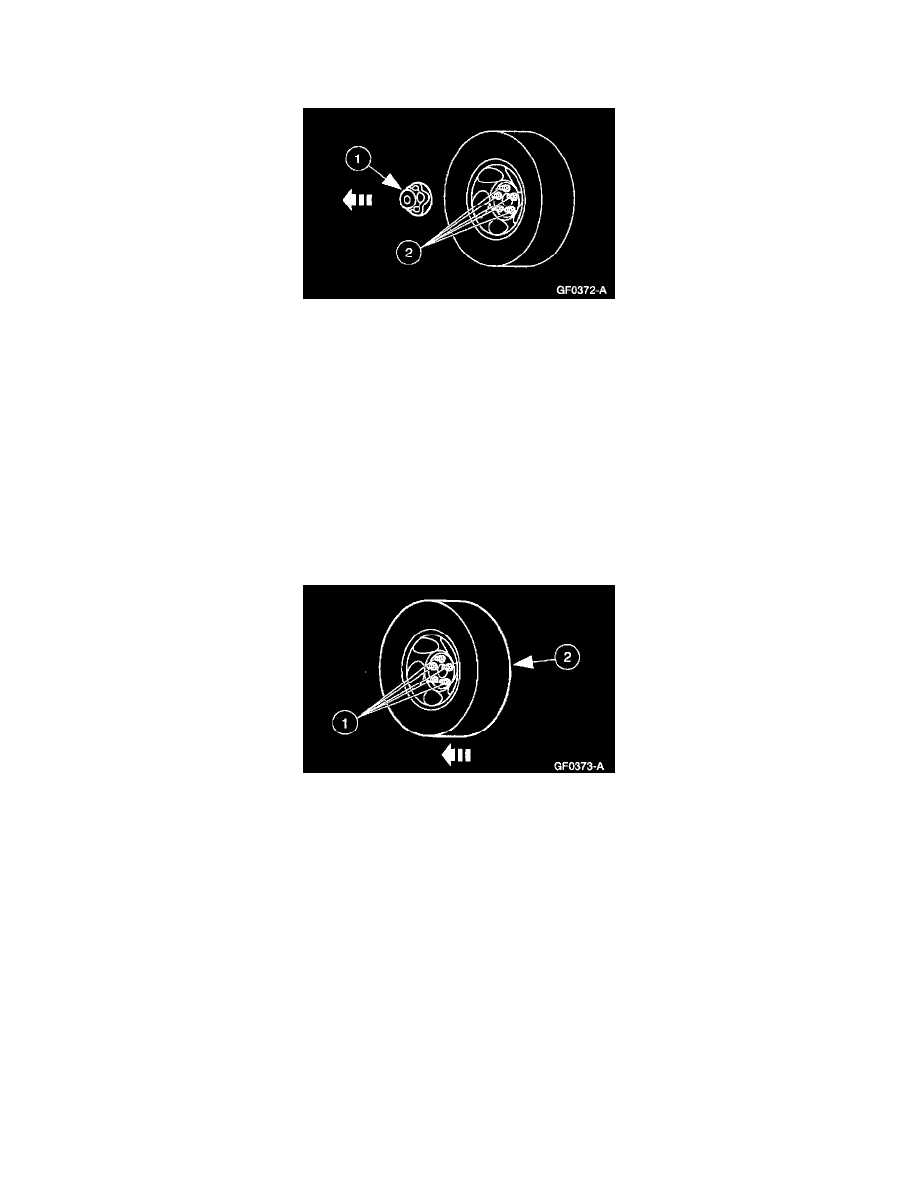
(1) Remove the center cap.
(2) With the weight of the vehicle on the wheels, loosen the lug nuts.
WARNING: THE ELECTRICAL POWER TO THE AIR SUSPENSION SYSTEM MUST BE SHUT OFF PRIOR TO HOISTING,
JACKING OR TOWING AN AIR SUSPENSION VEHICLE. THIS CAN BE ACCOMPLISHED BY TURNING OFF THE AIR
SUSPENSION SWITCH LOCATED IN THE RH KICK PANEL AREA. FAILURE TO DO SO MA Y RESULT IN UNEXPECTED
INFLATION OR DEFLATION OF THE AIR SPRINGS WHICH MAY RESULT IN SHIFTING OF THE VEHICLE DURING THESE
OPERATIONS.
CAUTION: Do not use heat to loosen a seized lug nut. Heat can damage the wheel and wheel bearings.
NOTE: To avoid damage or scratching to the center cap, place facing up when removed.
2. Raise and support the vehicle.
3. Remove the wheel and tire assembly.
(1) Remove the lug nuts.
(2) Remove the wheel and tire assembly.
INSTALLATION
1. Clean the wheel hub mounting surface.
WARNING: WHEN A WHEEL IS INSTALLED, ALWAYS REMOVE ANY CORROSION, DIRT OR FOREIGN MATERIAL
PRESENT ON THE MOUNTING SURFACES OF THE WHEEL OR THE SURFACE OF THE WHEEL HUB, BRAKE DRUM OR
BRAKE ROTOR THAT CONTACTS THE WHEEL. INSTALLING WHEELS WITHOUT PROPER METAL TO METAL CONTACT
AT THE WHEEL MOUNTING SURFACES CAN CAUSE THE LUG NUTS TO LOOSEN AND THE WHEEL TO COME OFF
WHILE THE VEHICLE IS IN MOTION, CAUSING LOSS OF CONTROL.
2. Install the tire and wheel assembly.
(1) Inspect the wheel centering O-ring. Replace if damaged.
(2) Position the tire and wheel assembly.
(3) Install the lug nuts hand tight, then lower the vehicle