
F 150 2WD Pickup V8-5.4L SOHC SC VIN 3 (2003)
^
TO DEPLETE THE BACKUP POWER SUPPLY ENERGY, DISCONNECT THE BATTERY GROUND CABLE AND WAIT AT LEAST
ONE MINUTE. BE SURE TO DISCONNECT AUXILIARY BATTERIES AND POWER SUPPLIES (IF EQUIPPED).
8. Install the lower trim panel.
^
Position the safety belt through the lower trim panel.
9. Install the upper trim panel.
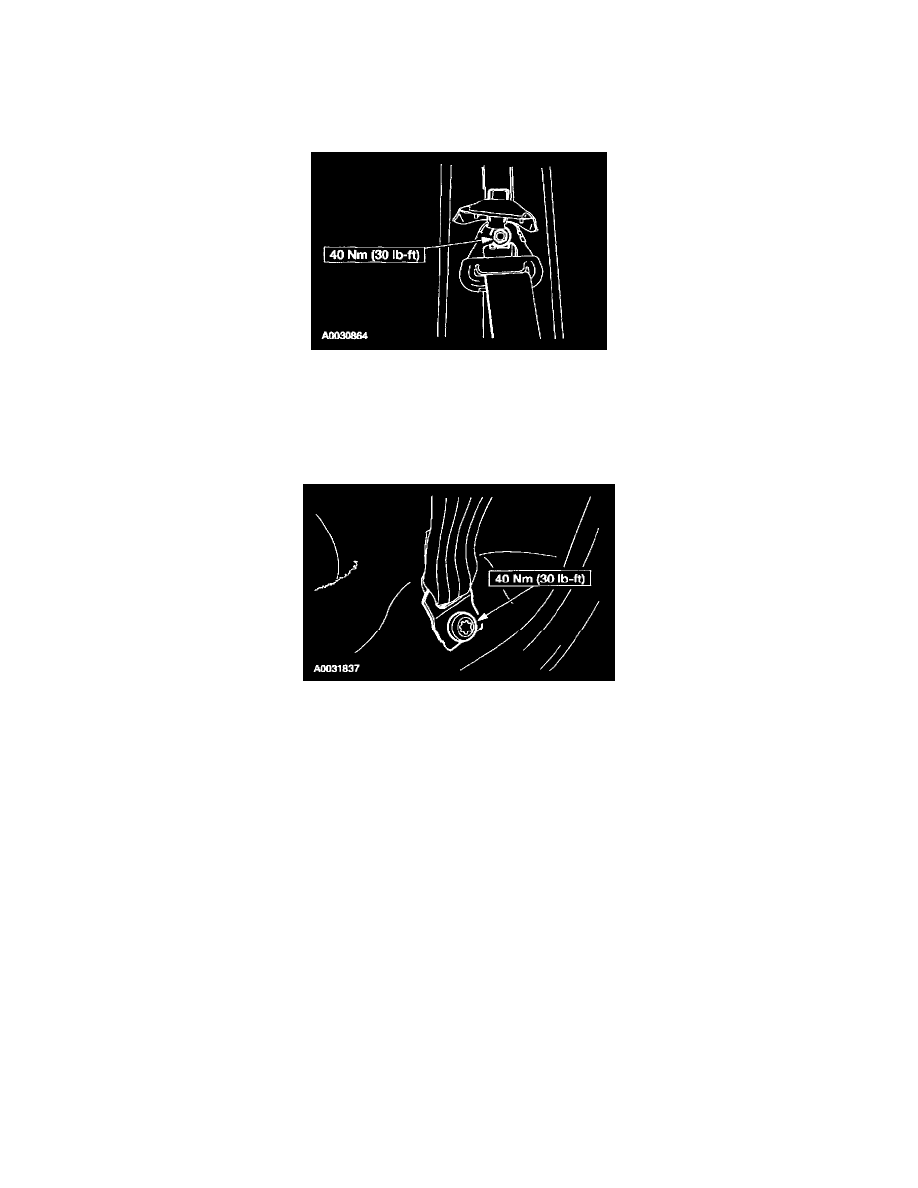
10. Position the safety belt guide. Install the nut. Close the safety belt guide cover.
NOTE:
^
Inspect the shoulder safety belt guide cover for damage. If the shoulder safety belt guide cover is damaged or if it does not remain closed,
install a new shoulder safety belt guide cover.
^
Make sure that the safety belt webbing is not twisted prior to installation.
11. Position the safety belt anchor. Using the special tool, install the bolt.
NOTE: Make sure that the safety belt webbing is not twisted prior to installation.
12. Restore the vehicle to operating condition.
1
Reactivate the supplemental restraint system (SRS).
WARNING: TO REDUCE THE RISK OF SERIOUS PERSONAL INJURY, READ AND FOLLOW ALL WARNINGS, NOTES,
AND INSTRUCTIONS IN THE SUPPLEMENTAL RESTRAINT SYSTEM (SRS) DEACTIVATION/REACTIVATION
PROCEDURE. Refer to: Air Bag(s) Arming and Disarming.
2
With all the restraint system diagnostic tools removed, prove out the supplemental restraint system (SRS). See: Air Bag(s) Arming and
Disarming/Service and Repair/Prove Out Procedure
WARNING: THE RESTRAINT SYSTEM DIAGNOSTIC TOOL IS FOR RESTRAINT SYSTEM SERVICE ONLY. REMOVE
FROM THE VEHICLE PRIOR TO ROAD USE. FAILURE TO REMOVE COULD RESULT IN INJURY AND POSSIBLE
VIOLATION OF VEHICLE SAFELY STANDARDS.
3
Check the active restraint system for correct operation.
60/40 Split and Front Bench Seat, Center Passenger