
F 150 4WD V8-4.6L VIN 8 (2010)
SVT Raptor
4. Using a clean shop towel and the specified surface cleaner, clean the lower arm ball joint bore and inspect for cracks or damage before installing a
new ball joint. If there is evidence of cracks or damage, a new lower arm must be installed.
Installation
SVT Raptor
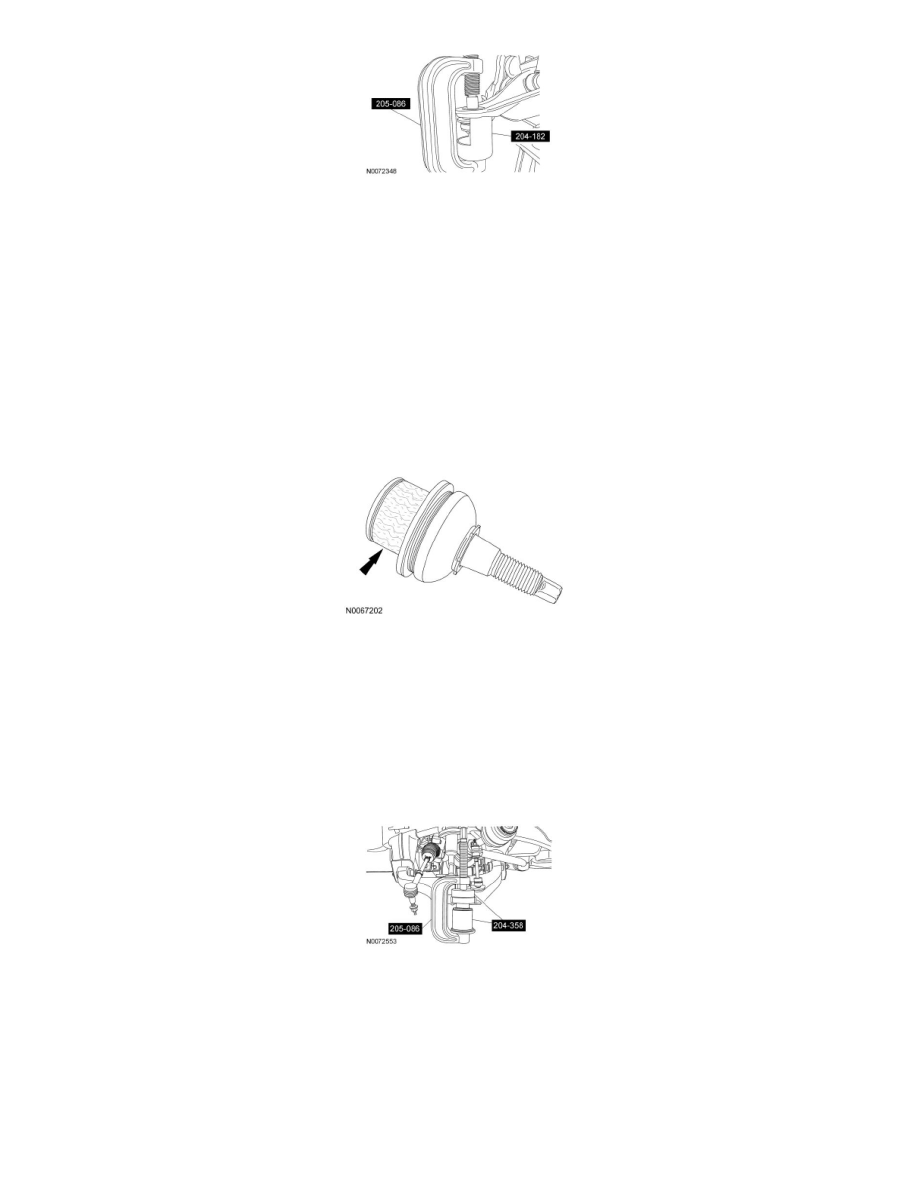
NOTICE: Use care to prevent adhesive from contacting the ball joint boot or damage to the boot may occur, causing premature ball joint
failure.
NOTE: To allow the adhesive to fully cure, the vehicle must not be driven on the road for at least one hour after the installation of a new ball joint.
1. Apply an even coat of adhesive (supplied with the kit) to the lower arm ball joint bore and the ball joint.
All vehicles
2. NOTICE: Do not damage the lower ball joint boot when installing the C-Frame and Screw Installer/Remover and Ball Joint
Installer/Remover or premature failure of the ball joint may occur.
NOTE: Make sure the lower ball joint snap ring is fully seated.
Using the C-Frame and Screw Installer/Remover and Ball Joint Installer/Remover, install the new lower ball joint.
-
Install the new lower ball joint snap ring.
SVT Raptor
3. Using a clean shop towel and the specified surface cleaner, wipe any excess adhesive from the ball joint and lower arm.
All vehicles
4. Install the wheel knuckle. For additional information, refer to Wheel Knuckle See: Front Steering Knuckle/Service and Repair.