F 150 4WD V8-4.6L VIN 8 (2010)

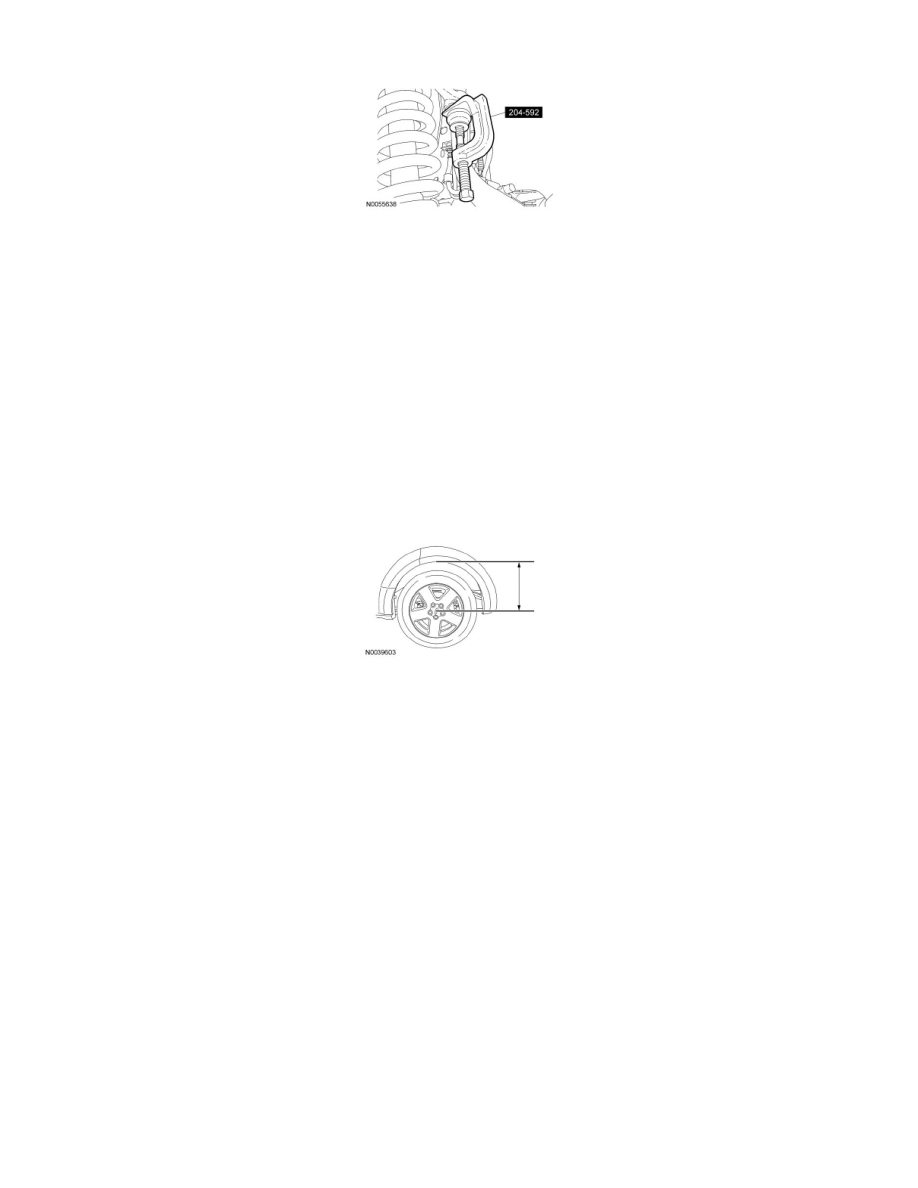
4. Using the Ball Joint Separator, separate the upper ball joint from the wheel knuckle.
5. Remove the upper arm-to-frame nuts and bolts and the upper arm.
-
Discard the nuts and bolts.
Installation
1. NOTE: Do not tighten the nuts at this time.
Position the upper arm and loosely install the new upper arm-to-frame bolts and nuts.
2. Install the shock absorber and spring assembly. For additional information, refer to Shock Absorber and Spring Assembly See: Suspension Strut /
Shock Absorber/Service and Repair/Removal and Replacement/Front Suspension.
3. Position the ball joint into the wheel knuckle and install the new upper ball joint nut.
-
Tighten to 115 Nm (85 lb-ft).
4. Use a suitable jack to raise the suspension until the distance between the center of the hub and the lip of the fender is equal to the measurement
taken in Step 1 (curb height).
5. Tighten the upper arm-to-frame nuts to 150 Nm (111 lb-ft).
6. Check and, if necessary, align the front end.
