
F 150 4WD V8-4.6L VIN 8 (2010)
Removal
NOTICE: The color on the rear face of the drive pinion nut is critical to this repair. Use the same color new drive pinion nut for installation. If
a new collapsible spacer must be installed for pinion bearing preload reduction, install the nut supplied with the new spacer or damage to the
component may occur.
1. With the vehicle in NEUTRAL, position it on a hoist. For additional information, refer to Vehicle Jacking and Lifting.
2. Remove the brake disc. For additional information, refer to Disc Brake System.
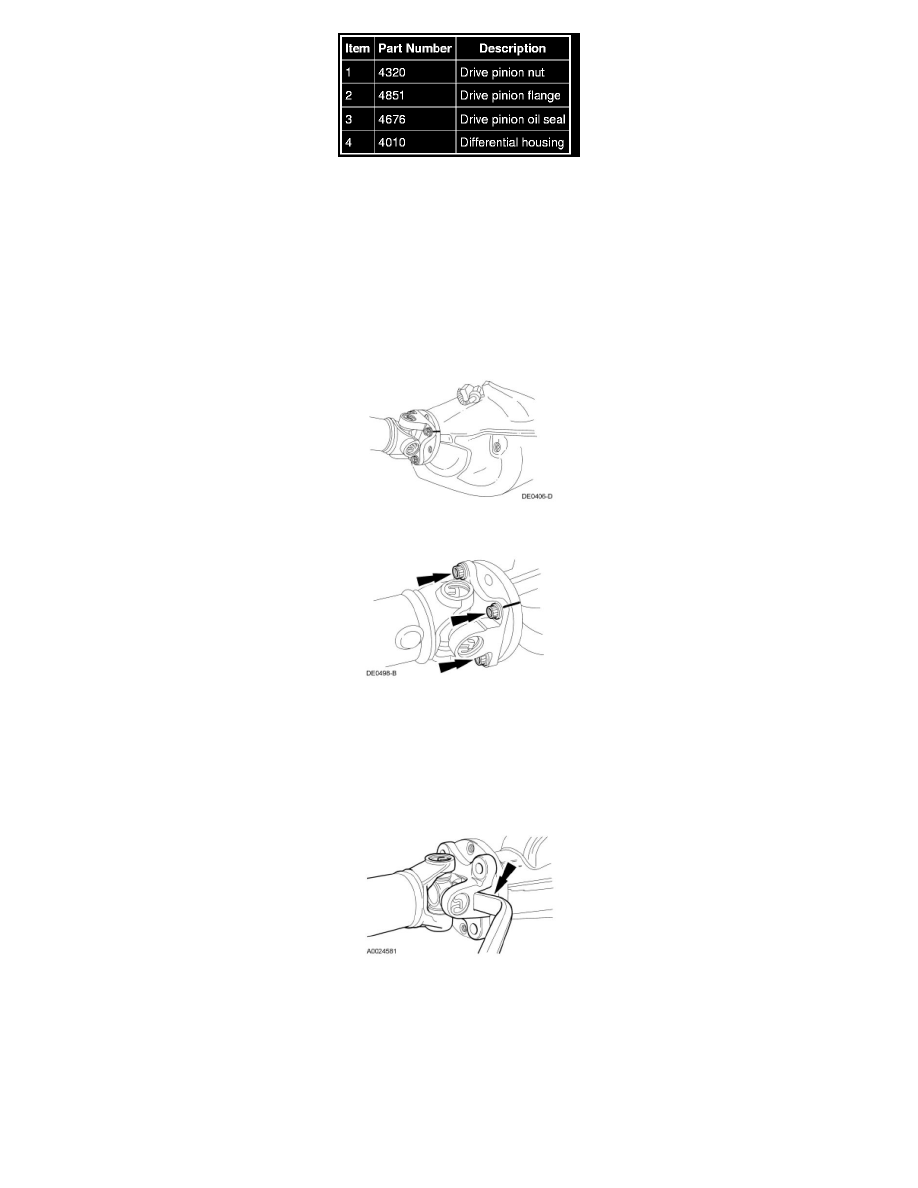
3. Index-mark the driveshaft flange and pinion flange for correct alignment during installation.
4. Remove and discard the 4 driveshaft flange bolts.
5. NOTE: The driveshaft centering socket yoke fits tightly on the pinion flange pilot. Never hammer on the driveshaft or any of its components to
disconnect the driveshaft centering socket yoke from the pinion flange. Pry only in the area shown with a suitable tool to disconnect the driveshaft
centering socket yoke from the pinion flange.
Using a suitable tool as shown, disconnect the driveshaft centering socket yoke from the pinion flange.
-
Using mechanic's wire, position the driveshaft aside.
6. Using a Nm (lb-in) torque wrench on the pinion nut, record the torque required to maintain rotation of the pinion gear through several revolutions.