
F 150 4WD V8-5.4L Flex Fuel (2008)
obtain access to the recliner handle clip. Remove the recliner handle clip (shown removed for clarity) and the recliner handle.
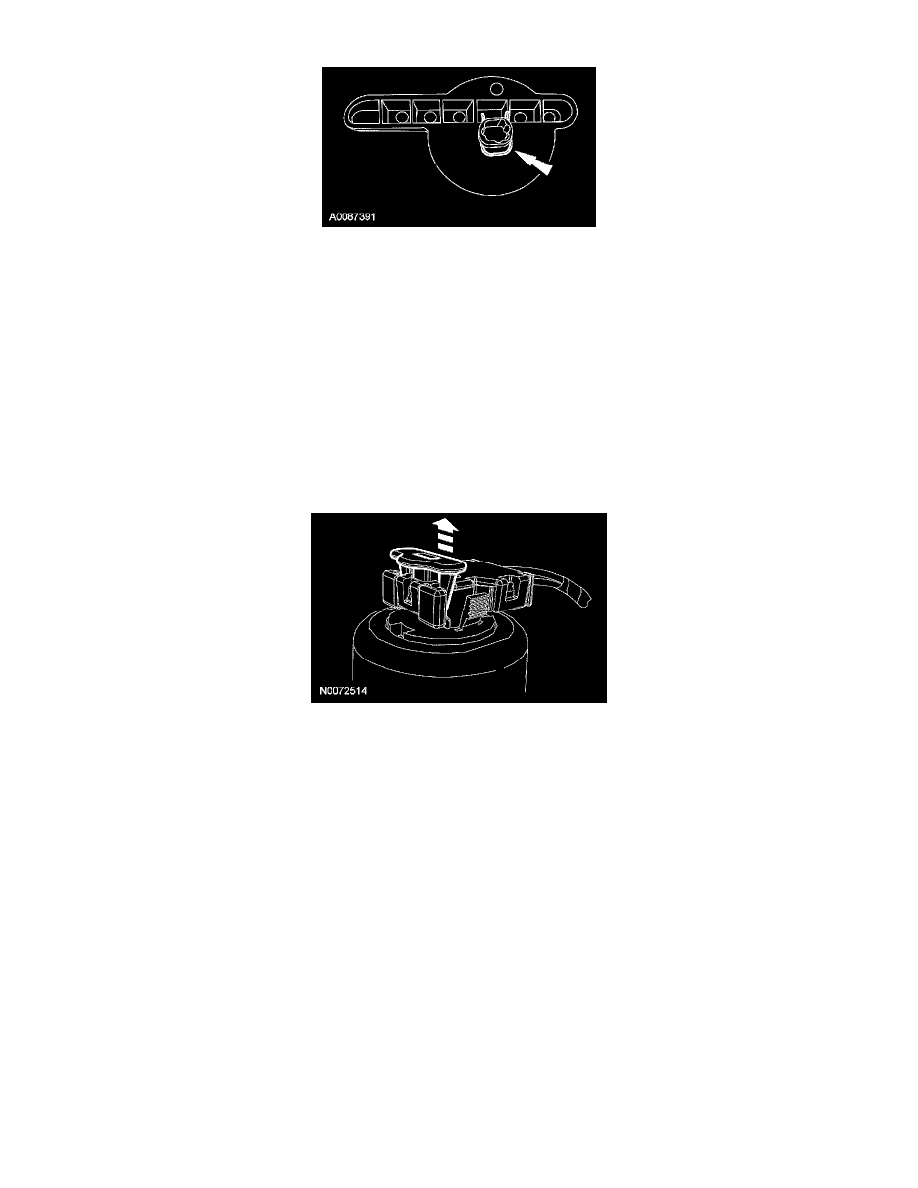
4. If equipped, adjust the lumbar until fully relaxed and remove the lumbar knob.
5. Remove the side shield control panel.
6. If equipped, disconnect the memory SET switch electrical connector.
7. Release the pin-type retainer at the front of the side shield.
8. Remove the 3 screws and side shield.
9. CAUTION: To prevent component damage and avoid setting diagnostic trouble codes (DTCs), the following precautions must be taken:
-
The position assurance locking wedge must be in the released position when inserting or removing the electrical connector from the
safety belt buckle and pretensioner.
-
Do not install the electrical connector by pushing on the position assurance locking wedge.
-
Make sure the electrical connector and position assurance locking wedge are fully seated after connecting to the safety belt buckle and
pretensioner.
Release the locking wedge on the safety belt buckle and pretensioner electrical connector.
10. NOTE: If equipped with manual lumbar, make sure the wire harness is routed above the manual lumbar cable.
Disconnect the safety belt buckle and pretensioner electrical connector.
11. Disconnect the safety belt buckle switch electrical connector.
12. If equipped, disconnect the backrest heater mat electrical connector.
Seat with seat integrated restraints (SIR)
13. Remove the safety belt anchor nut.
-
To install, tighten to 55 Nm (41 lb-ft).
-
If passenger seat, disconnect the belt tension sensor (BTS) electrical connector.
All seats
14. If equipped, disconnect the power seat track electrical connector and release any pin-type retainers attached to the seat cushion frame.