
F 150 4WD V8-5.4L Flex Fuel (2008)
5. Remove the nut and detach the electronic cooling fan clutch wiring harness from the stud bolt.
^
To install, tighten to 13 Nm (10 lb-ft).
Vehicles equipped with a 5.4L (3V) engine
6. Remove the air cleaner intake pipe. For additional information, refer to Fuel Delivery and Air Induction.
7. Remove the bolts and the air cleaner intake pipe support bracket.
^
To install, tighten to 10 Nm (89 lb-in).
Vehicles equipped with a 4.2L engine
8. Using the special tools, remove the cooling fan assembly and position it in the fan shroud.
^
To install, tighten to 55 Nm (41 lb-ft).
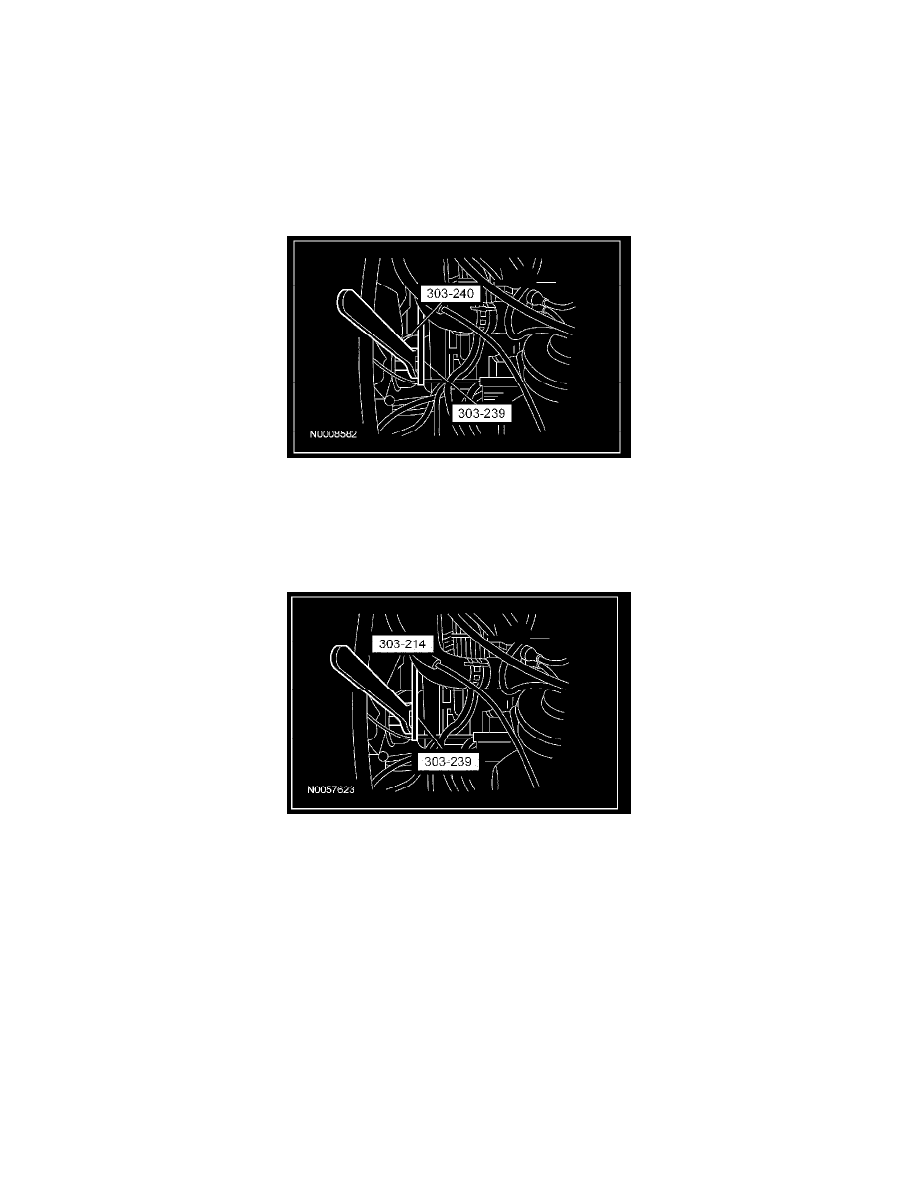
Vehicles equipped with a 4.6L (2V) or 5.4L (3V) engine
9. CAUTION: Do not side load the cooling fan clutch coil or the cooling fan clutch may be damaged.
Using the special tools, remove the cooling fan assembly and position it in the fan shroud.
^
To install, tighten to 55 Nm (41 lb-ft).
All vehicles
10. Remove the bolts and the cooling fan shroud and cooling fan.
^
To install, tighten to 6 Nm (53 lb-in).
11. If servicing the cooling fan or cooling fan clutch, refer to Cooling Fan and Cooling Fan Clutch.
12. To install, reverse the removal procedure.