
F 150 4WD V8-5.4L Flex Fuel (2008)
Removal and Installation
NOTE:
-
If an evaporator core leak is suspected, the evaporator core must be vacuum leak tested before it is removed from the vehicle.
-
If a heater core leak is suspected, the heater core must be leak tested before it is removed from the vehicle.
-
Failure to correctly install the evaporator core seal when installing the evaporator core will result in decreased A/C cooling efficiency due to
airflow bypassing the evaporator core.
1. Remove the instrument panel.
2. Remove the suction accumulator.
3. Disconnect the evaporator core spring lock coupling.
-
Discard the O-ring seals.
4. Clamp off and disconnect the 2 heater core quick disconnect fittings.
5. Remove the 3 heater core and evaporator core housing nuts.
-
To install, tighten to 9 Nm (80 lb-in).
6. Disconnect the 2 harness electrical connectors.
7. Remove the air inlet duct bracket nut.
-
To install, tighten to 7 Nm (62 lb-in).
8. Remove the bolt and position the junction box aside.
9. NOTE: For vehicles equipped with a rear footwell duct, the heater core and evaporator core housing must be carefully detached from the dash
panel and then tilted toward the rear of the vehicle to detach it from the rear footwell duct connection.
Loosen the nut and remove the heater core and evaporator core housing.
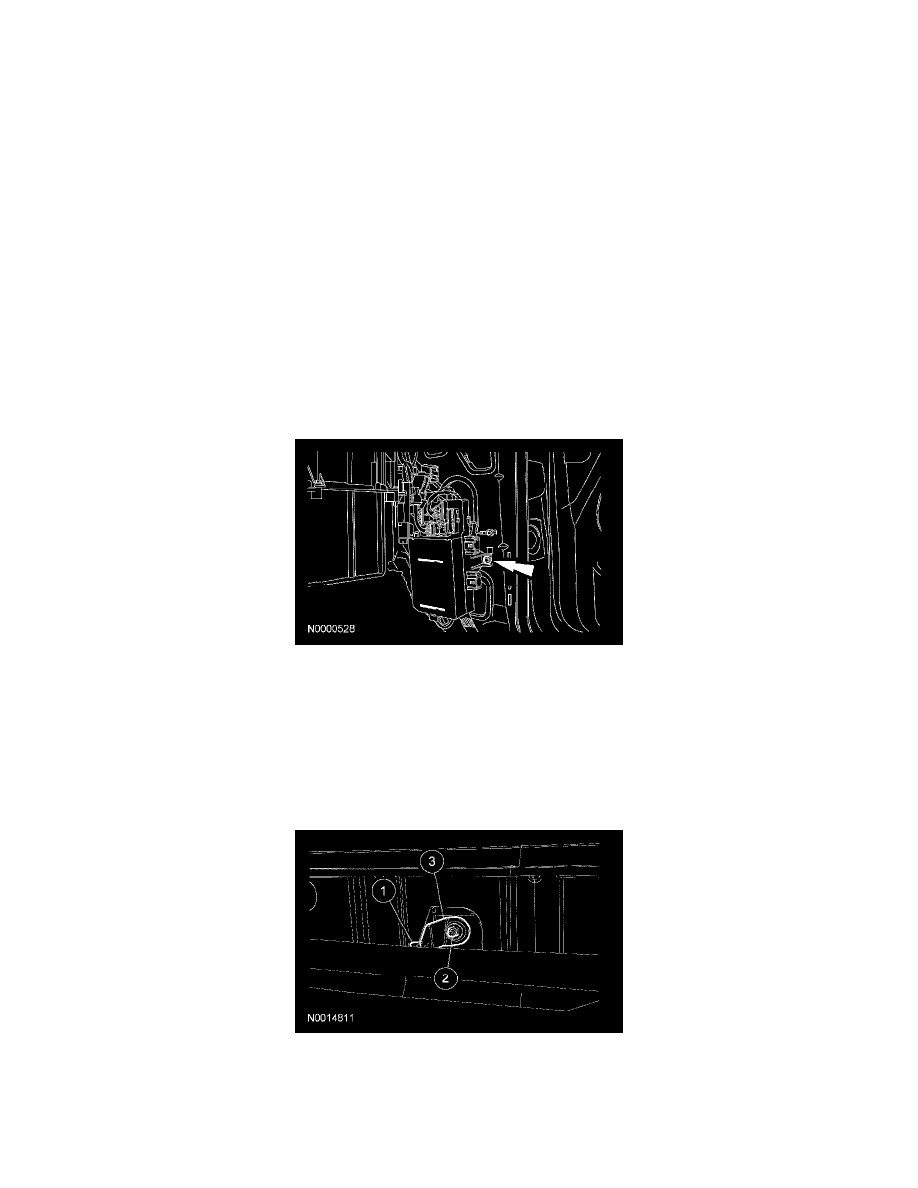
1
Detach the clip.
2
Completely loosen the plenum chamber nut.
-
To install, tighten to 7 Nm (62 lb-in).
3
Remove the heater core and evaporator core housing.
10. To install, reverse the removal procedure.
-
Install new O-ring seals.
-
Lubricate the refrigerant system with the correct amount of clean PAG oil.
11. Fill the engine cooling system.