
F 150 4WD V8-5.4L VIN V Flex Fuel (2007)
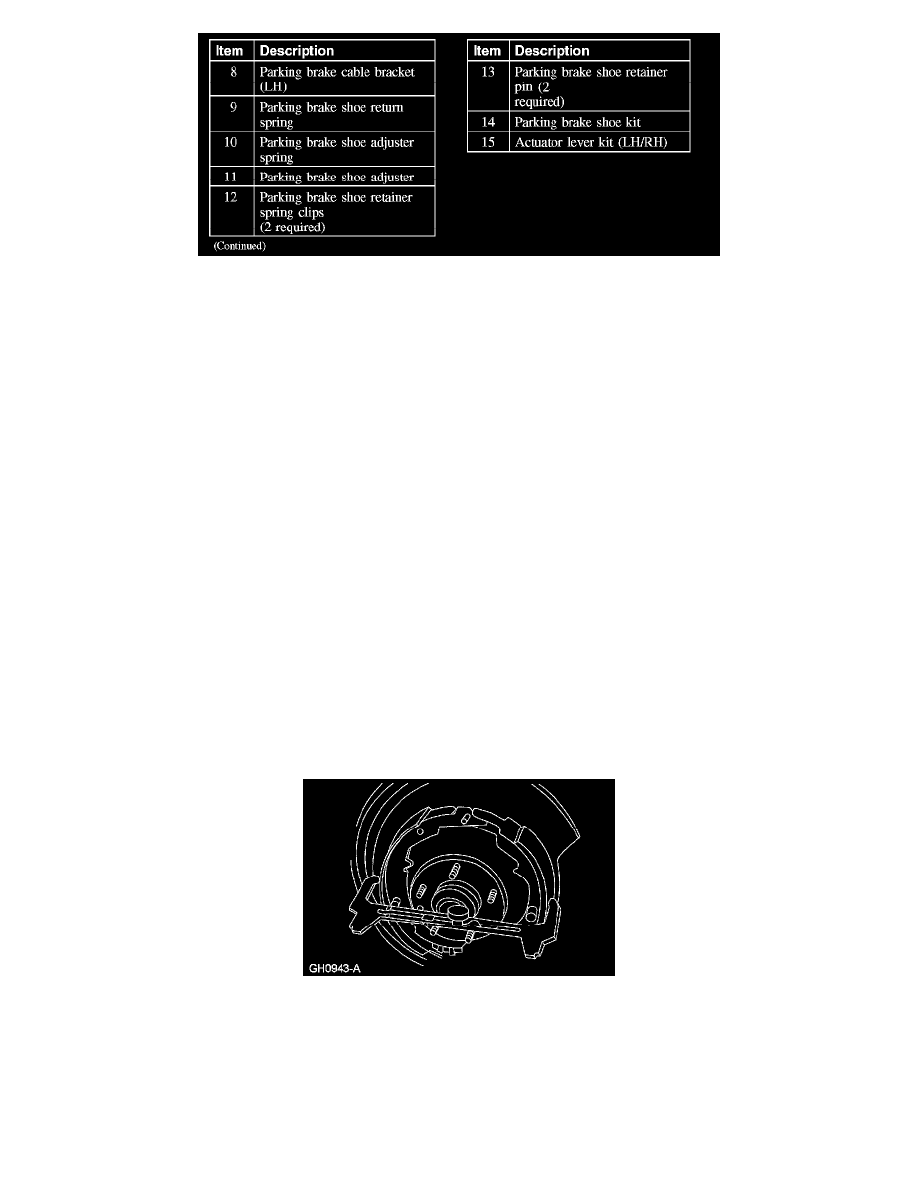
Parking Brake - Exploded View
Removal
NOTE: One parking brake shoe kit contains the linings required for both the LH and RH side.
1. NOTE: Make sure the parking brake control is fully released.
Relieve the tension on the parking brake cable.
2. Remove the rear brake disc.
3. Remove the brake shoe adjuster screw.
4. Remove the brake shoe adjuster screw spring.
5. Remove the 2 brake shoe hold-down springs and 2 pins.
6. Remove the brake shoe retracting spring and the parking brake shoes.
Installation
1. NOTE: Lubricate the parking brake shoes where the shoe contacts the wear pad on the backing plate.
Position the parking brake shoes and attach the retracting spring.
2. Install the 2 brake shoe hold-down pins and springs.
3. Install the brake shoe adjusting screw spring.
4. NOTE: Completely retract the parking brake adjusting screw before installation.
Install the brake shoe adjusting screw.
5. Use the special tool to measure the inside diameter of the parking brake drum.
6. Adjust the parking brake shoe clearance to 0.6 mm (0.02 inch) less than the inside diameter of the parking brake drum.
7. Make sure that the parking brake shoes are correctly centered by measuring across the center point of the shoes.
8. Rotate the parking brake shoe adjuster wheel to achieve the correct parking brake shoe-to-brake disc clearance.
9. Install the rear brake disc.
10. Reload the tension on the parking brake cable.