
F 150 4WD V8-5.4L VIN V Flex Fuel (2007)
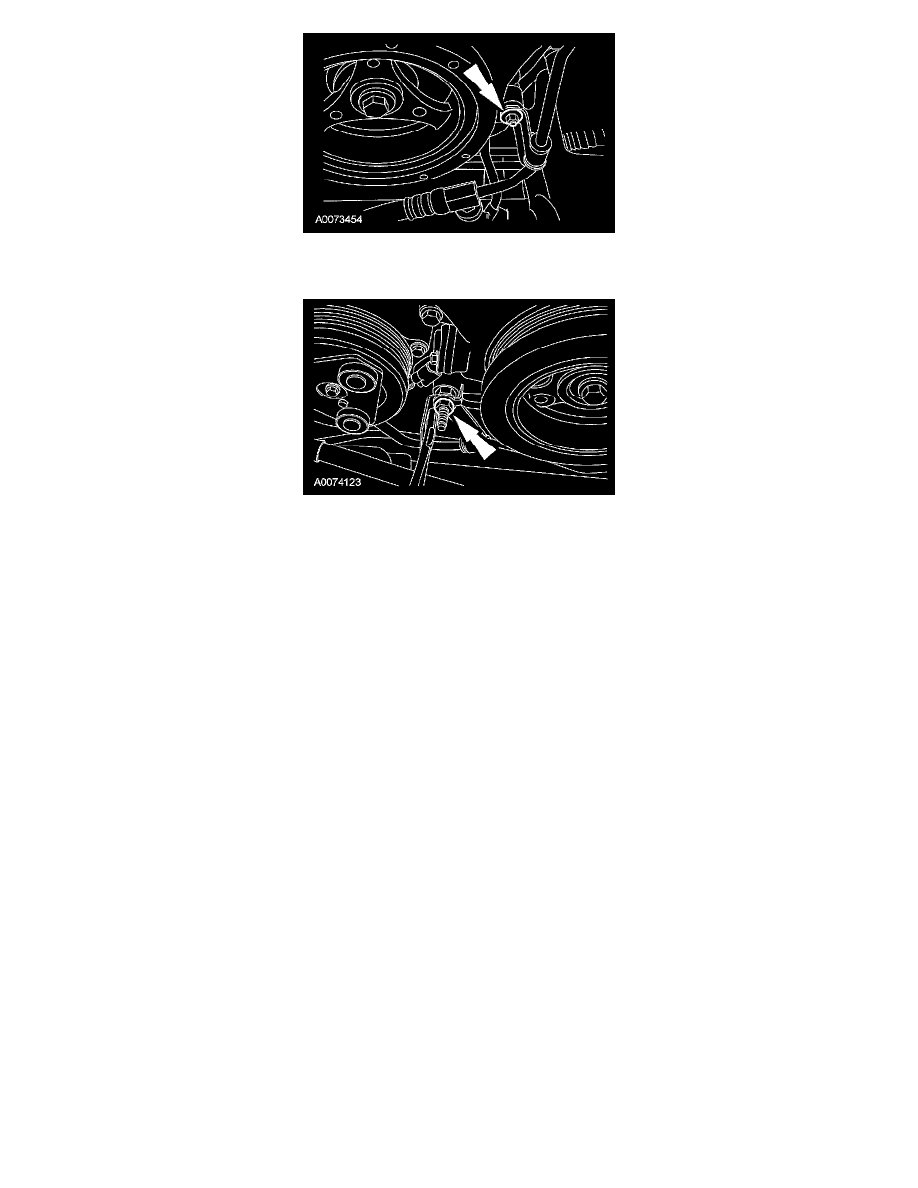
12. Position the transmission cooler tube support bracket and install the nut.
^
Tighten to 10 Nm (89 inch lbs.).
13. NOTE: Lubricate the O-ring seal with clean engine oil prior to installation.
Using a new O-ring seal, install the RH CMP sensor and the bolt.
^
Tighten to 10 Nm (89 inch lbs.).
14. Connect the RH CMP sensor electrical connector.
15. Install the LH radio ignition interference capacitor and the nut.
^
Tighten to 10 Nm (89 inch lbs.).
16. NOTE: Lubricate the O-ring seal with clean engine oil prior to installation.
Using a new O-ring seal, install the LH CMP sensor and the bolt.
^
Tighten to 10 Nm (89 inch lbs.).
17. Connect the LH CMP sensor electrical connector.
18. Install the RH radio ignition interference capacitor and the nut.
^
Tighten to 10 Nm (89 inch lbs.).
19. Install the accessory drive belt tensioner and the 3 bolts.
^
Tighten to 25 Nm (18 ft. lbs.).
20. Install the coolant pump pulley and the 4 bolts.
^
Tighten to 25 Nm (18 ft. lbs.).
21. Install the 3 accessory drive idler pulleys and the 3 bolts.
^
Tighten to 25 Nm (18 ft. lbs.).
22. Lubricate the engine front cover and the crankshaft seal inner lip with clean engine oil.