
F 150 4WD Pickup V8-281 4.6L VIN W EFI (1997)
water.
NOTE: When any part of the hydraulic system has been disconnected for repair or replacement, air may get into the system and cause spongy brake
pedal action. This requires bleeding of the hydraulic system after it has been properly connected. The hydraulic system can be bled manually or
with pressure bleeding equipment Brake Bleeder.
NOTE: Bleed the longest line first. Be sure the bleeder tank contains enough specified brake fluid to complete the bleeding operation.
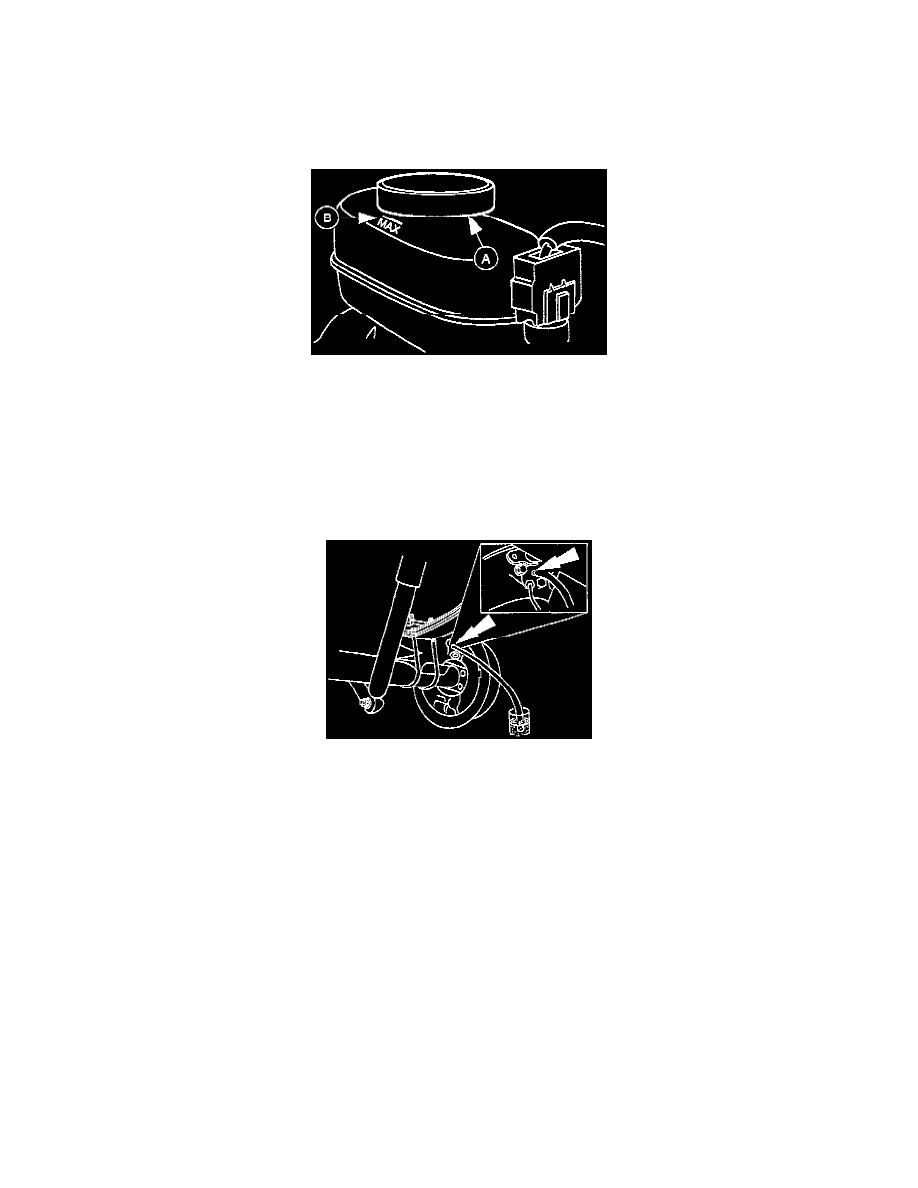
Brake Master Cylinder Reservoir
- Clean all dirt from and remove the (A) brake master cylinder filler cap and fill the (B) brake master cylinder reservoir with High-Performance DOT 3
Brake Fluid C6AZ-19542-AB or DOT 3 equivalent meeting Ford specification ESA-M6C25-A, DOT 3.
- Install Brake Bleeder to the brake master cylinder reservoir and attach the bleeder tank hose to the fitting on the adapter.
NOTE: Master cylinder pressure bleeder adapter tools are available from various manufacturers of pressure bleeding equipment. Follow the instructions
of the manufacturer when installing the adapter.
Wheel Cylinder Bleeder Screw
- Attach a rubber drain tube to the RH wheel cylinder bleeder screw and submerge the free end of the tube in a container partially filled with clean brake
fluid.
- Open the valve on the bleeder tank.
- Open the wheel cylinder bleeder screw. Leave open until clear, bubble-free brake fluid flows; then close the wheel cylinder bleeder screw and remove
the rubber hose.
- Continue bleeding the rest of the system, going in order from the LH rear wheel cylinder to the RH disc brake caliper and ending with the LH front
disc brake caliper.
- Close the bleeder tank valve and remove the tank hose from the adapter and remove the adapter.