
F 150 4WD Pickup V8-281 4.6L VIN W EFI (1997)
NOTE: If ball joint cannot be installed to the proper depth, realignment of Receiving Cup will be necessary.
2. Assemble U-Joint Tool, Receiving Cup (part of 4WD Ball Joint Tool Set) and Installing Cup from Ball Joint Adapter Set as shown to replace the
front suspension lower ball joint.
3. Turn forcing screw CLOCKWISE until front suspension lower ball joint is firmly seated.
4. Install the snap ring on the front suspension lower ball joint.
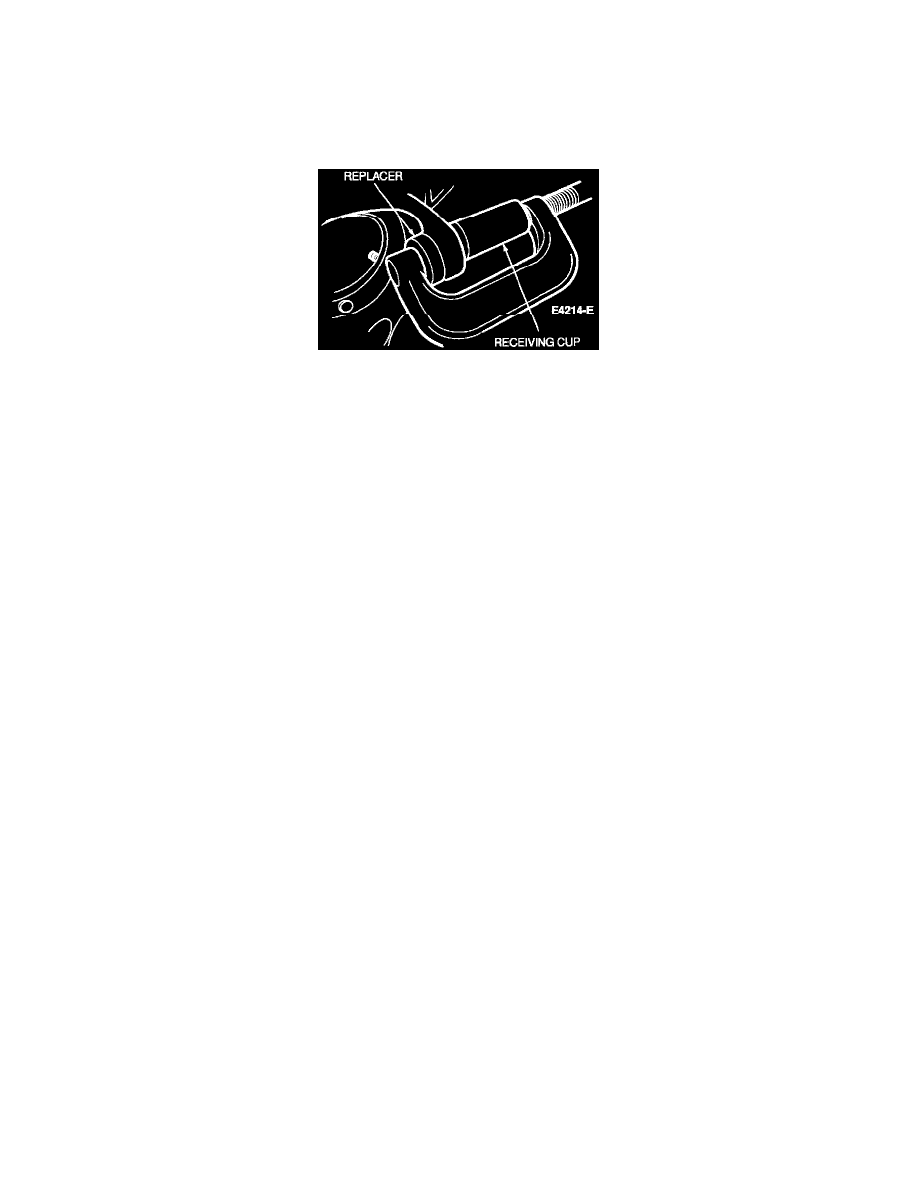
5. To install front suspension upper ball joint, assemble the C-Frame, Receiving Cup and Replacer (both part of 4WD Ball Joint Tool Set). Turn
forcing screw CLOCKWISE until front suspension upper ball joint is firmly seated.
6. Assemble knuckle to axle arm assembly. Install camber adjuster on the stud of the front suspension upper ball joint with the arrow pointing
OUTBOARD for POSITIVE camber, pointed INBOARD for NEGATIVE camber.
7. Install new nut on bottom socket finger-tight. Install and tighten nut on top socket finger-tight. Tighten bottom nut to 47 N-m (35 lb-ft).
CAUTION: If the tightening sequence is not followed in this step and Step 9, ball joint life will be reduced.
NOTE: DO NOT loosen top nut to install cotter pin.
8. Tighten top nut to 136 N-m (100 lb-ft), then advance nut until castellation aligns with cotter pin hole. Install cotter pin.
9. Retighten bottom nut to 123-149 N-m (91-110 lb-ft).
10. Install the front wheel spindle and the right and left shaft and joint assembly.