
F 150 4WD Pickup V8-4.6L SOHC VIN 6 (1997)
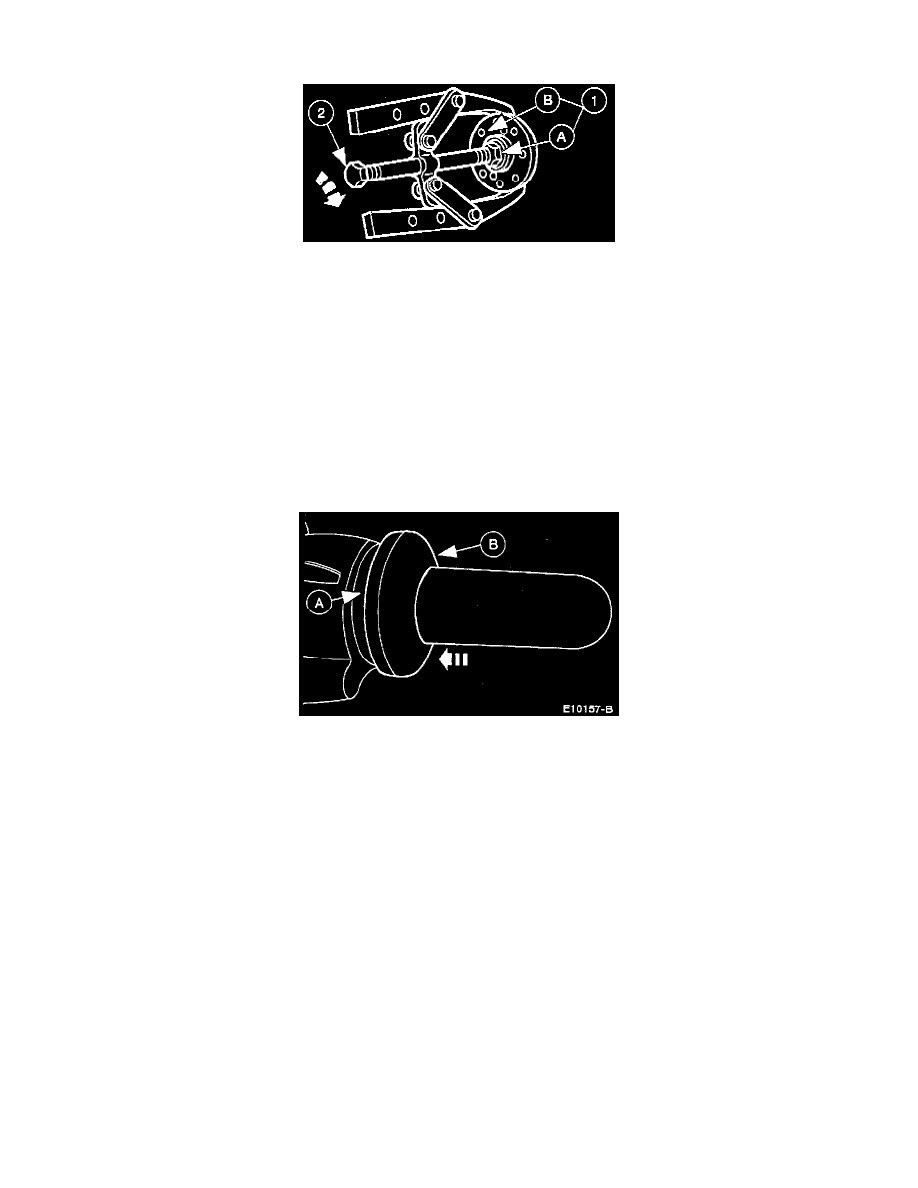
(1) Position Companion Flange Holding Tool and install two companion flange holding tool bolts.
(2) Loosen the pinion nut.
7. Remove the front axle universal flange.
(1) With (A) pinion nut still engaged by a few threads, install (B) 2-Jaw Puller.
(2) Remove the front axle companion flange with 2-Jaw Puller.
8. Inspect the front axle universal flange for burrs and replace as necessary. Make sure that surfaces of front axle universal flange have not been
damaged during removal. The end of of the front axle universal flange which contacts the bearing cone, the nut counterbore and the seal surface
must be smooth and free of nicks.
9. Check the splines on the pinion stem to be sure they are free of burrs. If burrs are evident, remove them with a fine crocus cloth. Working in a
rotating motion, wipe the pinion clean.
10. Remove the pinion seal.
CAUTION:
-
Before proceeding, place a drain pan under the rear axle housing.
-
Do not damage the front axle housing.
INSTALLATION
1. Clean the pinion seal bore and use (B) Pinion Seal Replacer to install the (A) pinion seal.
2. Lubricate the flange yoke seal splines.
-
Use Motorcraft SAE 75W90 4x4 Axle Lubricant or equivalent meeting Ford specification WSP-M2C201-A.
3. Align index marks and position the front axle universal flange.
CAUTION: The axle companion flange must never be hammered on or installed with power tools.
4. Install the front axle universal flange.
(1) Position Companion Flange Holding Tool and install two companion flange holding tool bolts.
(2) Tighten the pinion nut.
NOTE: Rotate the pinion occasionally to ensure proper differential pinion bearing seating.
5. If the original recorded preload is less than specification, tighten to specification. If the preload is higher than the specification, tighten to original
reading as recorded.
6. Never back off the pinion nut to reduce preload. If reduced preload is required, install a new differential drive pinion collapsible spacer and pinion
nut.