
F 150 4WD Pickup V8-4.6L SOHC VIN W (1998)
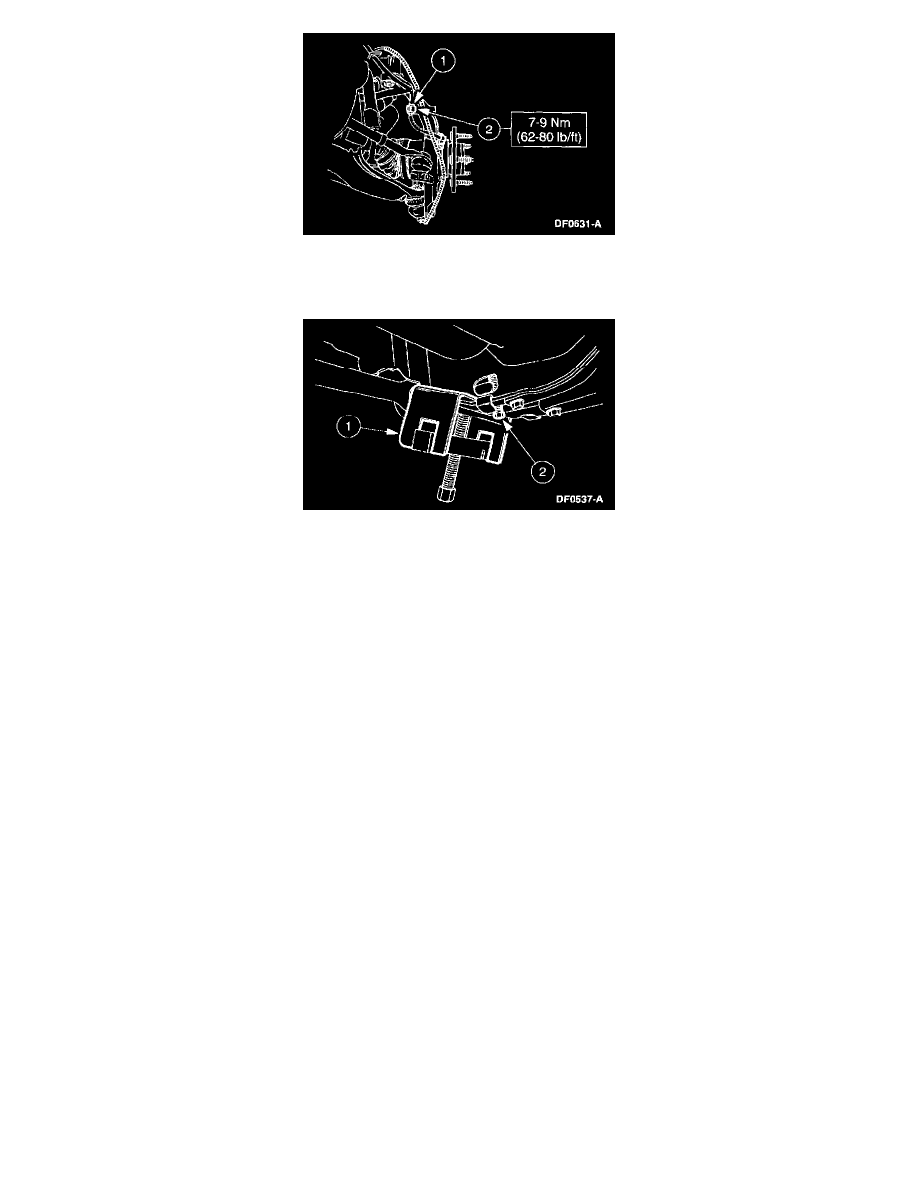
3. If equipped with 4WABS, install the anti-lock sensor wire bracket bolt.
(1) Position the anti-lock sensor wire.
(2) Install the bolt.
NOTE: For vehicles equipped with torsion bars, continue with steps 4 and 5. Otherwise, skip to step 6.
4. Preload the torsion bar.
(1) Tighten the torsion bar tool until the adjustment bolt and nut can be installed.
(2) Turn the adjustment bolt until the preliminary adjustment marks are aligned.
5. Remove the torsion bar tool and adapters.
6. Clean the wheel hub and mounting surfaces.
WARNING: WHEN THE WHEEL IS INSTALLED, ALWAYS REMOVE ANY CORROSION, DIRT OR FOREIGN MATERIAL
PRESENT ON THE MOUNTING SURFACES OF THE WHEELS OR THE SURFACES OF THE WHEEL HUB, BRAKE DRUM OR
BRAKE ROTOR THAT CONTACT THE WHEEL. INSTALLING WHEELS WITHOUT PROPER METAL-TO-METAL CONTACT
AT THE WHEEL MOUNTING SURFACES CAN CAUSE THE LUG NUT TO LOOSEN AND THE WHEEL To COME OFF WHILE
THE VEHICLE IS IN MOTION, CAUSING LOSS OF CONTROL.
7. Install the tire and wheel assembly.
8. Lower the vehicle.
NOTE: If equipped with air suspension, reactivate the system by turning on the air suspension switch.
9. Check the front end alignment.
10. Check the Ride Height.