
F 150 Heritage 2WD Pickup V8-4.6L SOHC VIN W (2004)
WARNING:
-
Always wear safety glasses when repairing a air bag supplemental restraint system (SRS) vehicle and when handling an airbag module.
This will reduce the risk of injury in the event of an accidental deployment.
-
After deployment, the air bag surface can contain deposits of sodium hydroxide, a product of the gas generant combustion that is
irritating to the skin. Wash your hands with soap and water afterwards.
-
The safety belt pretensioner is a pyrotechnic device. Always wear safety glasses when repairing an air bag equipped vehicle and when
handling a safety belt buckle pretensioner or safety belt retractor pretensioner. Never probe a pretensioner electrical connector. Doing so
could result in pretensioner or air bag deployment and could result in personal injury.
NOTE: 40 percent seat is shown, 60 percent seat is similar.
1. WARNING: To avoid accidental deployment and possible personal injury, the backup power supply must be depleted before repairing
or replacing any front or side air bag supplemental restraint system (SRS) components and before servicing, replacing, adjusting or
striking components near the front or side air bag sensors, such as doors, instrument panel, console, door latches, strikers, seats and hood
latches.
To deplete the backup power supply energy, disconnect the battery ground cable and wait at least one minute. Be sure to disconnect
auxiliary batteries and power supplies (if equipped).
Disconnect the battery ground cable and wait at least one minute.
2. WARNING: To reduce the risk of serious personal injury, read and follow all warnings, cautions, notes, and instructions in the
supplemental restraint system (SRS) deactivation/reactivation procedure.
Deactivate the supplemental restraint system (SRS).
3. WARNING: To reduce the risk of serious personal injury, read and follow all warnings, cautions, notes, and instructions in the seat
removal and installation procedure.
Remove the affected seat.
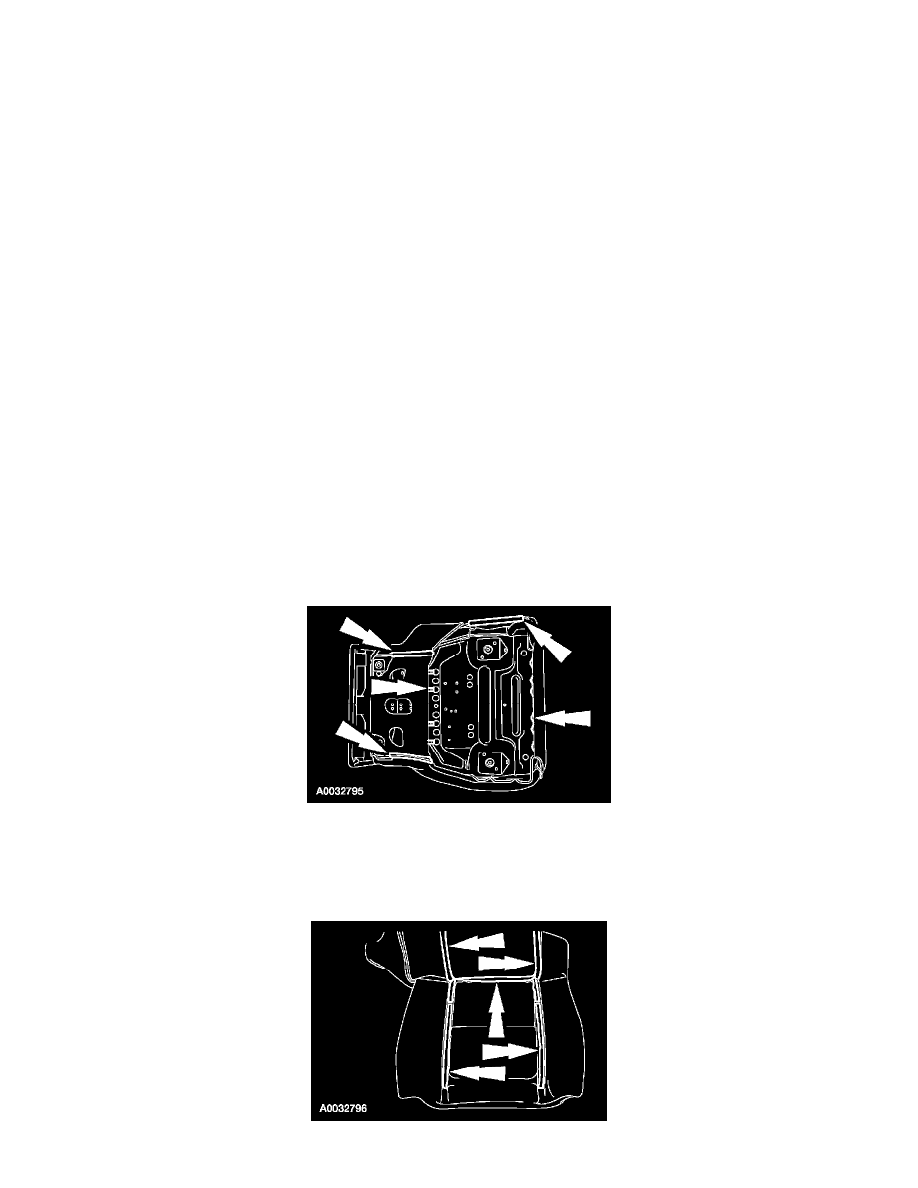
4. Remove the front seat cushion assembly.
5. WARNING: The metal edges of seat cushion pan can be sharp.
Release lower seat cushion fabric J-clips from their seat cushion pan attachment points.
6. Remove seat foam and fabric covering from the seat cushion pan.