
F 150 Heritage 2WD Pickup V8-4.6L SOHC VIN W (2004)
1
Install the special tool on the nose opening of the A/C compressor.
2
Install the special tool.
3
Remove the A/C compressor clutch field coil.
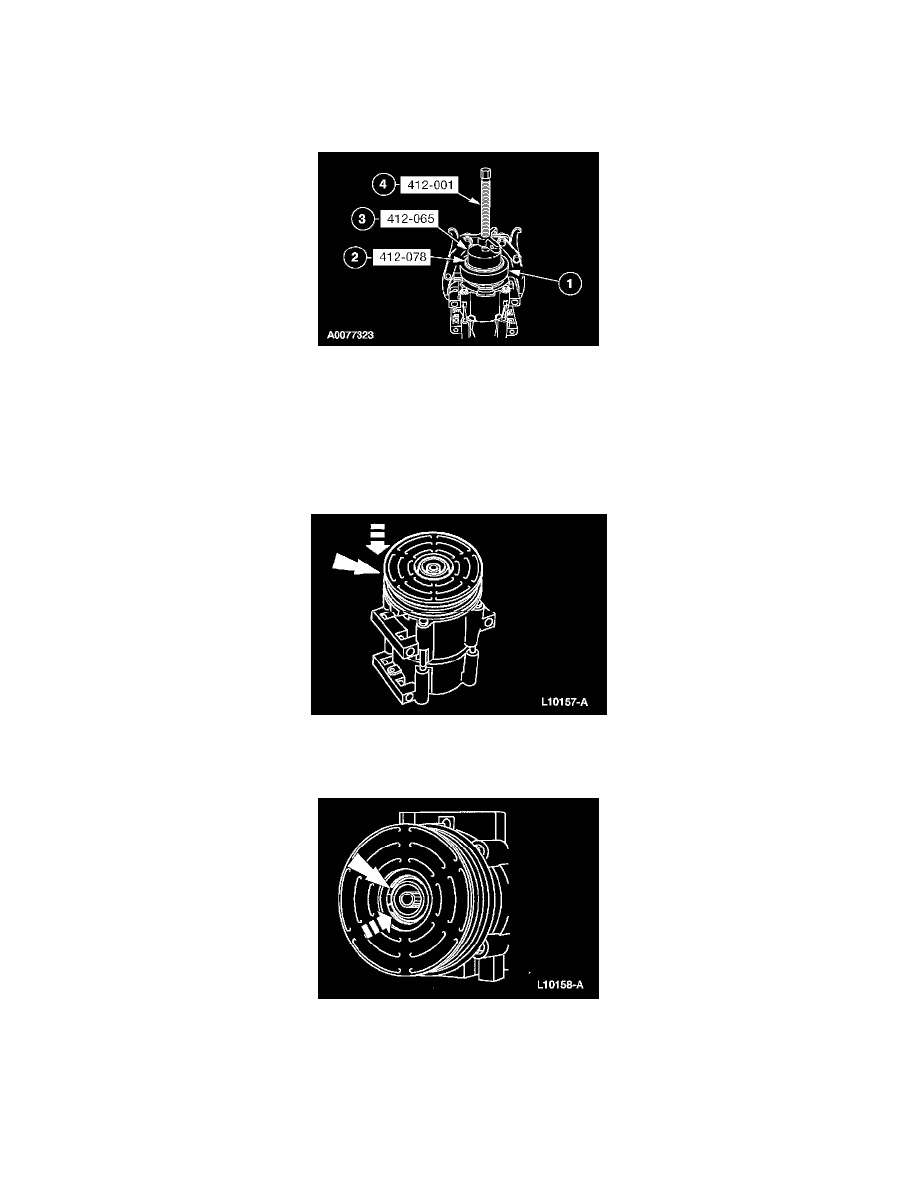
INSTALLATION
1. Clean the A/C compressor clutch field coil and bearing mounting surfaces.
2. CAUTION: Do not use air tools. The A/C compressor clutch field coil can be easily damaged.
Install the A/C compressor clutch field coil.
1
Place the A/C compressor clutch field coil on the A/C compressor with the A/C compressor clutch field coil electrical connector correctly
positioned.
2
Place the special tool on the A/C clutch field coil.
3
Place the special tool on the special tool.
4
Use the special tool to install the A/C compressor clutch field coil until bottomed completely against the A/C compressor.
3. NOTE: The A/C clutch pulley is a tight fit on the A/C compressor head; it must be correctly aligned during installation.
Install the A/C clutch pulley.
4. Install the pulley snap ring with the bevel side out.