
F 150 Heritage 2WD Pickup V8-4.6L SOHC VIN W (2004)
2. NOTE: Make sure that after an automatic locking retractor (ALR) is installed that the retractor is not in the ALR mode of operation.
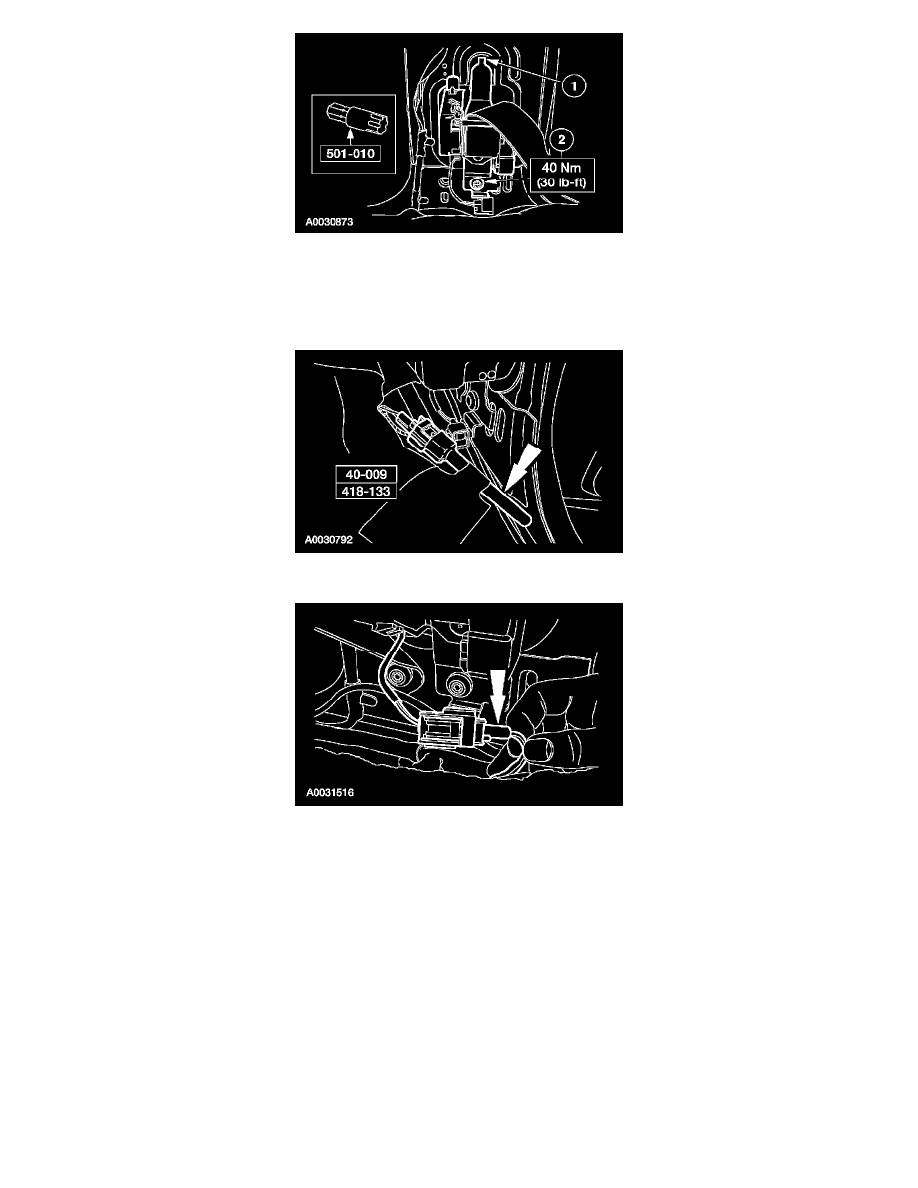
Install the safety belt retractor pretensioner.
1
Insert the upper tab of the safety belt retractor pretensioner and pivot the assembly downward.
2
Using the special tool, install the bolt.
3. Remove the restraint system diagnostic tool from the passenger side safety belt retractor pretensioner electrical connector.
4. Connect the passenger side safety belt retractor pretensioner electrical connector.
5. Connect the battery ground cable.
6. With the restraint system diagnostic tools still installed at the remaining deployable devices, prove out the supplemental restraint system (SRS).
See: Air Bag(s) Arming and Disarming/Service and Repair/Prove Out Procedure
7. WARNING: To avoid accidental deployment and possible personal injury, the backup power supply must be depleted before repairing
or replacing any front or side air bag supplemental restraint system (SRS) components and before servicing, replacing, adjusting or
striking components near the front or side air bag sensors, such as doors, instrument panel, console, door latches, strikers, seats and hood
latches.
Please refer to the appropriate Component or System to determine location of the front air bag sensors.
The side air bag sensors are located at or near the base of the B-pillar.
To deplete the backup power supply energy, disconnect the battery ground cable and wait at least one minute. Be sure to disconnect
auxiliary batteries and power supplies (if equipped).
Disconnect the battery ground cable and wait at least one minute.