
F 150 Heritage 4WD Pickup V8-5.4L SOHC VIN Z Bi-fuel (2004)
THE VEHICLE SHOULD BE COOL BEFORE ATTEMPTING THIS PROCEDURE.
2.
Remove the right front wheel.
3.
Remove the right front fender inner splash shield. Refer to Workshop Manual (WSM), Section 501-02.
4.
Remove the transmission dip stick tube retaining bolt and position the tube to allow additional hand clearance. Refer to WSM, Section 307-01.
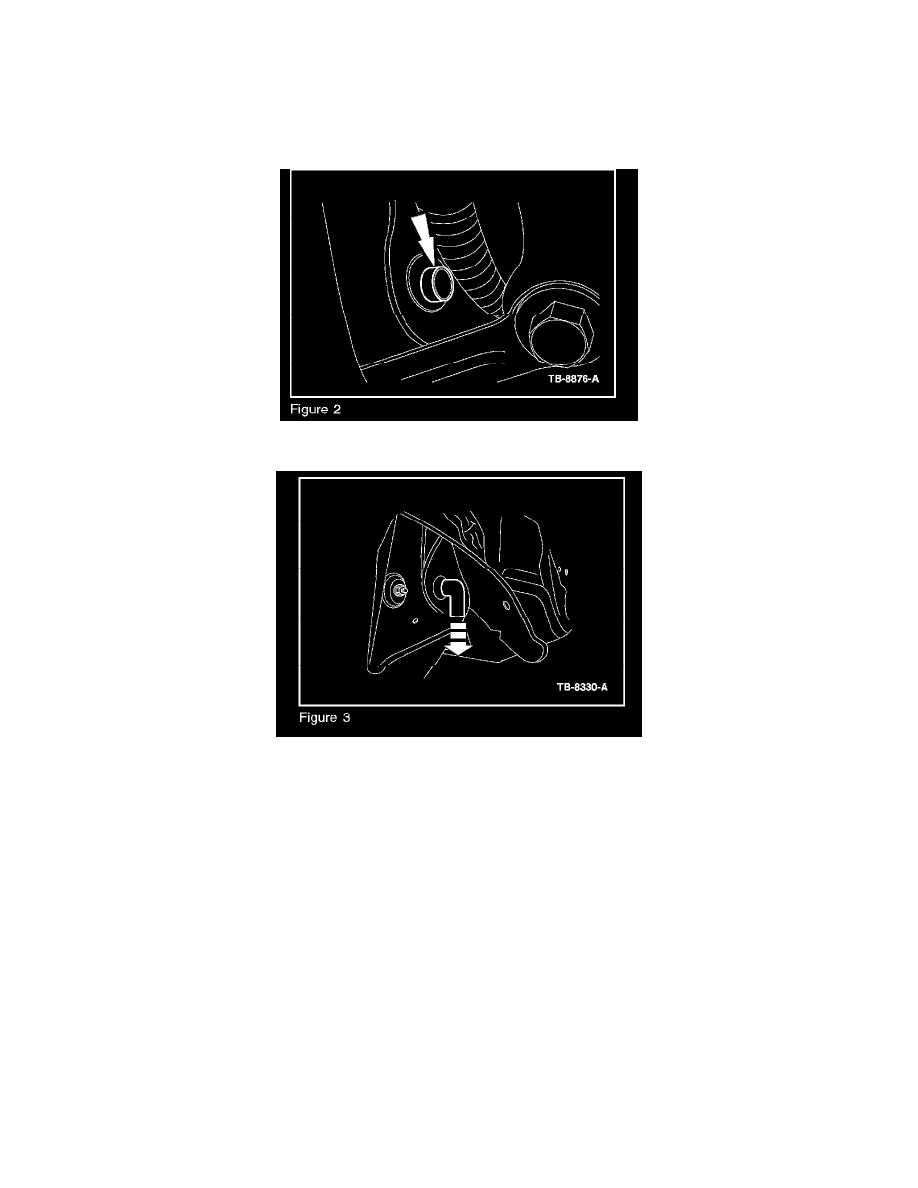
5.
Locate the HVAC drain tube protruding from the bulk head. Clean all dirt and debris from the drain tube end. (Figure 2)
6.
Using Silicone Brake Caliper Grease and Dielectric Compound, lubricate the short end of the new 90 degree rubber elbow. Push the elbow onto
the drain tube and orient the long end pointing straight down. (Figure 3)
7.
Reposition the transmission dip stick tube and tighten the retaining bolt to 9 lb-ft (12N.m).
8.
Reinstall the inner splash shield, Refer to WSM Section 501-02.
9.
Reinstall the right front wheel.
10.
Verify transmission fluid level is correct.
WARRANTY STATUS: Eligible Under Provisions Of New Vehicle Limited Warranty Coverage
IMPORTANT:
Warranty coverage limits/policies are not altered by a TSB. Warranty coverage limits are determined by the identified causal part.
OPERATION
DESCRIPTION
TIME
071305A
2004-2006 F-150, 2006
0.9 Hr.
Mark LT: Follow Service
Procedure To Diagnose
And Install Elbow Includes
Time To Check And Top
Off Transmission Fluid If