
F 150 Super Crew 2WD V8-4.6L SOHC VIN 6 (2003)
6. Remove the bolt and safety belt buckle and belt assembly.
7. To install, reverse the removal procedure.
8. Check the active restraint system for correct operation. See: Testing and Inspection
Right Hand and Center Passenger
Torx Bit Tool Set Used For T55 "Torx Plus" Bit
SPECIAL TOOL(S)
REMOVAL
NOTE:
^
New safety belt buckles, height adjusters, center adjust tongues, and belts and retractors can be installed separately. However, if a safety belt
assembly was in use during a collision, a new belt and retractor must be installed as well as the center adjust tongue, and belt and buckle assembly
or the center adjust tongue, and the cable and buckle assembly. When installing new safety belts and buckles, height adjusters, safety cables and
buckles, center adjust tongues, and belts and retractors, use only the parts specified in the Ford Master Parts Catalogs for the make and model of
the vehicle being repaired. Safety belt assemblies must not be interchanged between vehicle models.
^
Safety Belt Buckle - Rear, Center, Supercrew is shown. Safety Belt Buckle - Rear, Passenger Side, SuperCrew is similar.
1. Remove the 60 percent side of the 60/40 rear seat cushion.
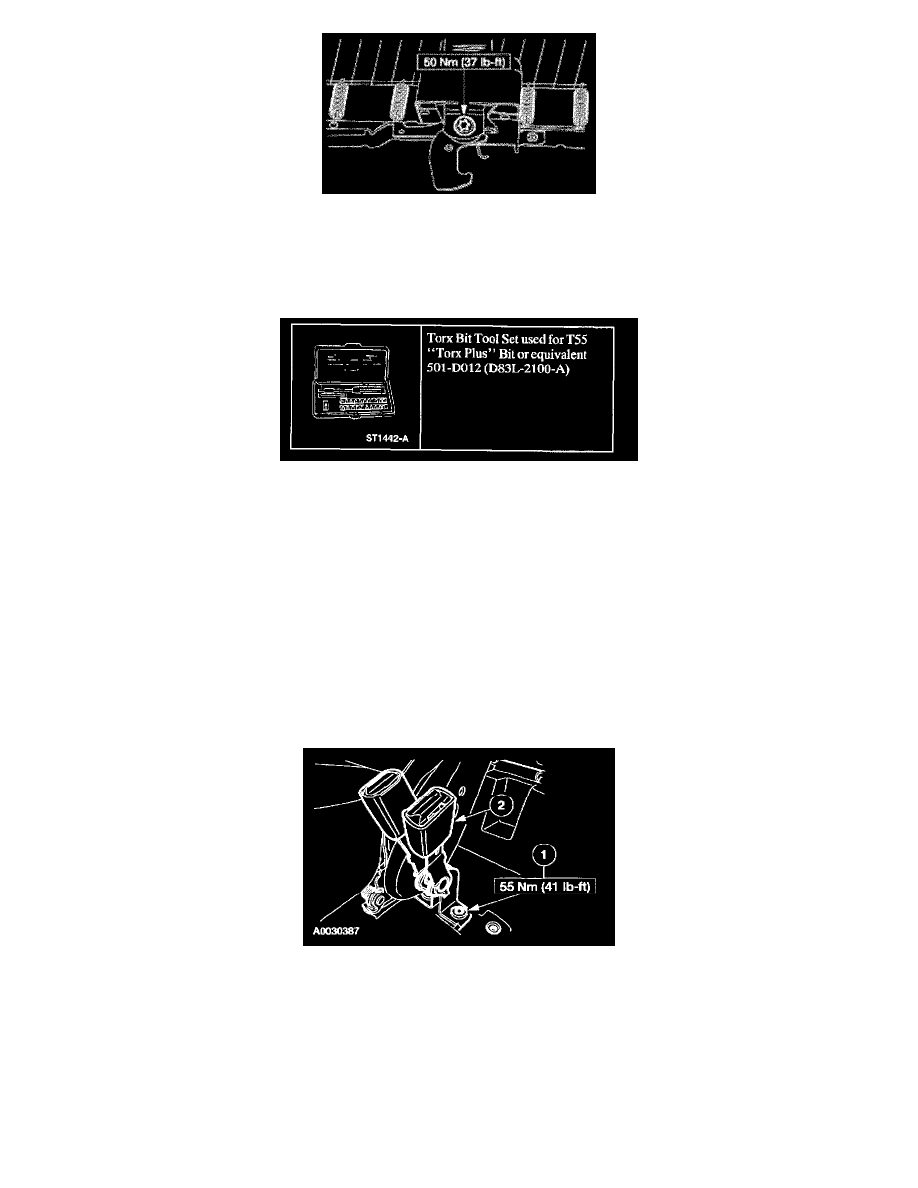
2. Remove the mid-passenger rear safety belt buckle.
1
Using special tool 501-D012 (D83L-2100-A) or equivalent, remove the bolt.
2
Remove the safety belt buckle assembly.
INSTALLATION
1. To install, reverse the removal procedure.
NOTE: Make sure to tighten nuts and bolts to specification.
2. Check the active restraints system for correct operation.