
F 250 2WD Pickup V8-7.3L DSL (1990)
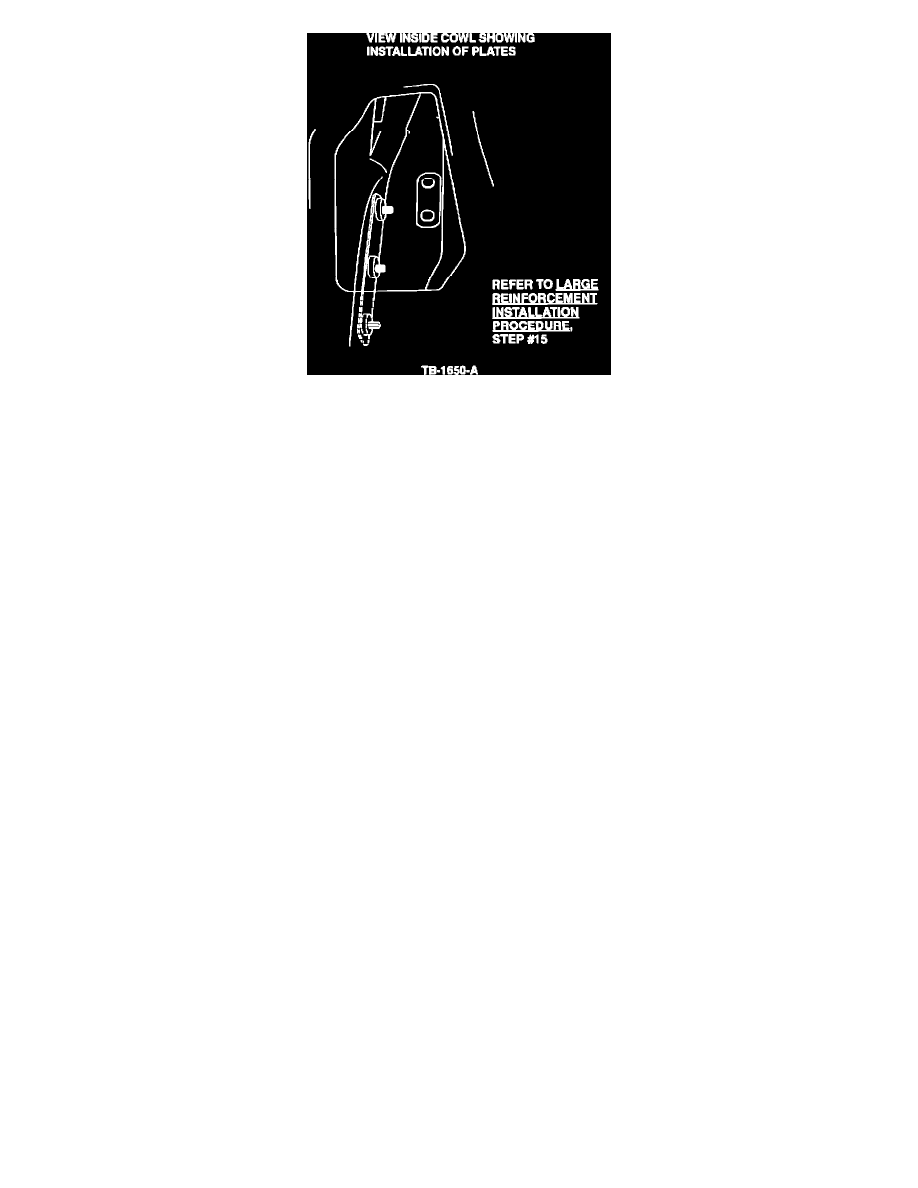
Figure 10
15.
Place the larger three holed plate from the kit inside the cowl. Attach it with three 8 mm bolts through the dash reinforcement, from the
engine compartment side, Figure 10.
16.
Inspect the seam between the cowl inner and outer, inside the cowl, for cracks in the sealant. If necessary, add sealant.
17.
Replace the cowl top.
a.
If the hood was removed, locate the hinges to the wax pencil marks and tighten the fasteners.
b.
Replace the radio antenna and windshield washer tube.
18.
Re-install the brake booster and stoplight switch, if removed. Tighten the brace bolts.
19.
Install the clutch master cylinder.
a.
Inspect the clutch master cylinder for leaks in the area of the pushrod. Replace it if there is evidence of leaking.
b.
Remove the nut and bolt from the top of the reinforcement.
c.
Install the clutch master cylinder.
d.
Inspect the position of the clutch master cylinder pushrod hole. The pushrod hole should go onto the lever pin with no force required
while the pedal is against the upstop.
NOTE: ALTHOUGH THIS WAS SPECIFIED IN THE INSPECTION PROCEDURE, REPAIR MAY HAVE CHANGED THE SETTING.
e.
If the pushrod hole is not in position, install and adjust an adjustable clutch master cylinder pushrod (1987 and prior models) or install a new lever
(7A554).