
F 250 2WD Pickup V8-7.3L DSL Turbo VIN F (1994)
Headlamp Switch: Service and Repair
REMOVAL AND INSTALLATION
1. Remove battery ground.
2. On vehicles with tilt column, position steering wheel in the full down position.
3. On vehicles with column shift, set parking brake and position shift lever to the lowest position.
4. Unsnap the right and left molding by prying at the notches on the bottom of the mouldings. Remove 2 exposed screws from under right and left
mouldings.
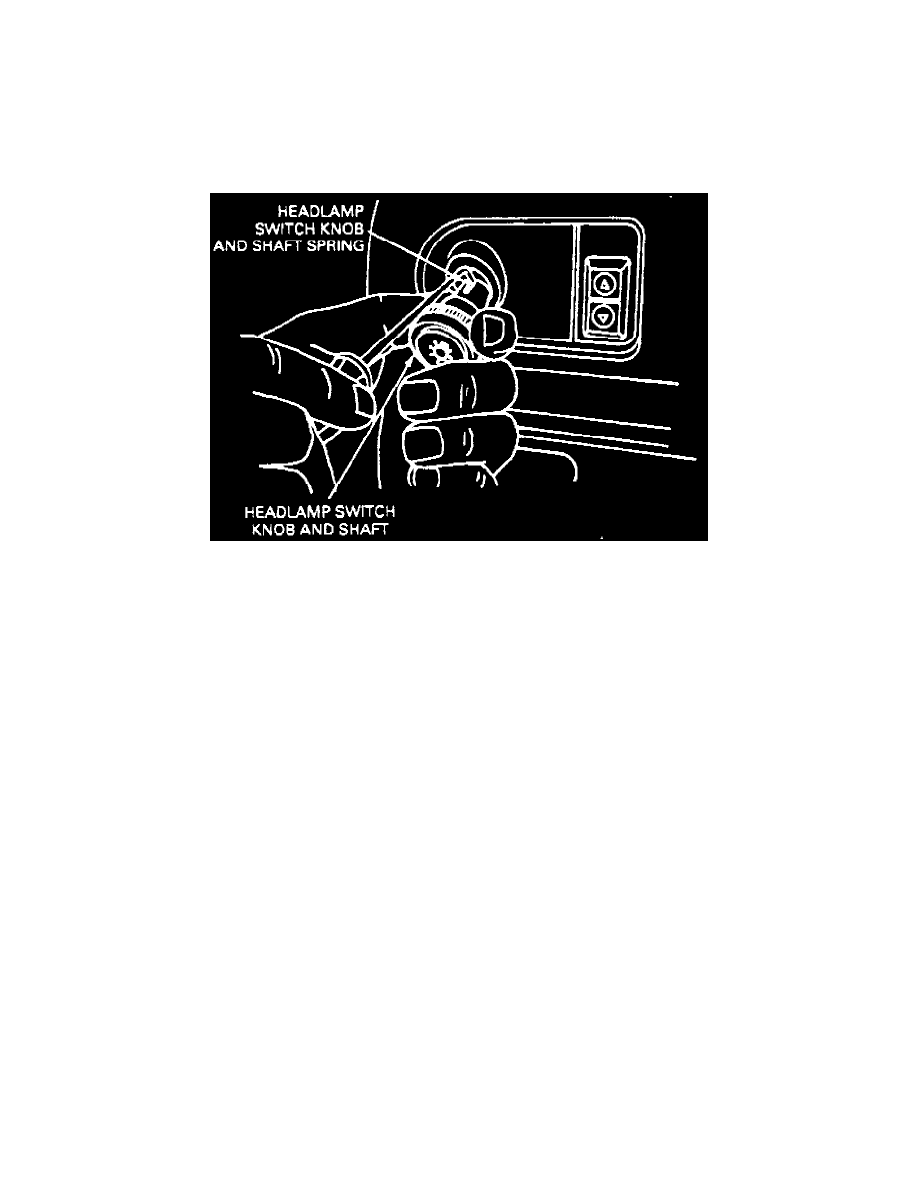
Headlamp Switch
5. Remove headlamp switch knob and shaft by inserting a hooked tool into knob slot to depress spring, Fig. 2.
NOTE: The wiring is connected to the instrument panel finish panel (9044D70).
6. Unsnap the 5 retaining clips by pulling the instrument panel finish panel rearward starting with the two at the steering column (one on each side)
and then the three at the top of the instrument panel finish panel.
7. Disconnect the wiring from the instrument panel.
8. Remove headlamp control shaft by inserting a punch or similar tool into the access hole of the headlamp switch while pulling the shaft from the
headlamp switch.
9. Remove switch attaching nut, remove switch, then disconnect switch electrical connector.
10. Reverse procedure to install.