F 250 2WD Pickup V8-7.3L DSL Turbo VIN F (1994)

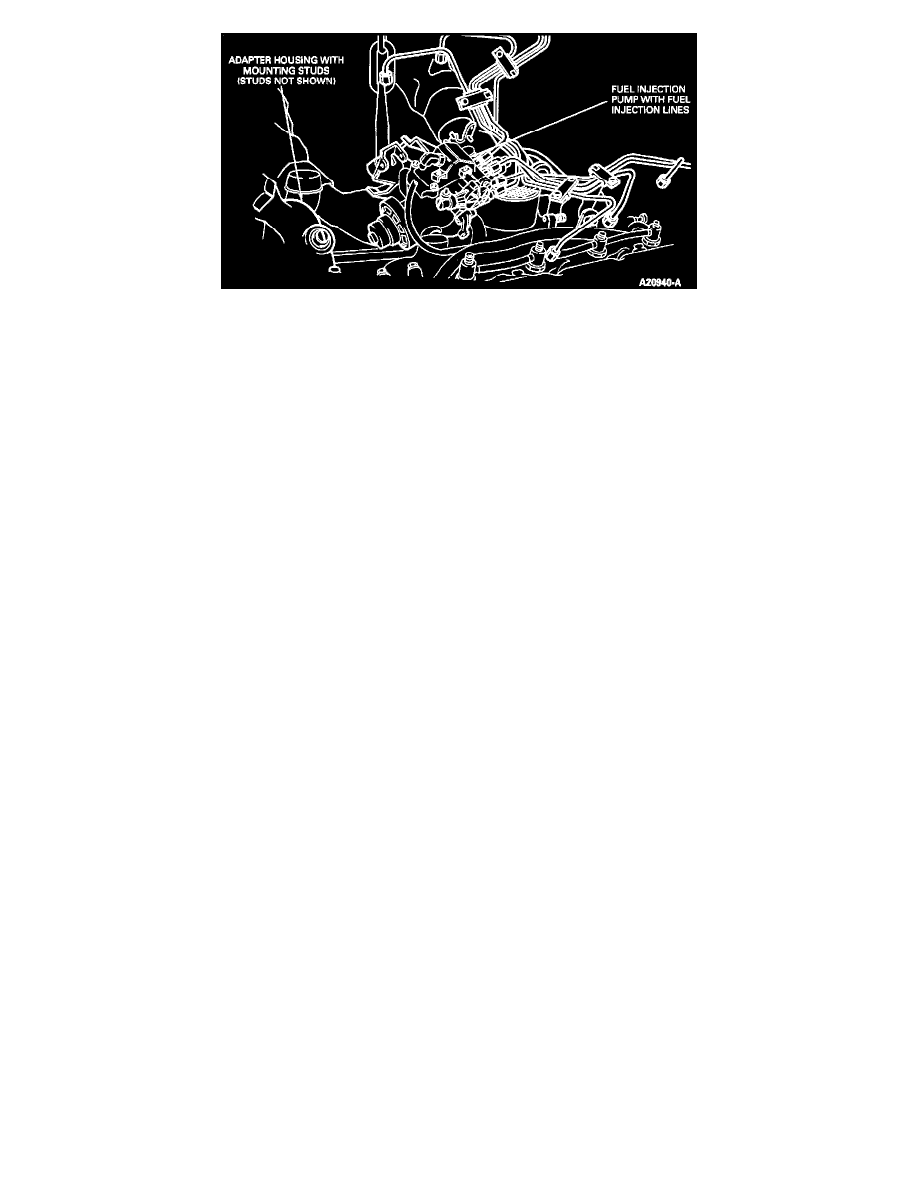
With Fuel Injection Lines Attached
17. Remove Injection pump.
18. Lift injection pump up and out of intake manifold valley and remove assembly. (IDI Turbo diesel only).
NOTE: During removal, use care to avoid spilling diesel fuel in passenger compartment.
19. On Econoline, remove injection pump through passenger compartment.
INSTALLATION
1. Install new O-ring onto drive gear end of injection pump.
NOTE: During installation, use care to avoid spilling diesel fuel in passenger compartment.
2. Install injection.
3. Position alignment dowel on injection pump into alignment hole on drive gear. If necessary, rotate pump drive shaft to align drive slot prior to
installation.
4. Install bolts attaching injection pump to drive gear and tighten to 34 Nm (25 ft lb).
5. Install nuts attaching injection pump to adapter. Align scribe lines on injection pump flange and injection pump adapter. Tighten nuts to 35 Nm
(26 ft lb) using injection pump mount wrench T86T-9000-B.
6. If injection nozzle fuel lines were removed from injection pump, install using Fuel Line Nut Wrench T83T-9396-A and tighten to 30 Nm (22 ft lb)
.
7. Remove caps from nozzles and fuel lines. Install fuel line nuts onto nozzles and tighten to 30 Nm (22 ft lb) using Fuel Line Nut Wrench
T83T-9396-A.
8. Remove caps and connect fuel filter-to-injection pump fuel line and torque.
9. Install accelerator cable bracket to intake manifold and tighten to 16-23 Nm (12-17 ft lb).
10. Remove intake manifold cover, if installed, and install air cleaner assembly and duct.
11. Connect accelerator and speed control cable, if so equipped, to throttle lever.
12. Install fast idle solenoid bracket assembly and torque.
13. Install electrical connectors on injection pump.
14. Clean adapter housing cover plate sealing surfaces.
15. Apply a 3.2 mm (1/8 inch) bead of Silicone Rubber Sealant D6AZ-19562-BA (ESB-M4G92-A) or equivalent in adapter housing grooves.
NOTE: When applying Silicone Rubber Sealant D6AZ-19562-BA (ESB-M4G92-A) or equivalent always use the bead size specified and join the
components within 15 minutes of application. After 15 minutes the sealant begins to set-up and sealing effectiveness may be reduced.
16. Connect ground cables to both batteries.
WARNING: Keep eyes and hands away from fuel spray. Fuel spraying from partially opened connection under high pressure can
penetrate the skin and cause infection. Medical attention should be provided immediately in the event of skin penetration.
17. Run engine and check for fuel leaks.
18. Purge high-pressure fuel lines of air by loosening connector one-half to one turn and cranking engine until bubble-free fuel flows from
connection.
19. Check and adjust injection pump timing.
