
F 250 2WD Super Duty V8-5.4L (2008)
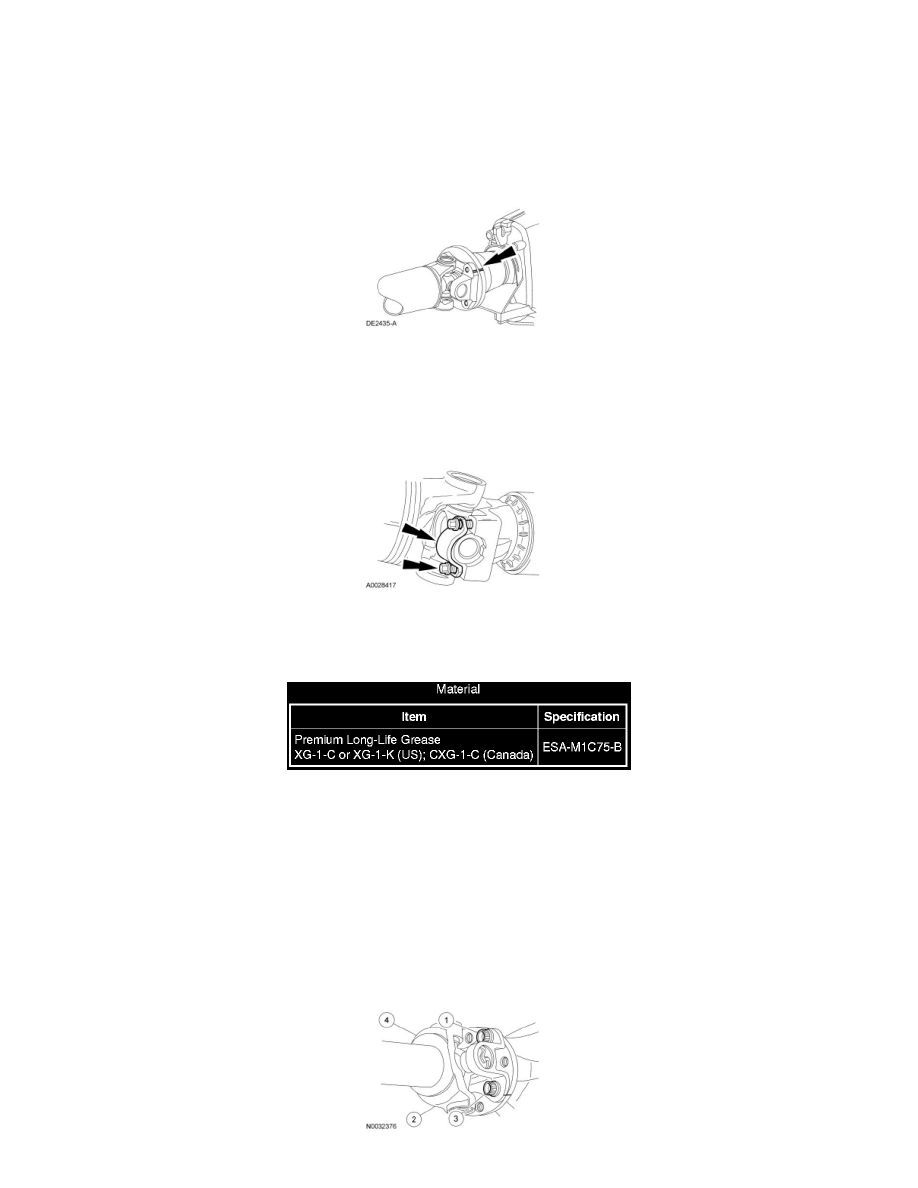
Vehicles with circular flange
2. NOTE: Align the index marks.
NOTE: Bolt direction is vehicle application dependent.
Position the driveshaft flange and loosely install 4 new bolts.
-
Tighten to 100 Nm (74 lb-ft).
Vehicles with split pin yoke
3. NOTE: Align the index marks.
Install the 2 new retainers and 4 new driveshaft-to-axle bolts.
-
Tighten to 62 Nm (46 lb-ft).
Driveshaft - Rear, Two-Piece
Driveshaft - Rear, Two-Piece
Removal and Installation
1. With the vehicle in NEUTRAL, position it on a hoist. For additional information, refer to Vehicle Jacking and Lifting.
2. Index-mark the driveshaft flanges.
3. NOTE: It may be necessary to tap the driveshaft yoke with a plastic or rubber soft-faced hammer if a pry area is not present on the driveshaft
yoke.
Remove and discard the 4 rear coupling shaft-to-rear axle bolts. Disconnect the driveshaft from the axle flange.
-
Using mechanic's wire, support the driveshaft.
-
To install, tighten in the sequence shown to 100 Nm (74 lb-ft).