
F 250 2WD Super Duty V8-5.4L (2008)
Using the alignment marks, install the rear glass.
10. WARNING: Do not drive vehicle until the urethane seal has cured. Follow urethane manufacturer's curing directions. Inadequate or
incorrect curing of the urethane seal will adversely affect glass retention. Failure to follow these instructions may result in serious injury
to vehicle occupant(s).
NOTE: The urethane adhesive must cure for a minimum of one hour before testing for air or water leaks.
After the urethane cures, check the rear glass seal for air or water leaks through the urethane adhesive bead and add urethane adhesive as
necessary.
Vehicles with power sliding window
11. Position the sliding glass to the halfway open position.
12. Install the LH and RH cable ends into the sliding window trough.
13. CAUTION: Slowly release the spring tension after the cable swag is installed into the sliding glass channel bracket. If the spring tension
is suddenly released, the cables can unwind from the drum. If the cables unwind from the drum, a new regulator and motor assembly will
have to be installed.
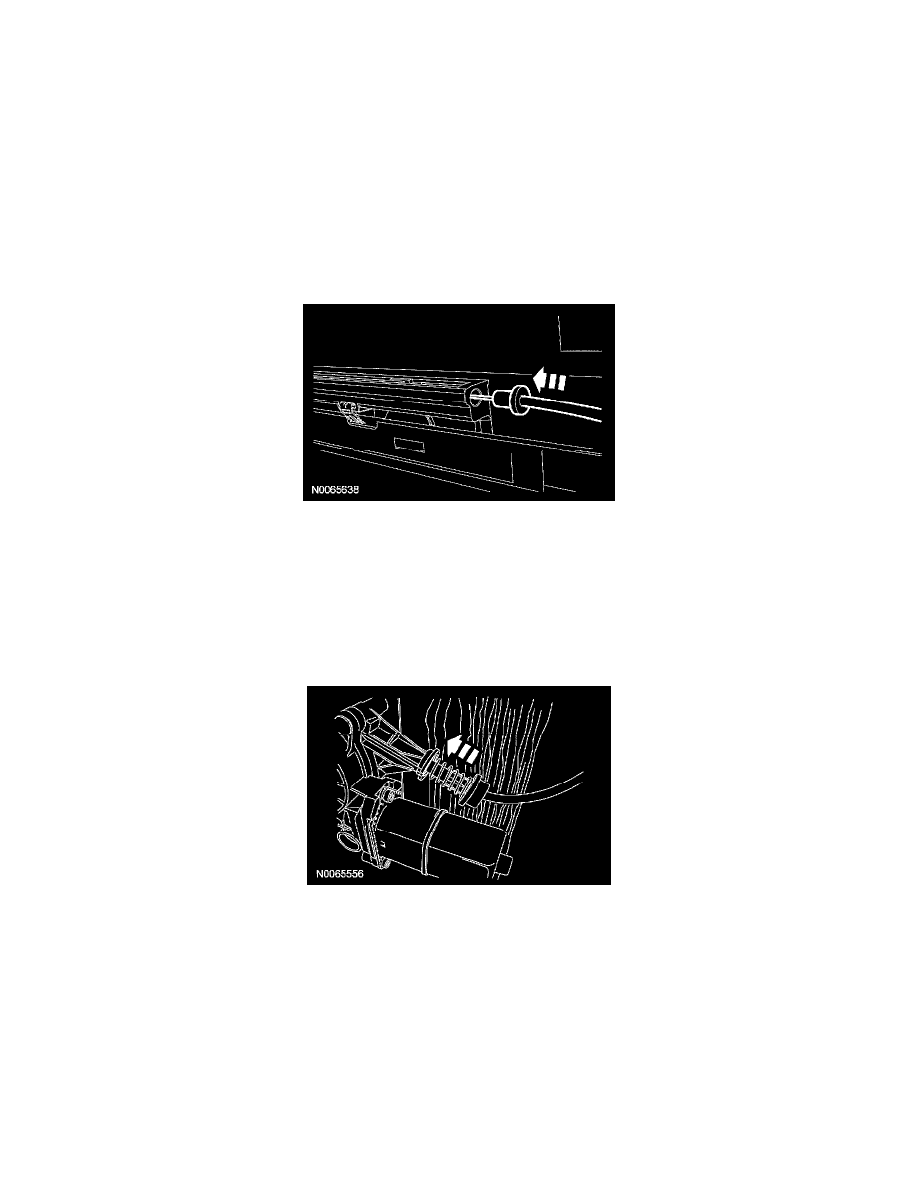
NOTE: RH shown, LH similar.
Install the cable swags into the sliding window glass channel bracket.
-
Carefully squeeze the regulator and motor assembly spring to create slack in the cable.
-
Install the cable swag into the sliding window glass channel bracket.
14. Install the bumpers into the sliding window bracket.