
F 250 2WD Super Duty V8-5.4L VIN 5 (2006)
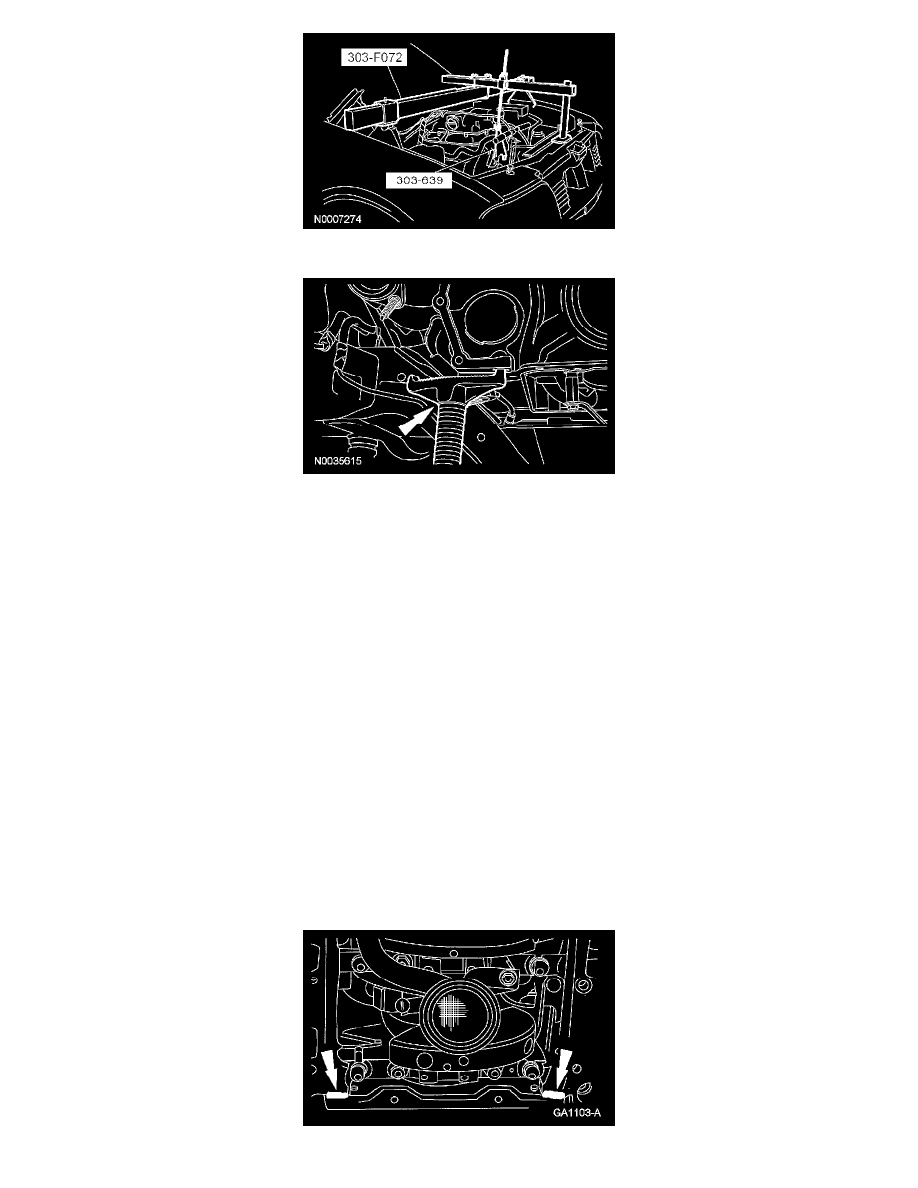
15. Using the special tools, raise the engine 12.7 mm (0.5 inch).
16. Using a suitable jack, raise and support the rear of the cylinder block.
17. Remove the 16 bolts and partially lower the oil pan.
18. Remove the 3 bolts and position the oil pump screen and pickup tube into the oil pan.
19. Remove the oil pan and the oil pump screen and pick-up tube.
^
Inspect the oil pan gasket for damage.
^
Discard the oil pan gasket.
^
Discard the oil pump screen and pickup tube O-ring seal.
Installation
1. CAUTION: Do not use metal scrapers, wire brushes, power abrasive discs or other abrasive means to clean the sealing surfaces. These tools
cause scratches and gouges, which make leak paths. Use a plastic scraping tool to remove all traces of old sealant.
Inspect the oil pan. Clean the mating surface for the oil pan with silicone gasket remover and metal surface prep. Follow the directions on the
packaging.
2. Position the oil pump screen and pick-up tube in the oil pan and position the oil pan and new gasket into the vehicle.
3. CAUTION: Make sure to install a new O-ring seal. A missing or damaged O-ring seal can cause foam in the lubrication system, low oil pressure
and severe engine damage.
NOTE: Clean and inspect the mating surfaces and install a new O-ring seal. Lubricate the O-ring seal with clean engine oil prior to installation.
Position the oil pump screen and pickup tube and install the bolts.
^
Tighten the oil pump screen and pick-up tube-to-oil pump bolts to 10 Nm (89 inch lbs.).
^
Tighten the oil pump screen and pick-up tube-to-spacer bolt to 25 Nm (18 ft. lbs.).